

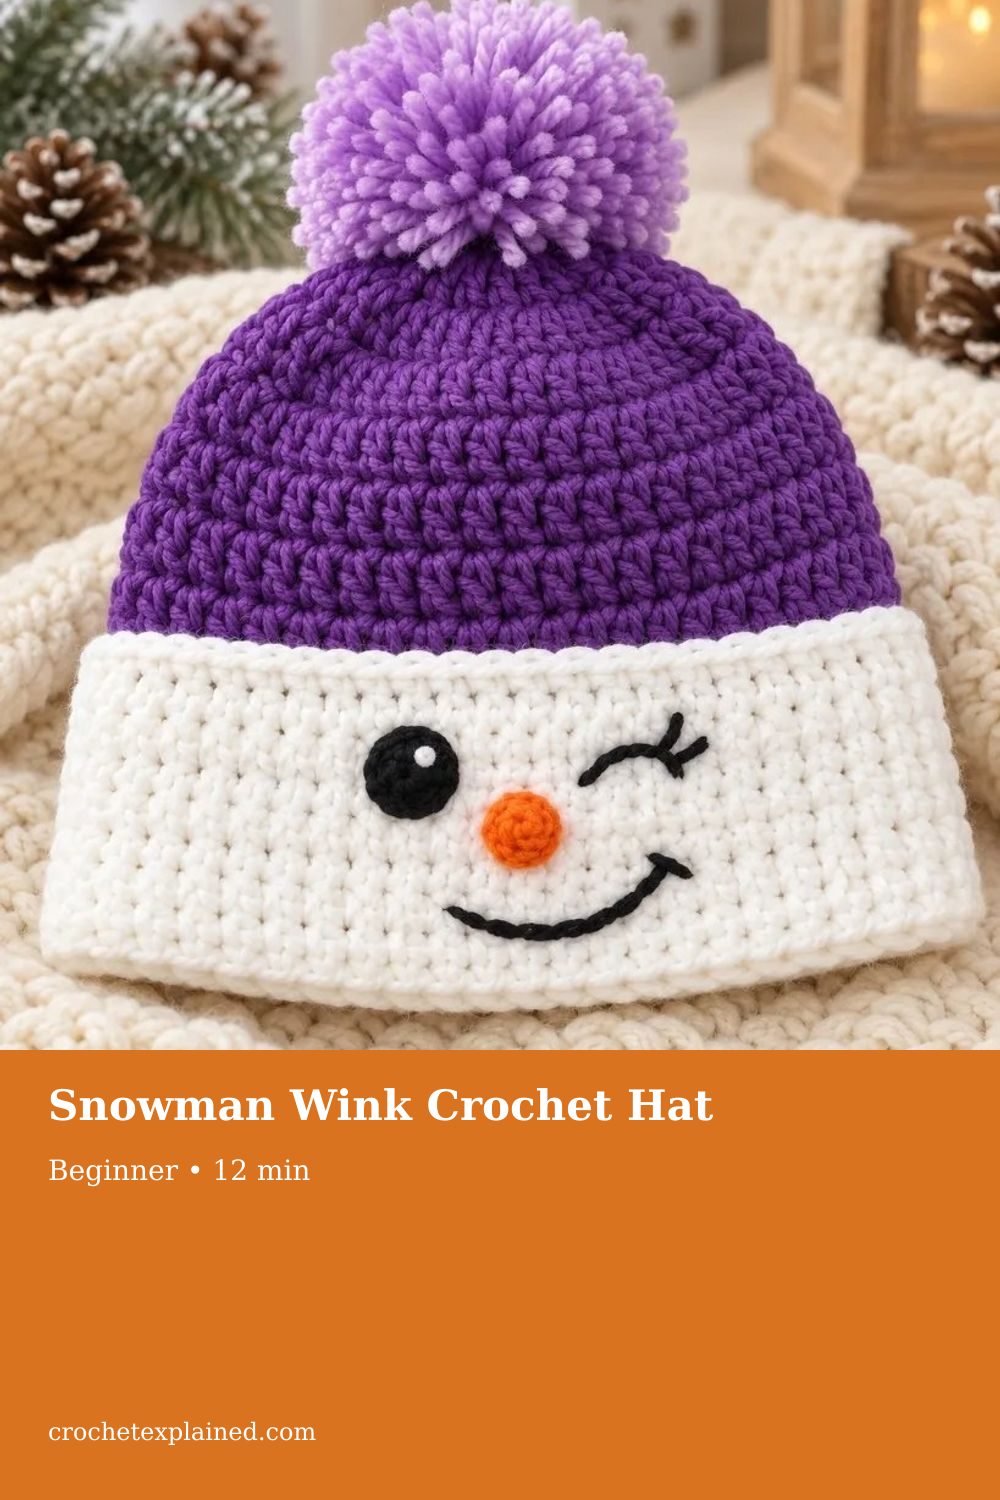
Snowman Wink Crochet Hat
Chain 42, then 40 half double crochet: 12 white for the face band and 28 purple for the crown. Repeat the back-loop rows to about 46.5–47 cm, seam, gather, and embroider the wink.
A purple snowman beanie from a flat rectangle: white face band, one wink, a carrot nose, and a pompom. US terms.
At a glance
- Skill level
- beginner
- Time
- About 3–5 hours, including the face and the pompom
- Finished size
- Adult or teen, about 52–56 cm around the head, with stretch
- Yarn weight
- Worsted, category 4. About 120–150 g purple and 35–50 g white
- Hook size
- 5.0 mm (H/8), or the hook that hits the swatch
- Yardage
- Planning amounts, not a weighed finished hat
On this page
Track your progress
- Go Stage 1: the rectangle
- Go Row 1
- Go Rows 2 and 3
- Go Stage 2: the seam and the crown
- Go Stage 3: the face
- Go Stage 4: the pompom
Ticks are saved on this device only. Counting rows? Keep the stitch counter open in another tab.
US crochet terms throughout. Sizes here are worked out from gauge rather than from a finished sample, so swatch and measure as you go, and the pictures of finished pieces are illustrations. Made one? Send a photo through the contact page.
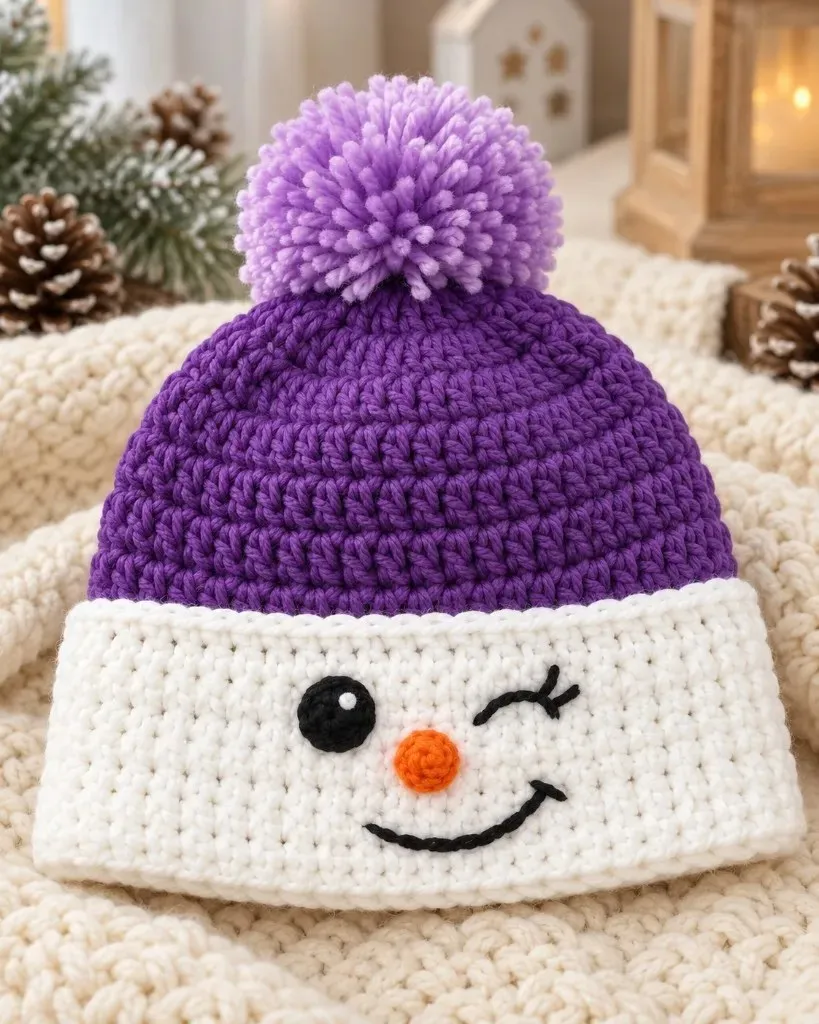
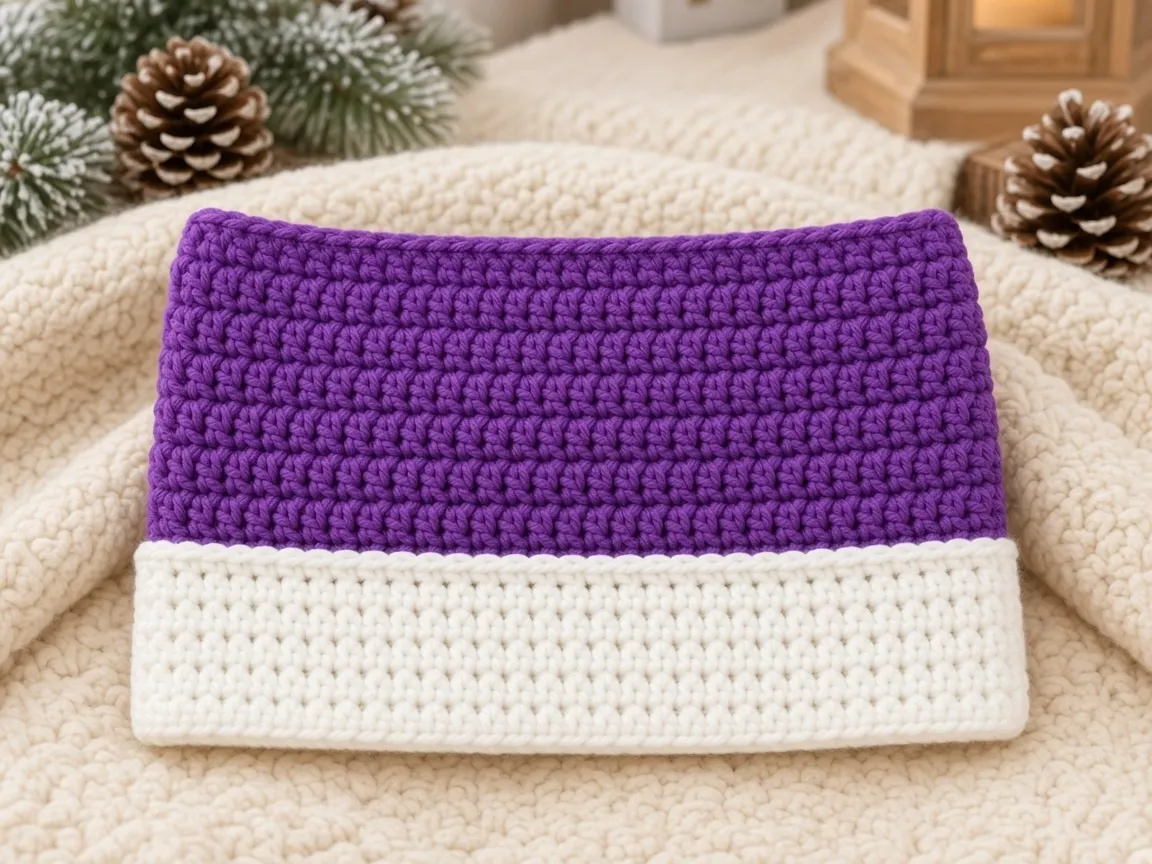
A winter hat can start as a flat rectangle. This one is purple half double crochet with a white band along one long edge. The band becomes the snowman face: one open eye, one wink, an orange nose, and a crooked smile. A pompom covers the gathered crown.
The sizes below are worked out from the written gauge rather than from a finished sample. The lead photo shows the intended look. The step pictures are illustrations.
US terms. US half double crochet is UK half treble. Stitch names are in the abbreviations chart.
What you are making
- Crochet a rectangle. White sits along one long edge. Purple fills the rest.
- Sew the short ends into a tube.
- Gather the purple edge closed.
- Embroider the face on the white band. The band is already part of the rectangle. Do not fold it over the face.
- Tie on a pompom.
There is no magic ring and no crown shaped round by round. This is not crochet in the round. You work back and forth. The back loop gives a rib that runs from brim to crown after the tube is seamed.
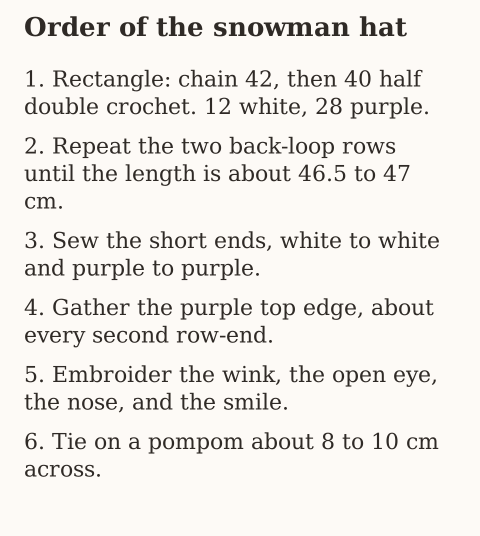
The face is stitched yarn, not beads. A bead on a hat that a child might wear is a choking hazard. The pompom must be tied through the crown, not glued.
Materials
| Supply | Amount |
|---|---|
| Purple worsted (category 4) | About 120–150 g, including the pompom |
| White worsted, same thickness | About 35–50 g |
| Black yarn or embroidery thread | A short length for the eyes and the smile |
| Orange yarn | A short length for the nose |
| Hook | 5.0 mm (H/8), or whatever hits gauge |
| Tapestry needle | One blunt needle |
| Stitch markers | Two, for the color boundary if you want them |
| Scissors and a tape | Measuring and finishing |
| Pompom maker | Optional. Two cardboard rings work |
Acrylic or a wool blend that can be washed is a practical choice. Worsted is category 4 on the yarn weight chart. The 5.0 mm hook is an H/8 on the hook size chart. Amounts are planning figures. Nothing here has been weighed off a finished hat.
Stitches
- ch: chain
- hdc: half double crochet
- BLO: back loop only
- RS / WS: right side / wrong side
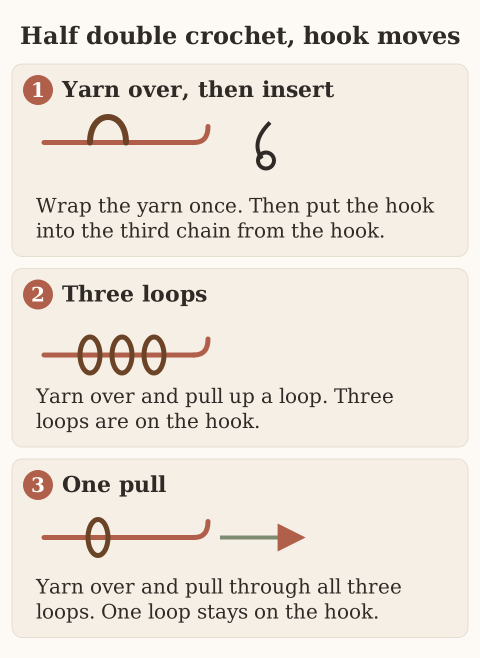
Half double crochet is the body stitch. Yarn over before the hook goes in. Pull up a loop so three loops sit on the hook. Yarn over and pull through all three. These drawings are right-handed. The mirrored path is on left-handed crochet.
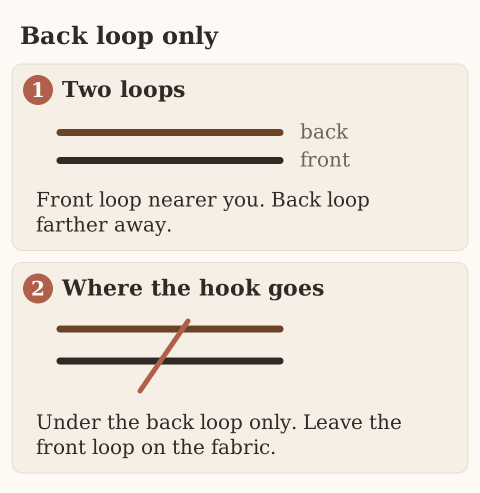
Back loop only means the hook goes under the loop farther from you. The front loop stays on the fabric and makes the rib. The chain at the start of a row does not count as a stitch in this hat. More on that chain is in the turning chain.
Gauge and size
Swatch half double crochet in the back loop. Let the fabric relax, then measure. The target is about 16 stitches and 12 rows per 10 cm (4 in). The method is in crochet gauge.
At 16 stitches per 10 cm, 40 stitches are 25 cm, about 9.8 in. The planning height for this rectangle is about 25.5 cm (10 in). If your swatch does not land near both, change the hook before you chain 42.
The long edge, the row-worked length, is about 46.5–47 cm (18¼–18½ in) before seaming. At 12 rows per 10 cm, about 56 rows reach that length. The tape and a try-on beat the row count.
The finished tube is meant to stretch around a head of about 52–56 cm (20½–22 in). A beanie is smaller than the head. If the tube will not go on comfortably, add rows before you gather the crown.
To change the height, change the foundation chain and keep about 30 percent of the stitches white. To change the circumference, add or remove full rows.
Stage 1: the rectangle
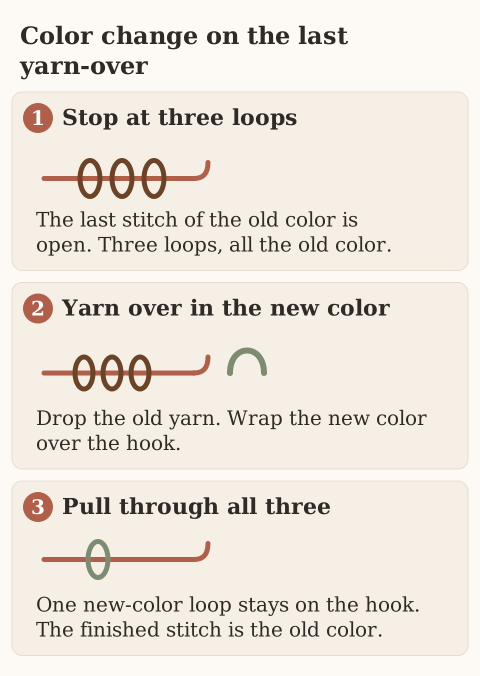
Work the color change inside the row so the white band stays on one long edge. You can carry the unused yarn loosely up the wrong side of the boundary. Fastening off and weaving the tails gives a cleaner stretch. When you change color, the last yarn-over of the old stitch is the new color. The same rule, for every stitch height, is in changing yarn color. On this hat the old stitch is a half double, so three loops are still on the hook when the new color wraps. Do not pull that loop tight. The hat has to stretch.
Row 1
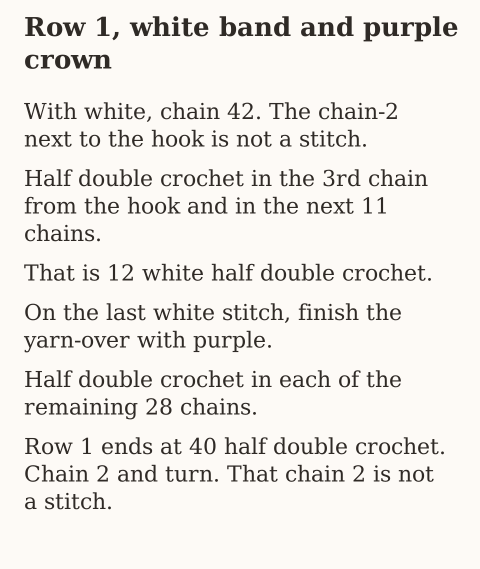
With white, chain 42.
Row 1 (RS): Half double crochet in the third chain from the hook and in the next 11 chains. That is 12 white half double crochet. On the last white stitch, finish the yarn-over with purple. Half double crochet in each of the remaining 28 chains. That is 28 purple half double crochet. You have 40 half double crochet. Chain 2 and turn. The chain 2 is not a stitch.
The 12 white stitches are the face band. The 28 purple stitches are the crown. If 40 stitches are not the height you measured, change the chain and keep about 30 percent of the stitches white.
Rows 2 and 3
Row 2 (WS): Half double crochet in the back loop of each purple stitch until the white section. Change to white on the last yarn-over of the last purple stitch. Half double crochet in the back loop of each of the 12 white stitches. Chain 2 and turn.
Row 3 (RS): Half double crochet in the back loop of each white stitch. Change to purple on the last yarn-over of the twelfth white stitch. Half double crochet in the back loop of every purple stitch. Chain 2 and turn.
Repeat rows 2 and 3 until the row-worked edge measures about 46.5–47 cm. At the gauge above, that is about 56 rows. Stop after a complete row. Leave a long tail for the seam.
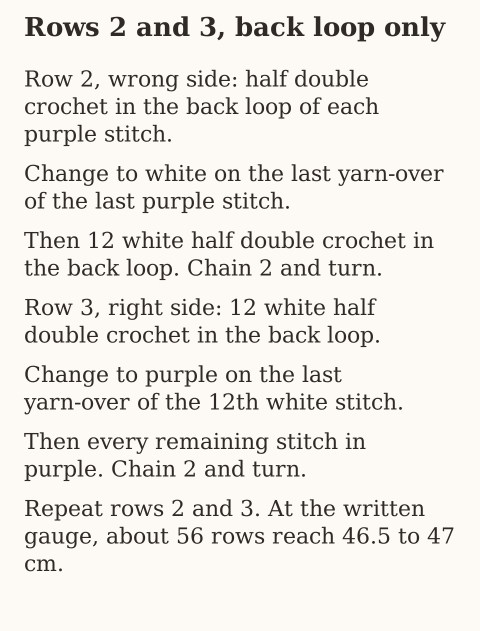
Count 12 white and 28 purple at the end of every row. A row that gains a stitch will not meet the seam evenly.
Stage 2: the seam and the crown
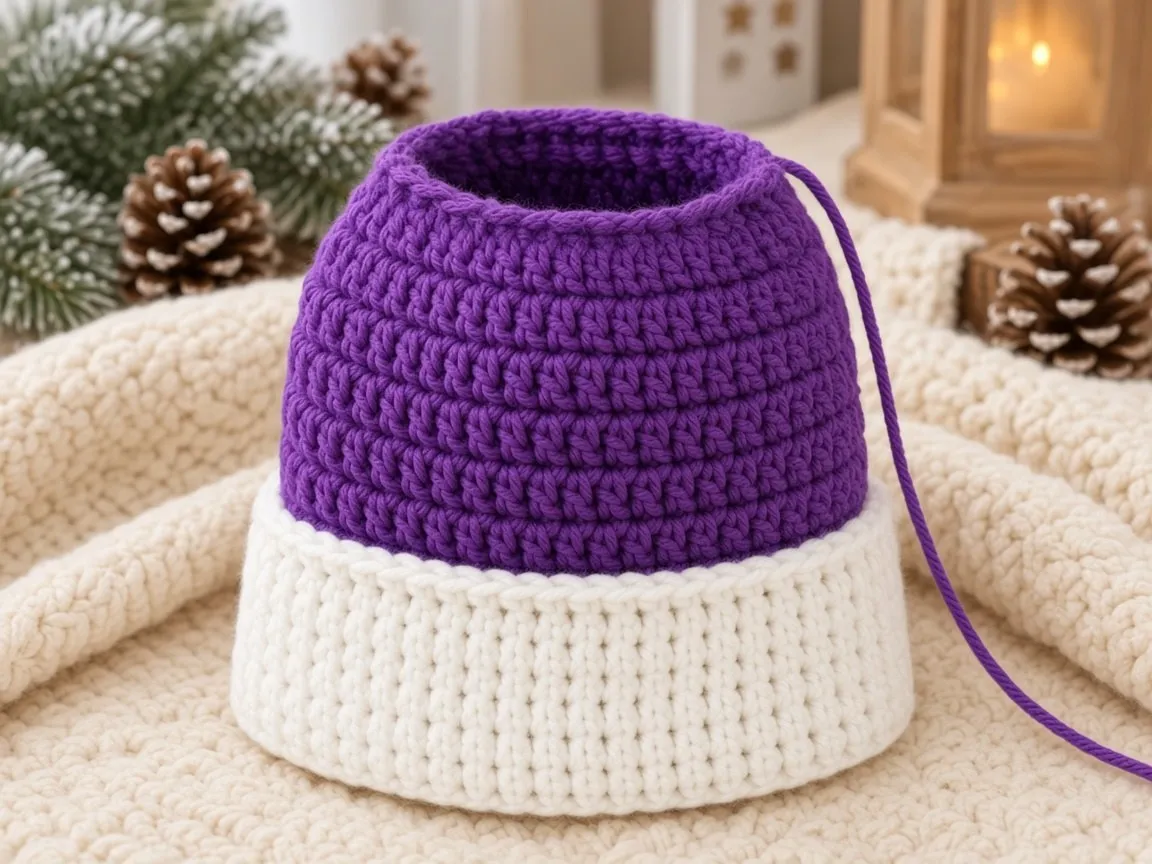
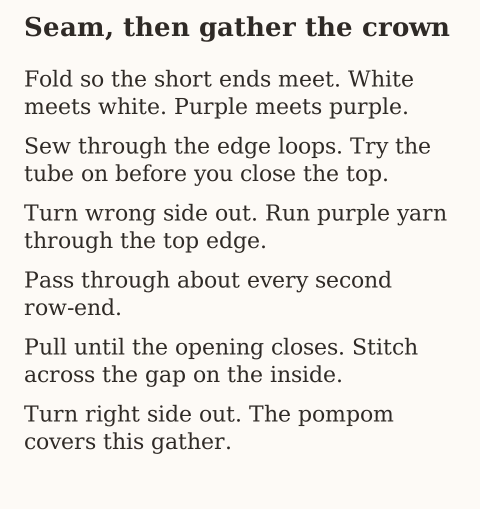
Lay the rectangle right side up. Fold it so the short ends meet, purple to purple and white to white. Sew those ends through the edge loops with matching yarn. Mattress stitch stays flat. A slip-stitch seam also works if it does not make a thick ridge.
Try the tube on before you close the top. It should stretch over the head, with the white band at the lower edge. If it is too loose or too tight, add or remove rows now.
Turn the tube wrong side out. Thread a strong length of purple yarn through the upper purple edge, through about every second row-end. Pull gradually until the opening closes. Stitch across the remaining gap on the inside until it stays shut. Knot on the inside and weave the tail.
Turn it right side out. The gather sits under the pompom. It does not have to be smooth.
Stage 3: the face
Place the face on the white band, centered opposite the back seam. Lay short lengths of black and orange yarn on the fabric before you stitch, so you can move them.
The open eye and the wink
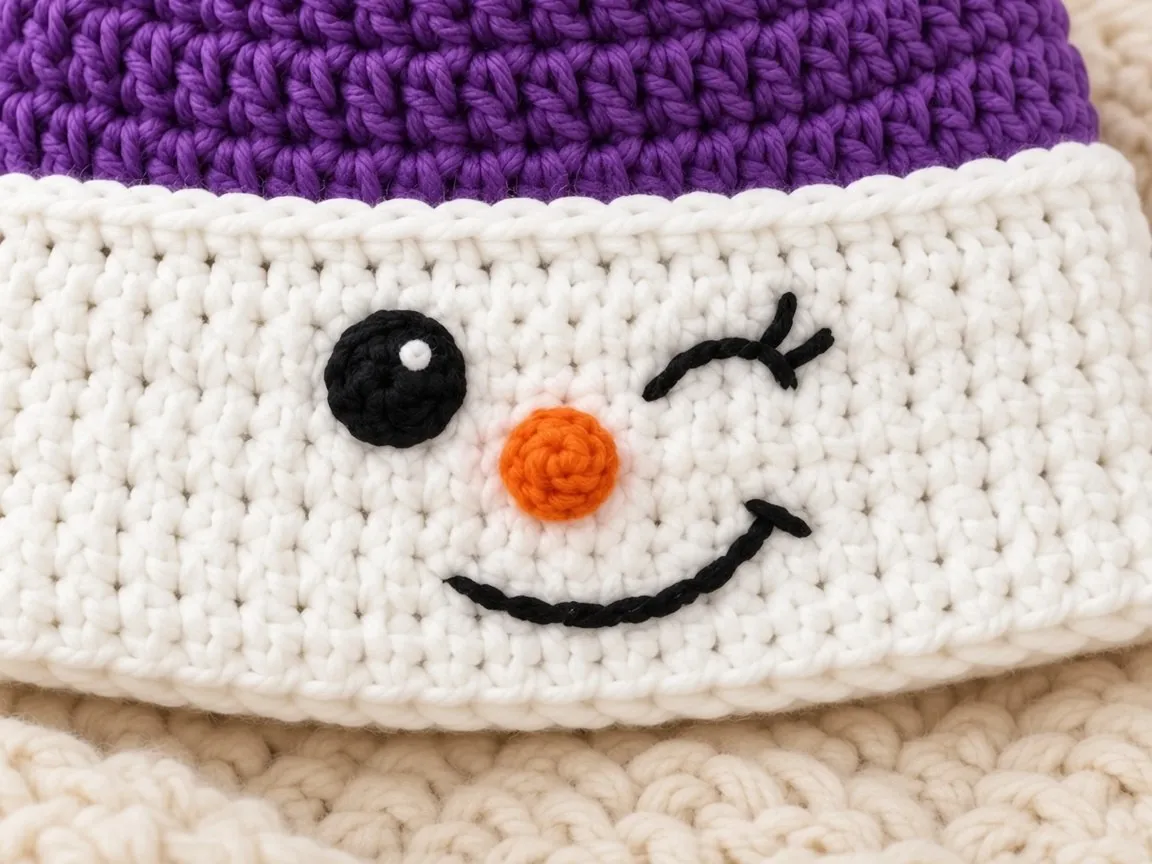
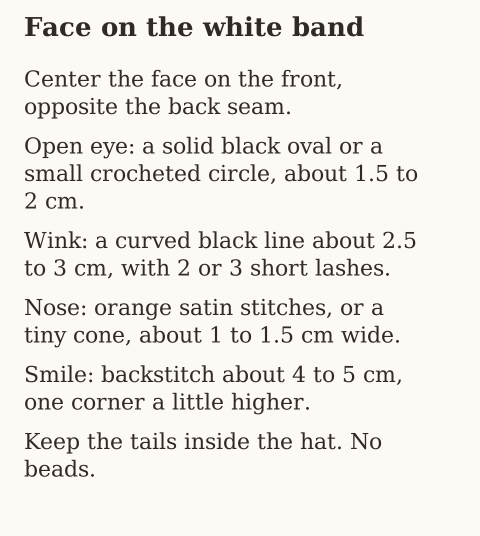
Open eye: a small solid black oval, or a tiny crocheted black circle, about 1.5–2 cm across. One short white stitch can sit in the oval as a highlight.
Wink: a curved black line about 2.5–3 cm wide, at about the same height as the open eye. Add two or three short lashes at the outer end.
The nose
Orange satin stitches in a small oval between the eyes and a little below them, about 1–1.5 cm wide. A tiny crocheted orange cone, sewn down firmly, is the other option. Keep it small.
The smile
Backstitch a curve about 4–5 cm wide under the nose. Lift one corner a little. Short stitches. A single tight strand pulled across the band will pucker the brim.
Weave every embroidery tail inside the hat. Nothing long should sit against the forehead.
Stage 4: the pompom
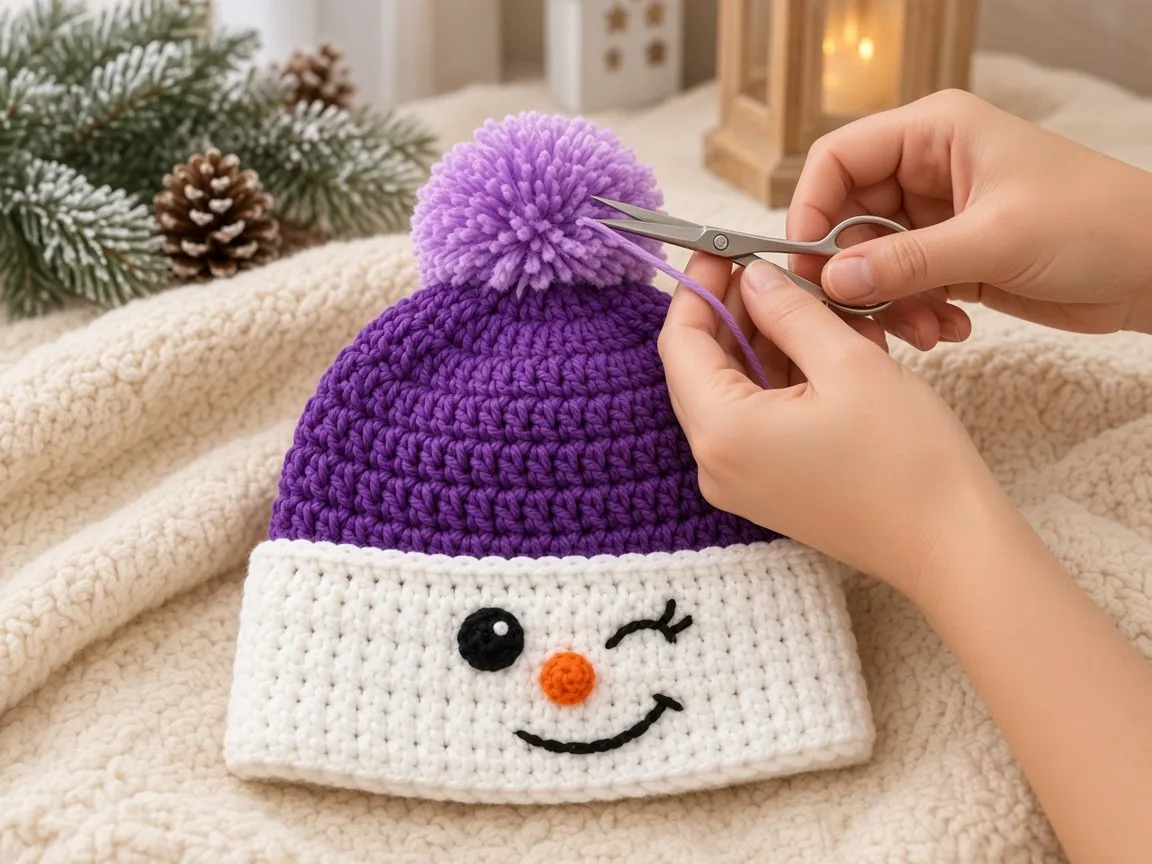
A pompom a little lighter than the crown matches the intended look. Wrap yarn thickly around a pompom maker or two cardboard rings. Tie a strong strand through the center. Cut the loops. Trim slowly into a ball about 8–10 cm (3–4 in) across. A sparse pompom collapses.
Use the tying tails to fasten it through the gathered crown. Pass the tails through separate holes, tie inside, and weave them through several stitches. For a hat a child will wear, make a smaller pompom and check the knot after washing.
Fit check
The white band should sit on the forehead without rolling into a tight cord. The purple section should round over the head, a little slouchy, with the pompom in the center.
If the face puckers, ease the embroidery and stitch it again. If the brim is tight, add rows and reseam. Do not stretch a short tube into shape. If the crown sticks up in a point, loosen the gather and spread it under the pompom.
Weave every end through nearby stitches, the way weaving in ends describes. Wash the way the yarn label says. Steam only if the label allows it. Do not press the pompom flat.
Three color changes
| Variation | Change |
|---|---|
| Icy blue | Blue in place of purple, and a white pompom |
| Deep navy | Navy crown, pale lavender pompom |
| Another head size | Same face. Change the row count from a measured head |
Both eyes can be open. Pink cheeks are a few short stitches. A second hat can wink on the other side. Keep the nose and the smile in the middle so the face reads from across a room.
Mistakes
The white band wanders. The color change moved off stitch 12. Pull back to the last correct boundary.
The row grew. The chain 2 was counted as a stitch, or an extra half double was worked into the edge. The chain 2 is not a stitch. Recount 40.
The tube will not go on. The row count was short for that head. Add rows before the gather. After the crown is closed, the only fix is to open it.
The brim puckers under the smile. The smile was one tight strand. Use short backstitches.
The pompom falls off. It was tied through one hole, or glued. Two holes and a knot on the inside hold it.
Frequently asked
Can I start with a magic ring instead?
This hat is a rectangle on purpose. A ring makes a different crown. Use the chunky beanie if you want a hat worked in rounds.
Do I have to stop at 56 rows?
No. Fifty-six rows is the count at 12 rows per 10 cm for a length of about 46.5–47 cm. Stop when the tape says that length, after a complete row.
Will it fit a child?
The written size is a head of about 52–56 cm. A smaller head needs fewer rows, measured on that head, and a smaller pompom. Do not use beads.
Which loop is the back loop?
The loop farther from you as the row faces you. The front loop is the one closer to you. Missing the back loop removes the rib.
Next
A ribbed hat worked in rounds, with a brim and a crown decrease, is the chunky beanie. A band with no crown is the ear warmer. Small winter pieces that are not hats are in the ten Christmas ornaments. If the back-loop rows keep changing width, swatch again with crochet gauge before you add the rest of the length.
- snowman hat
- beanie
- winter
- beginner
Read this next
- Elegant Twist Crochet Ear Warmer A ribbed half double crochet band with a folded front twist. Adult Small, Medium, and Large from gauge. US terms.
- 10 Christmas Crochet Ornament Patterns Ten mini ornaments: gingerbread, tree, snowman, reindeer, Santa, candy cane, stocking, gift, angel, and snowflake.
- Navy Lace Fingerless Gloves: A Detailed Crochet Tutorial Learn to crochet elegant navy fingerless gloves with ribbed cuffs, an openwork shell-lace hand, a practical thumb slit, and a decorative scalloped edge.