

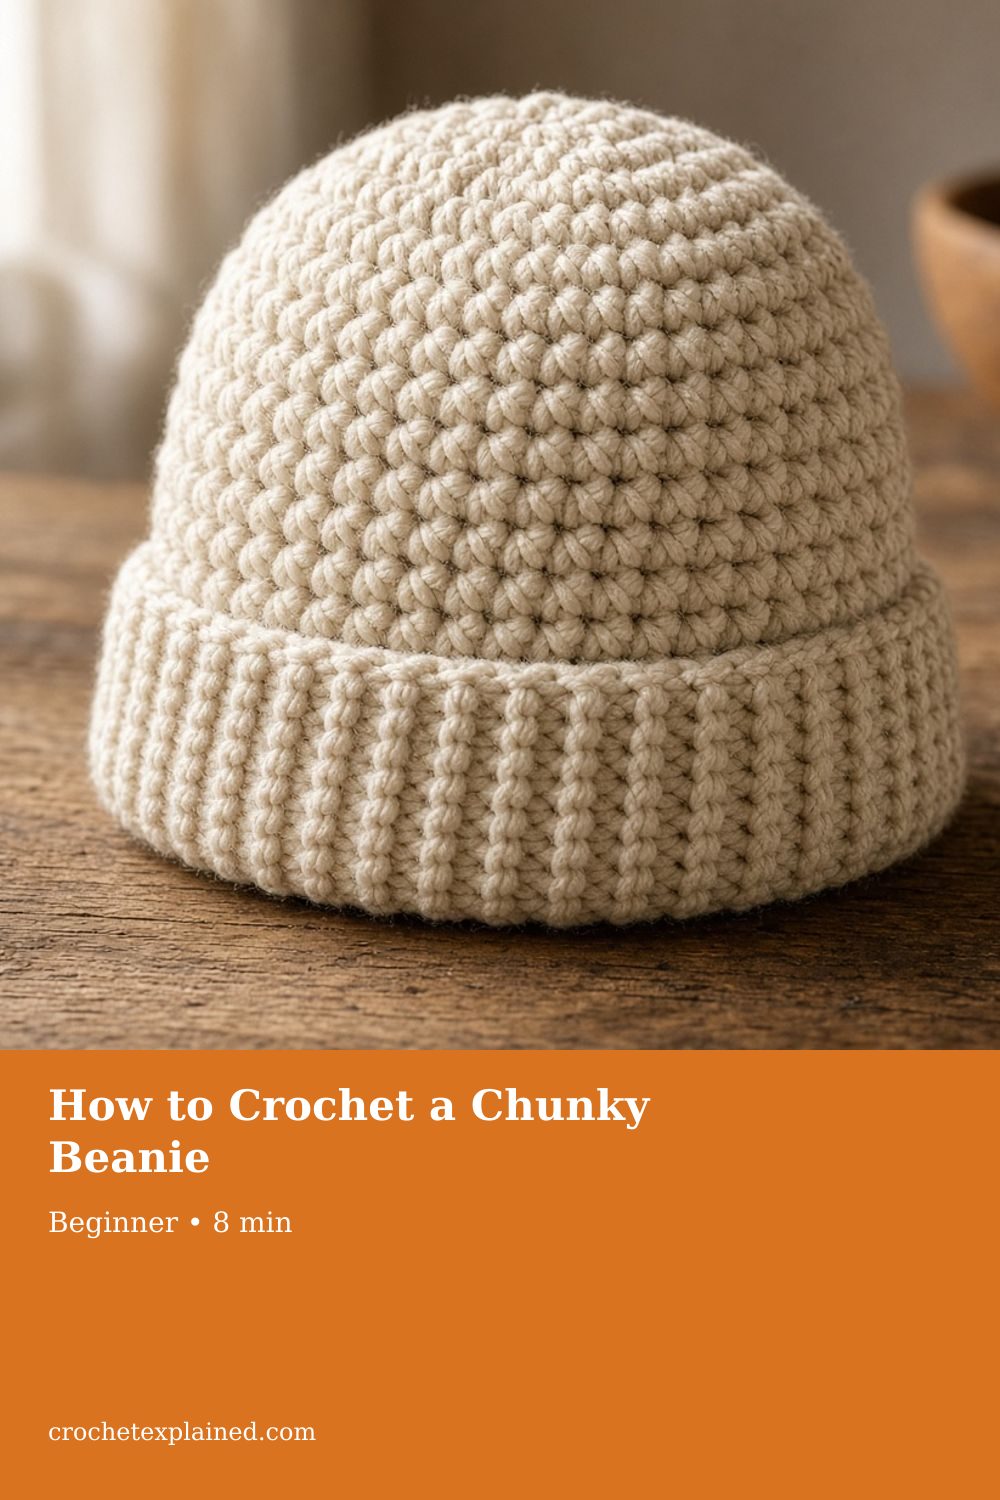
How to Crochet a Chunky Beanie
Measure the head, work the ribbed brim sideways, then pick up the body evenly so it does not flare above the brim.
A bulky-yarn beanie sized from your head, with a sideways ribbed brim. Shows how to pick up the body evenly so it does not flare. US terms.
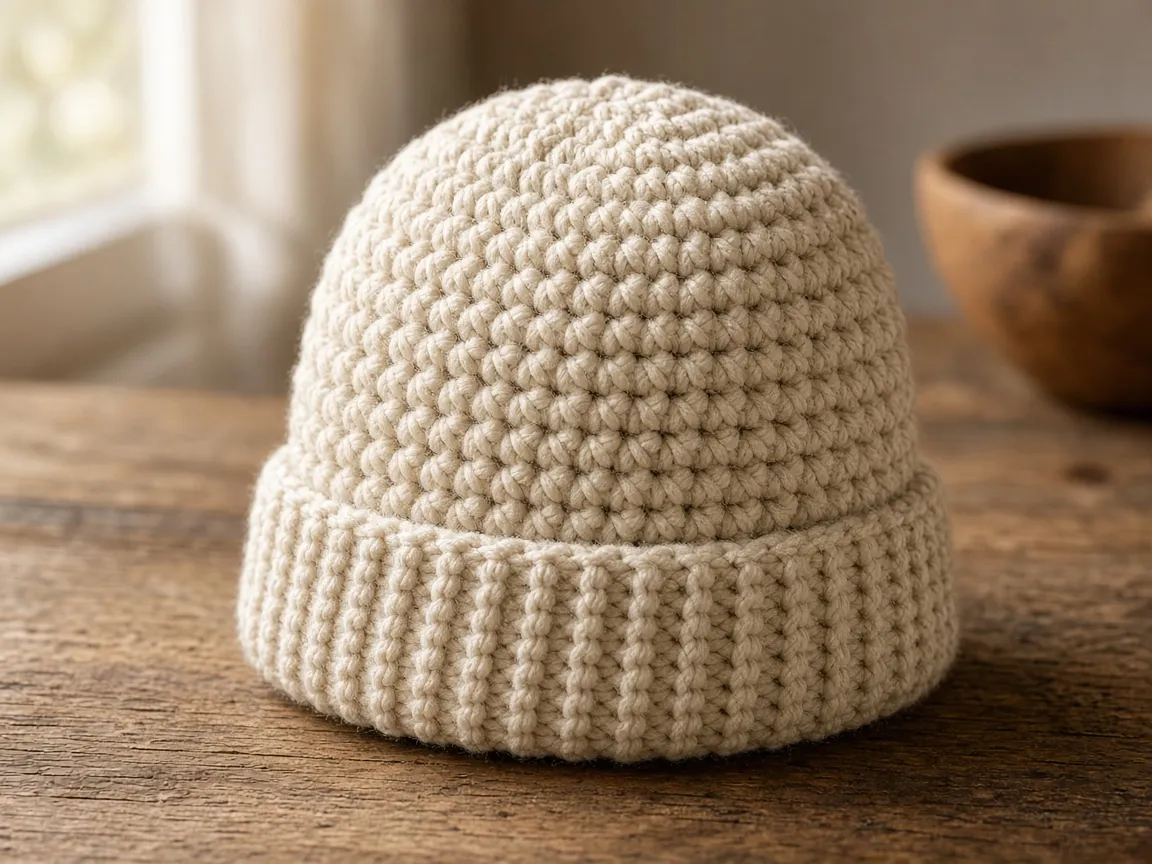
At a glance
- Skill level
- beginner
- Time
- A ribbed band, a picked-up body, a decreased crown
- Finished size
- Sized from the head; example 22 in head, 20 in hat
- Yarn weight
- Bulky (5)
- Hook size
- The hook on your yarn label, often US L to N
- Yardage
- Not weighed. Weigh the brim and multiply by about 4.
On this page
Track your progress
Ticks are saved on this device only. Counting rows? Keep the stitch counter open in another tab.
US crochet terms throughout. Sizes here are worked out from gauge rather than from a finished sample, so swatch and measure as you go, and the pictures of finished pieces are illustrations. Made one? Send a photo through the contact page.
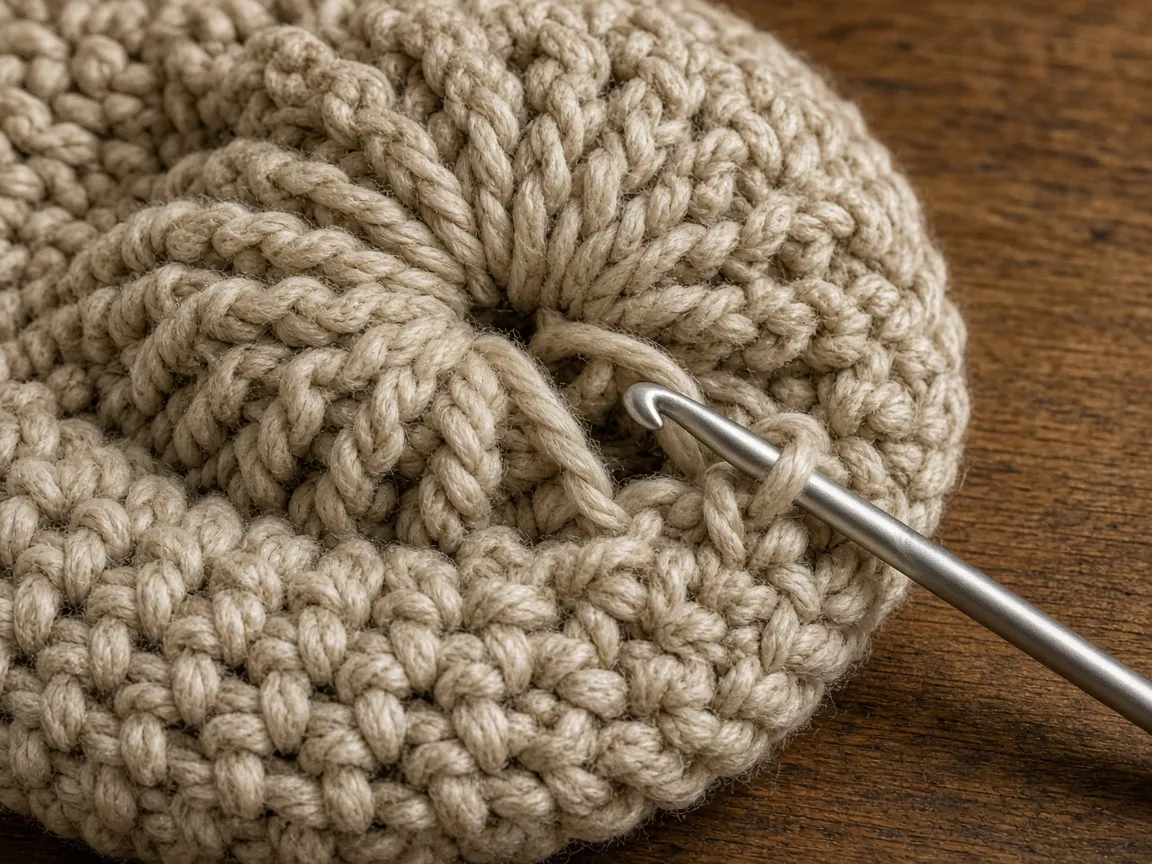
A winter hat fails in one of two ways. It slides off because the brim is too loose, or it leaves a red line because the brim is too tight. Chunky yarn hides uneven stitches and works up fast. It does not hide a brim that was never measured, or a body that flares out above the brim like a chef’s hat.
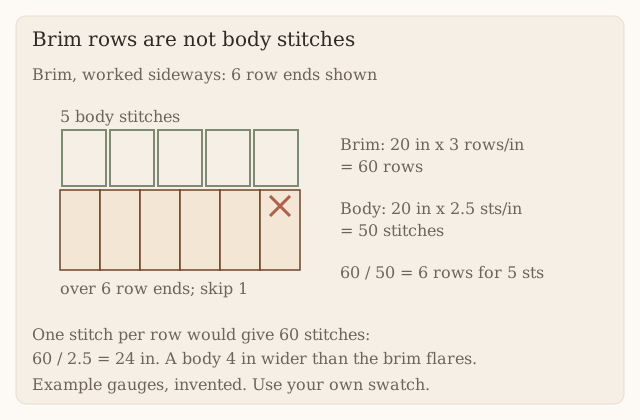
That flare is the mistake this page is built around. The brim is worked sideways in rows, then the body is picked up along its edge. The brim’s length is counted in rows, and the body is counted in stitches, and the two are almost never the same number per inch. Pick up one stitch per row and the body comes out the wrong size. Below is how to work out the right count.
US terms. US single crochet is UK double crochet. Abbreviations. The pictures are illustrations. No hat for this page was crocheted or worn. The example gauges are invented to show the arithmetic.
Measure the head
Measure around the head just above the ears and across the forehead, where the hat will sit. A hat stretches, so it is made smaller than the head. About 2 inches smaller is a common starting point. With very stretchy yarn that may be too little. With firm yarn, 1 inch is enough.
Then measure the depth. Run the tape from the bottom of one ear, over the top of the head, to the bottom of the other ear, and halve it. That is roughly how far the hat needs to reach from the brim edge to the crown, with the brim folded the way it will be worn. Treat it as a guide, not a rule, because a slouchy hat is deeper on purpose.
Children’s heads are not small adult heads. Measure the child.
The example: a 22 inch head, so a 20 inch hat.
Yarn and hook
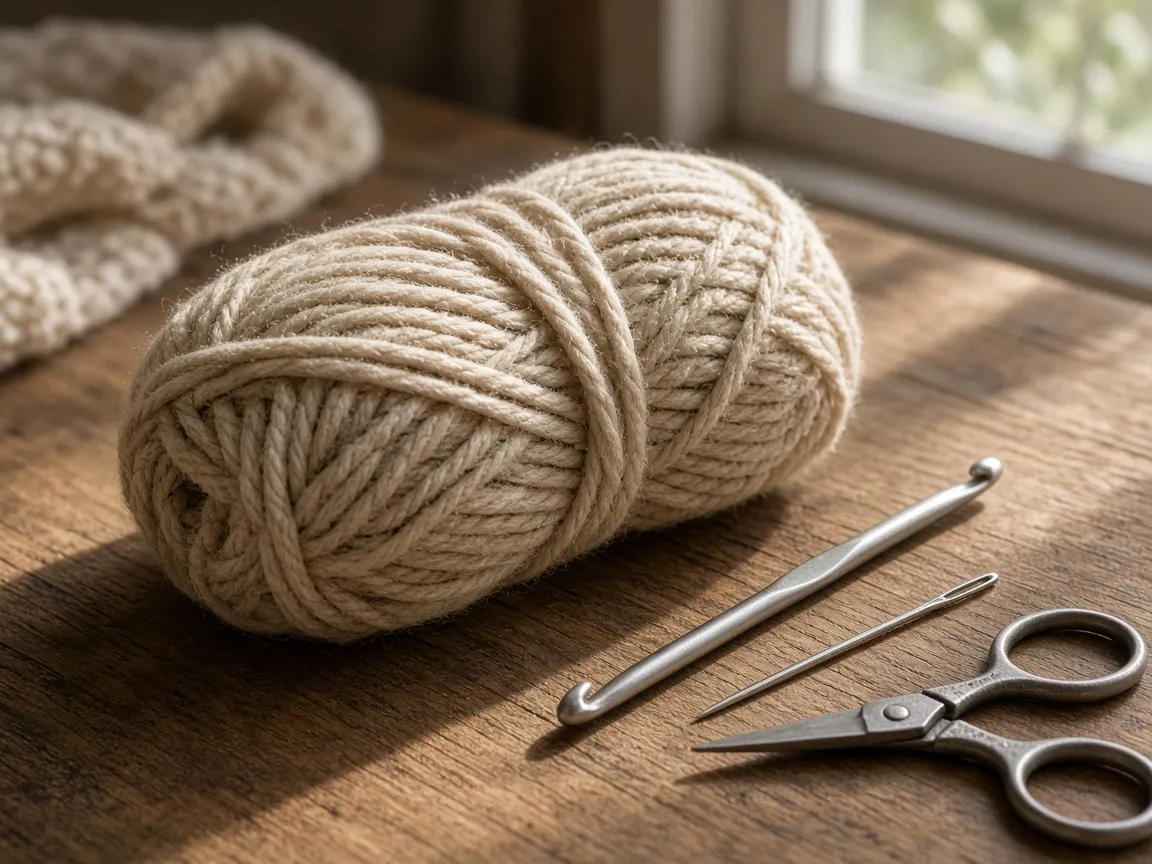
- Bulky yarn, weight 5 on the yarn weight chart.
- The hook printed on the label, often in the US L to N range (8.0 to 10.0 mm). Hook chart.
- Yarn needle, scissors, tape measure.
Two swatches, two gauges
You need two numbers, so make two small swatches or one swatch with two parts.
- Body gauge: 12 sc for several rows. Measure stitches per inch. The example uses 2.5.
- Brim gauge: 8 sc wide, about 15 rows in back-loop single crochet. Measure rows per inch, relaxed. The example uses 3.
Back-loop rows squash together into ridges, so the rib’s row gauge can be very different from the body’s stitch gauge. That difference is the whole reason for the next section. Gauge.
The worked example
| Step | Arithmetic | Result |
|---|---|---|
| Hat | 22 in head − 2 in | 20 in |
| Brim rows | 20 × 3 | 60 rows |
| Body stitches | 20 × 2.5 | 50 sts |
| Pick-up ratio | 60 rows for 50 sts | 5 sts over every 6 rows |
| Crown | 50 − 5 per round | 9 rounds to 5 |
The crown decreases in groups of five, so a body count divisible by 5 makes it neat. If yours is not, round to the nearest multiple of 5.
Stage 1: the brim
Ch 1 does not count as a stitch.
Chain 9.
Row 1: Sc in the 2nd chain from the hook and across. Ch 1, turn. (8)
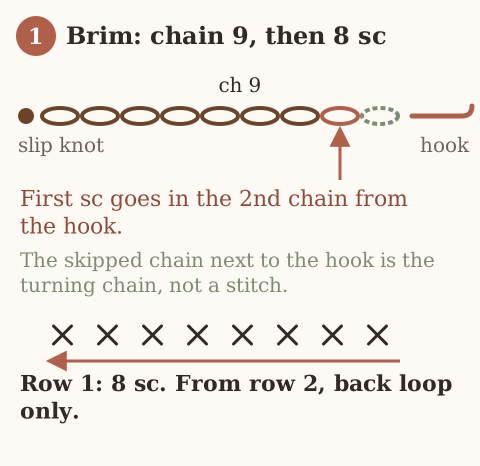
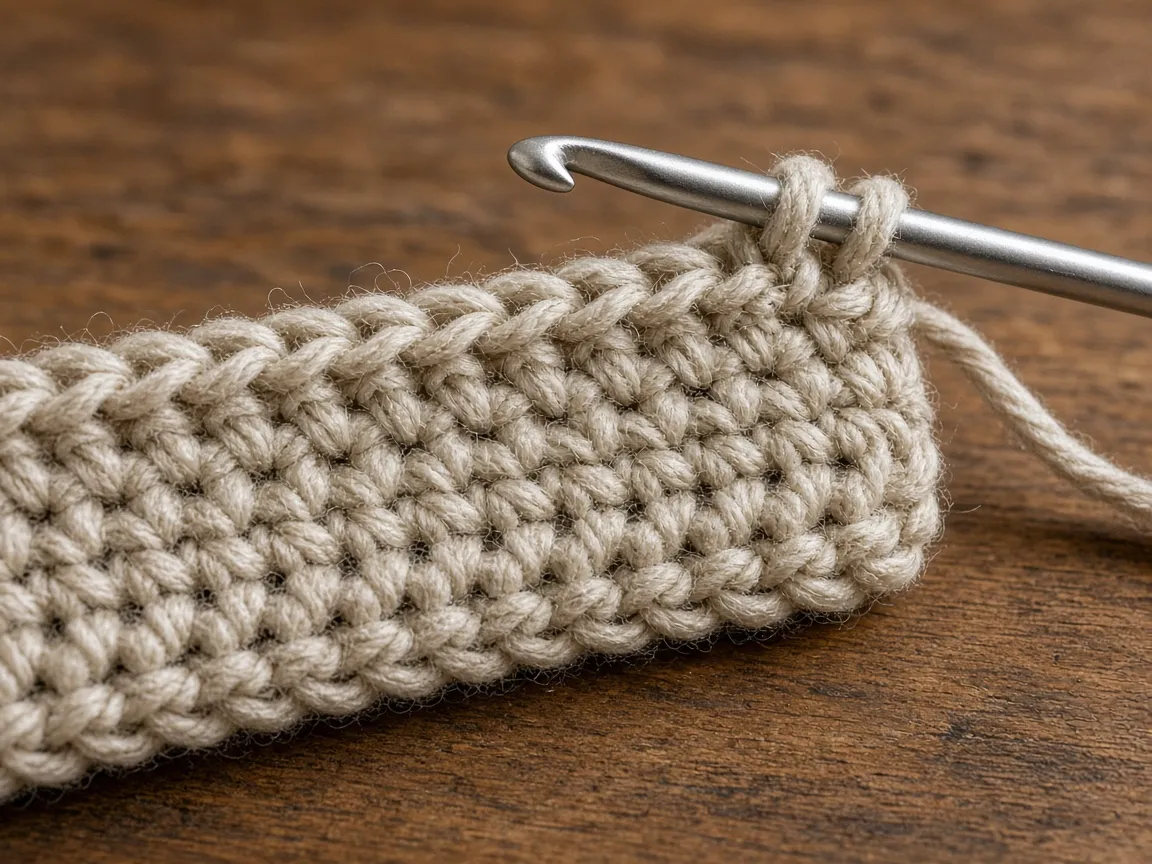
Row 2: Sc in the back loop only of each stitch. Ch 1, turn. (8)
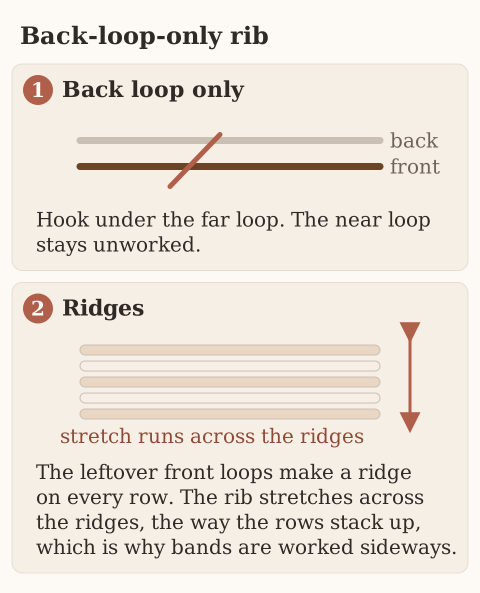
Repeat row 2 until the band, relaxed, measures the hat size. In the example, about 60 rows. Then wrap it around the head. It should feel snug and stay put without pressing. Add or remove rows until it does, and use that row count.
Eight stitches at 2.5 per inch make a band about 3.2 inches tall, about 1.6 inches folded.
Bring the first row up to the last without twisting the band. Seam the short ends. That seam marks the back.
Stage 2: pick up the body
Join yarn at the seam on the row-end edge that will sit above the brim. The opposite row-end edge remains the lower brim; if the brim is folded, the fold runs halfway across its eight-stitch depth, not along the pickup edge.
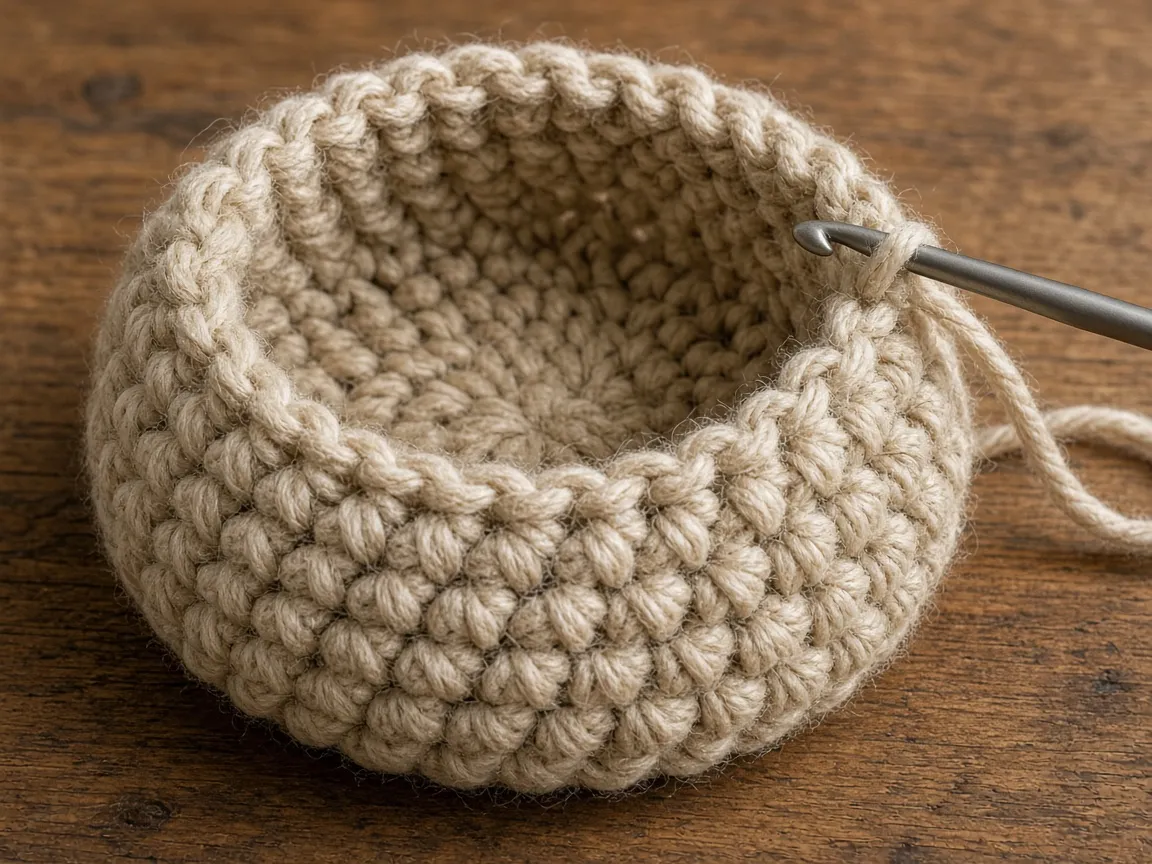
Round 1: Work the body count evenly into the row ends. In the example: (sc in each of the next 5 row ends, skip 1 row end) 10 times. Join. (50)
If your numbers do not divide as neatly, work out how many row ends you have for each stitch you need and skip as evenly as you can. Count at the end. The count matters more than perfect spacing.
Even rounds: Sc in each stitch. (50) Join each round, or spiral with a marker.
Try it on with the brim folded. Measure your round gauge too. The nine crown rounds add about 9 divided by your rounds-per-inch to the fabric length. Estimate that allowance, then start decreasing before the overall brim-to-top target is reached. Crown fabric curves inward, so baste the last opening and try the hat on before fastening off; if it is too deep, undo some even rounds. Do not use a fixed one-inch allowance for every gauge.
Stage 3: the crown
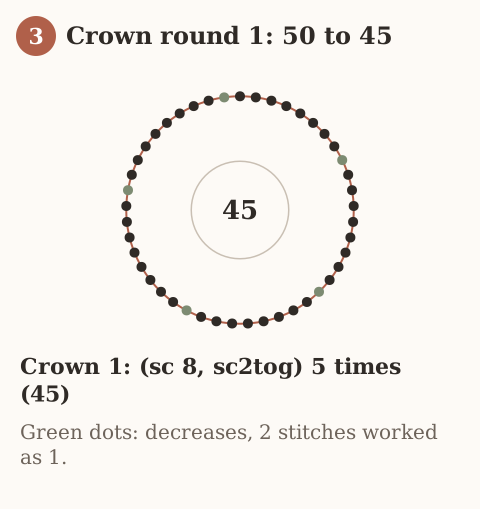
Each round removes 5 stitches, which keeps the crown nearly flat in single crochet.
Round 1: (Sc 8, sc2tog) 5 times. (45)
Round 2: (Sc 7, sc2tog) 5 times. (40)
Round 3: (Sc 6, sc2tog) 5 times. (35)
Round 4: (Sc 5, sc2tog) 5 times. (30)
Round 5: (Sc 4, sc2tog) 5 times. (25)
Round 6: (Sc 3, sc2tog) 5 times. (20)
Round 7: (Sc 2, sc2tog) 5 times. (15)
Round 8: (Sc, sc2tog) 5 times. (10)
Round 9: Sc2tog 5 times. (5)
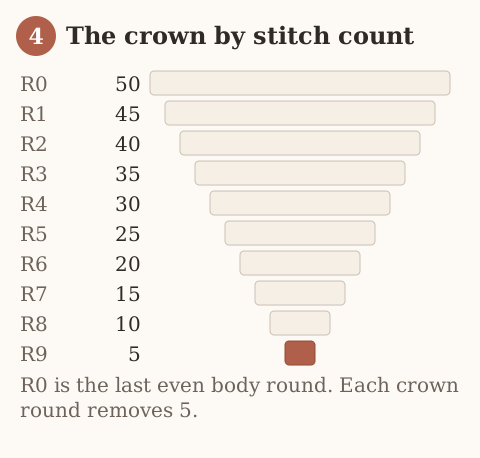
For another count that is a multiple of 5, start with the round whose repeat matches: 55 stitches starts with (sc 9, sc2tog), 60 with (sc 10, sc2tog). Thread the tail through the last 5 stitches, pull closed, and weave it down inside. A knot on the crown shows through bulky yarn.
Choose one round convention and keep it
For joined body and crown rounds, ch 1 does not count, start in the same stitch as the join, and join to the first sc after each round. For a spiral, omit both joins and ch 1 and move a marker into the first new stitch. Choose before picking up the body; do not switch midway without noting it. The example pickup is fifty stitches across sixty row ends, five stitches per six-row group. Mark ten groups to distribute it. Body stitch gauge, brim row gauge, and body round gauge are separate measurements; all three affect fit.
Troubleshooting
The body flares out above the brim. One stitch per row end. Pick up by the body gauge.
The body pulls the brim in. Too few stitches picked up. Recount.
The rib spirals. The band was twisted before seaming. Open the seam and resew.
The top stays a tube. The crown decreases were skipped.
Loose on the head. The brim was measured stretched. Measure it relaxed.
Covers the eyes. Too many even rounds, or the brim is not folded. Stop sooner.
Care
Bulky hats hold water. Squeeze, do not wring. Dry flat with the brim unfolded. Check the label before machine washing or drying.
Frequently asked
Will one count fit every adult?
No. Measure, swatch, then calculate.
Can I add a pom-pom?
Yes, after the crown is closed. Sew it on firmly. Glue lets go.
Can I skip the fold?
Yes. Stop the even rounds sooner so the hat does not cover the eyes.
Can I use worsted with these counts?
No. Worsted has more stitches per inch. Swatch and redo the arithmetic.
Next
A band with no crown is the ear warmer. Picking up stitches along an edge also comes up in the fingerless gloves.
- beanie
- winter
- bulky yarn
- beginner
Read this next
- How to Crochet a Christmas Tree Garlic Holder A small mesh garlic holder with scalloped branches, a gold star, and an open top. US terms. Sizes are design targets.
- How to Crochet a Christmas Tree Plastic Bag Holder Crochet a hollow Christmas tree that holds grocery bags. Bags go in the open top and out the brown trunk. US terms. Sizes come from gauge.
- How to Crochet a Compact No-Slip Kitchen Towel Holder A compact cotton crochet towel holder with two wooden rings, one above the other. Assembly counts are still being checked. US terms.