

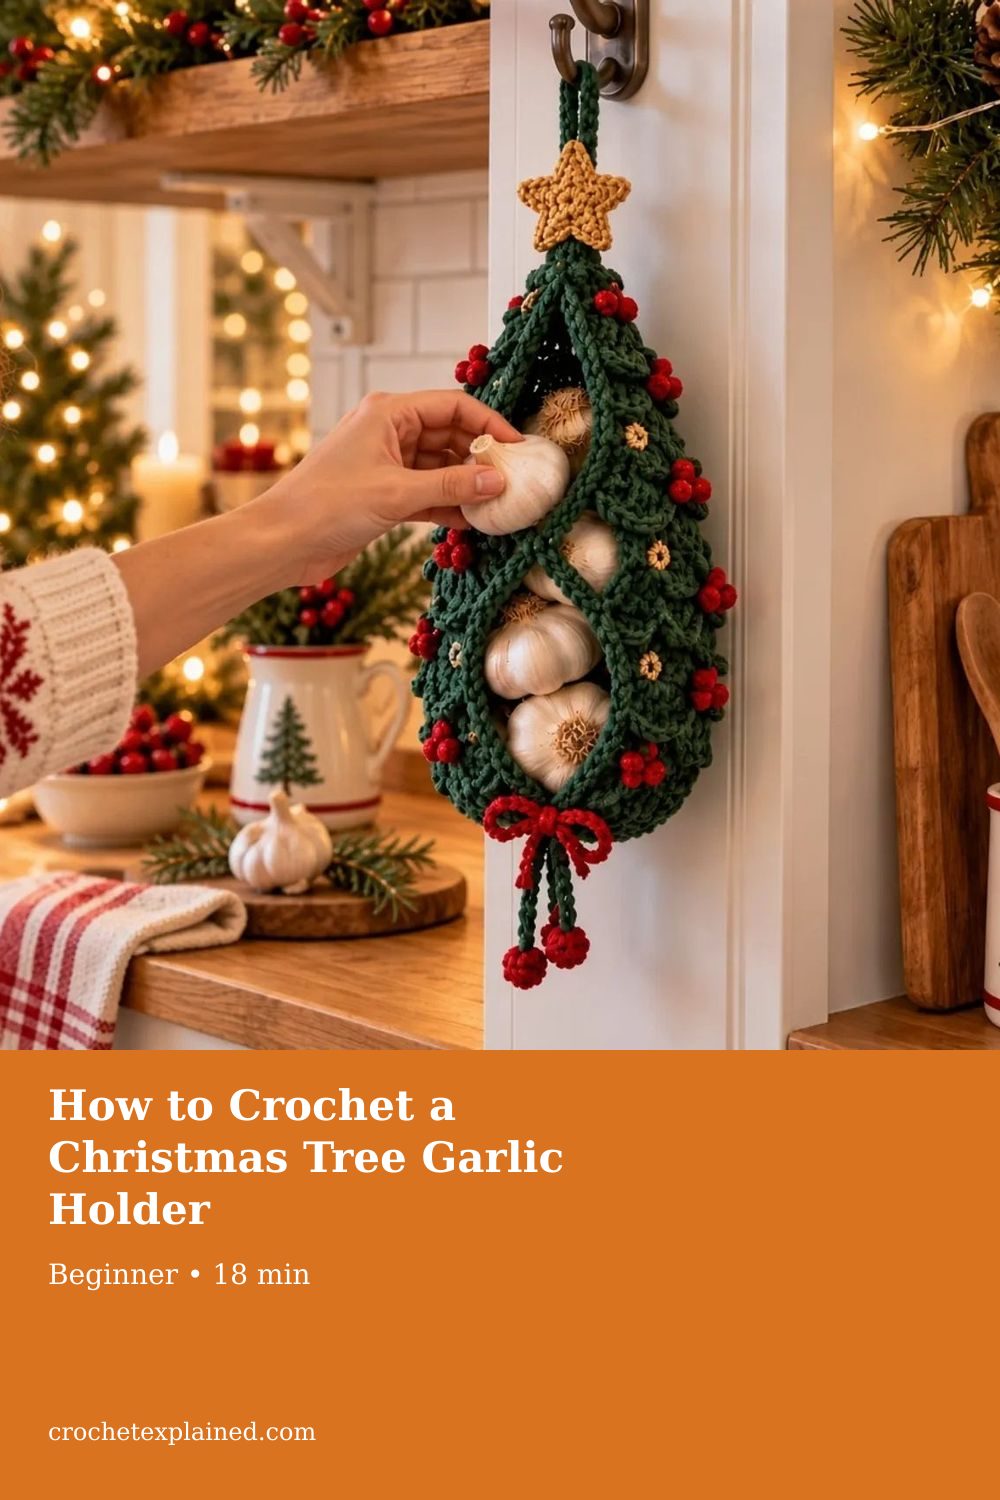
How to Crochet a Christmas Tree Garlic Holder
Crochet a mesh tube from a chain of 36: 12 single-crochet posts and 12 chain-2 spaces each round. Convert the top to 36 sc and leave it open. Close the bottom with a drawcord. Sew on three flat scallop strips of 4, 5, and 6 shells. Load whole dry garlic through the top.
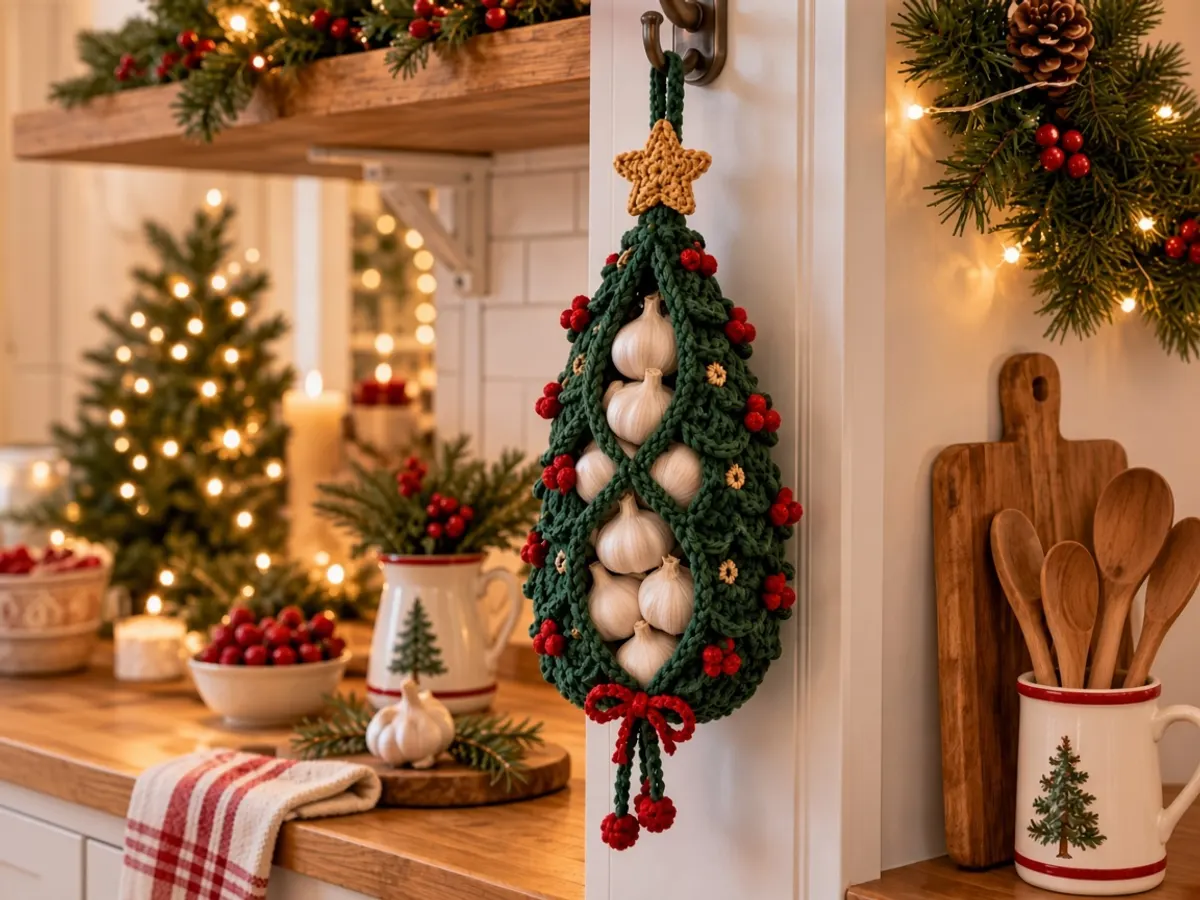
A small mesh garlic holder with scalloped branches, a gold star, and an open top. US terms. Sizes are design targets.
At a glance
- Skill level
- beginner
- Time
- A few hours of crochet, then sewing. The page time is the reading estimate.
- Finished size
- Design targets only, until a sample is measured
- Yarn weight
- Worsted cotton. Amounts are shopping allowances.
- Hook size
- 4.0 mm to start, then the hook that hits the swatch
- Yardage
- Estimated in the pattern
On this page
- At a glance
- Why the mesh stays open
- Supplies
- Stitches, in US terms
- What you are making
- Step 1 — Crochet the bottom foundation ring
- Step 2 — Build the mesh pouch
- Step 3 — Make the top rim
- Step 4 — Make the bottom drawcord
- Step 5 — Crochet the hanging loop
- Step 6 — Crochet three scalloped strips
- Step 7 — Place the branches
- Step 8 — Sew the strips on
- Step 9 — Crochet the star
- Step 10 — Crochet the berries
- Step 11 — Finish and measure
- Step 12 — Load the garlic
- Other versions, same mesh
- Frequently asked
- Mistakes
Track your progress
- Go to Step 1 — Crochet the bottom foundation ring
- Go to Step 2 — Build the mesh pouch
- Go to Step 3 — Make the top rim
- Go to Step 4 — Make the bottom drawcord
- Go to Step 5 — Crochet the hanging loop
- Go to Step 6 — Crochet three scalloped strips
- Go to Step 7 — Place the branches
- Go to Step 8 — Sew the strips on
- Go to Step 9 — Crochet the star
- Go to Step 10 — Crochet the berries
- Go to Step 11 — Finish and measure
- Go to Step 12 — Load the garlic
Ticks are saved on this device only. Counting rows? Keep the stitch counter open in another tab.
US crochet terms throughout. Sizes here are worked out from gauge rather than from a finished sample, so swatch and measure as you go, and the pictures of finished pieces are illustrations. Made one? Send a photo through the contact page.
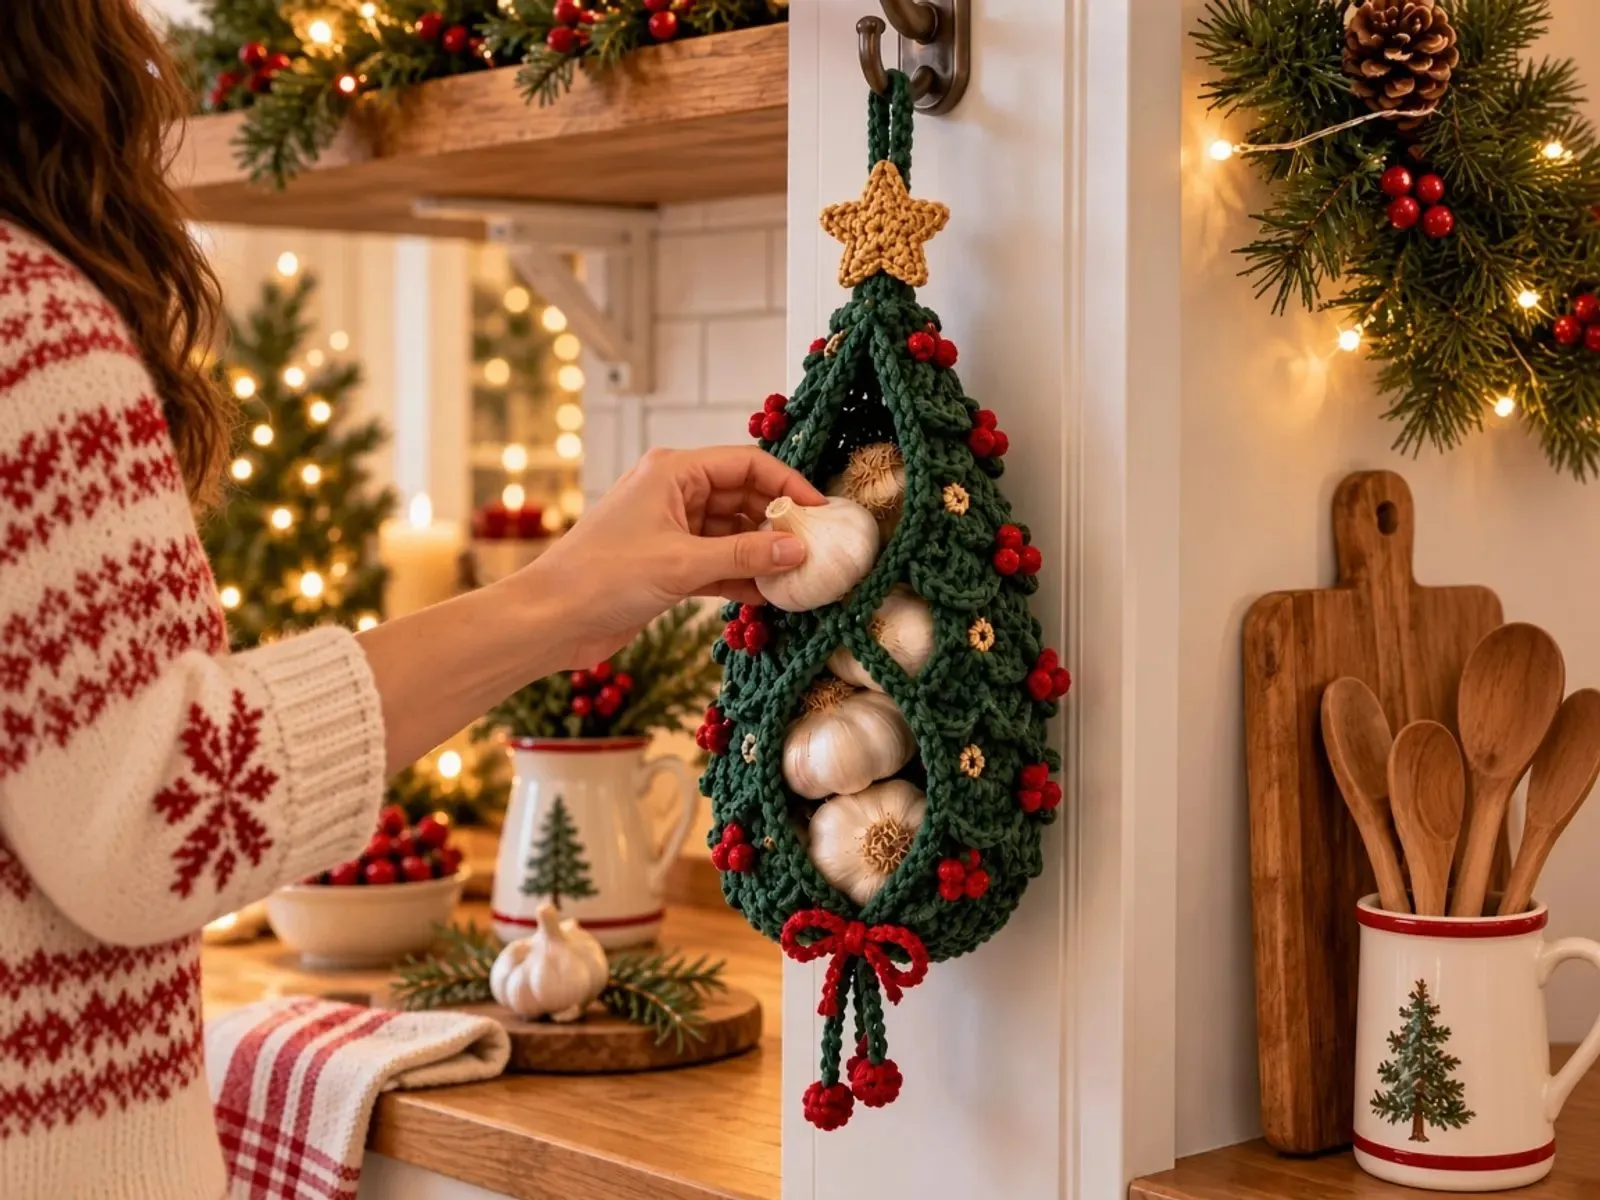
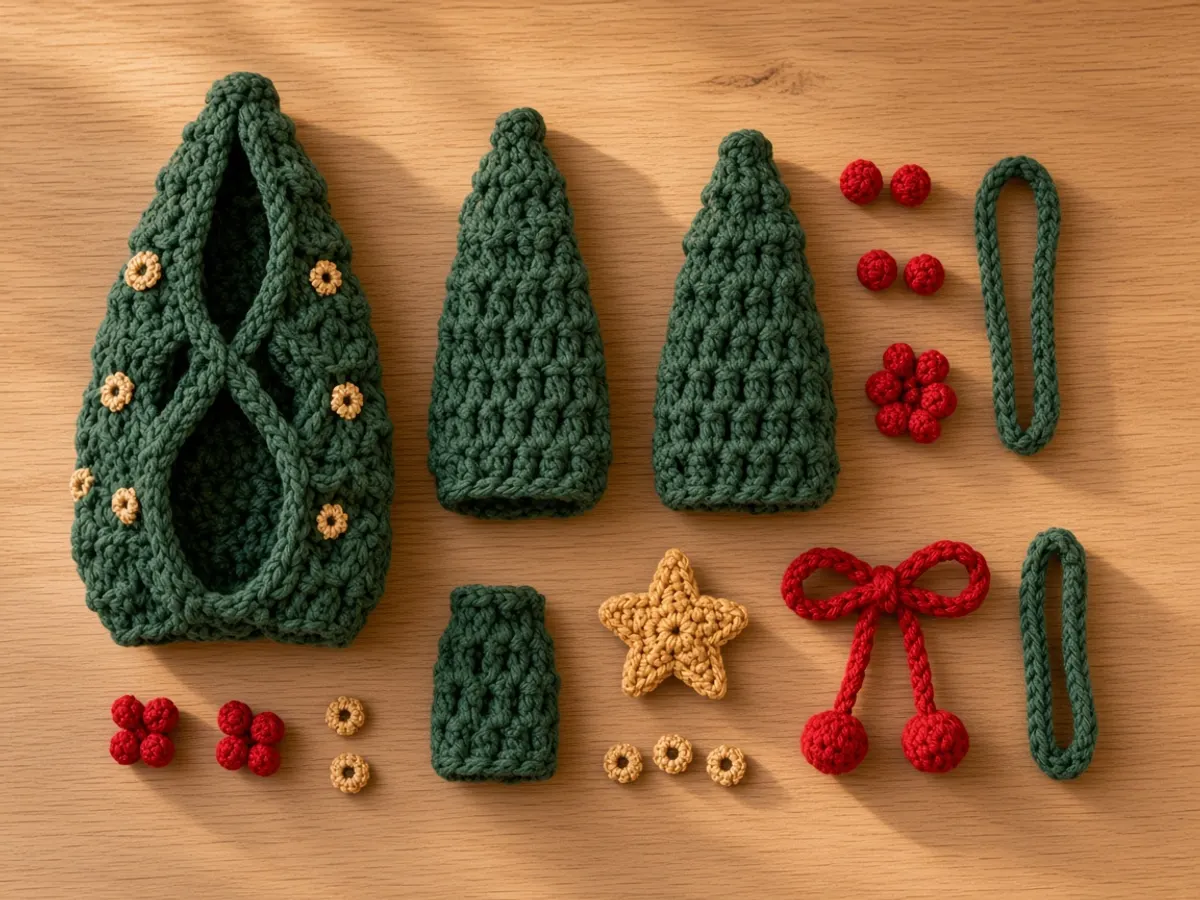
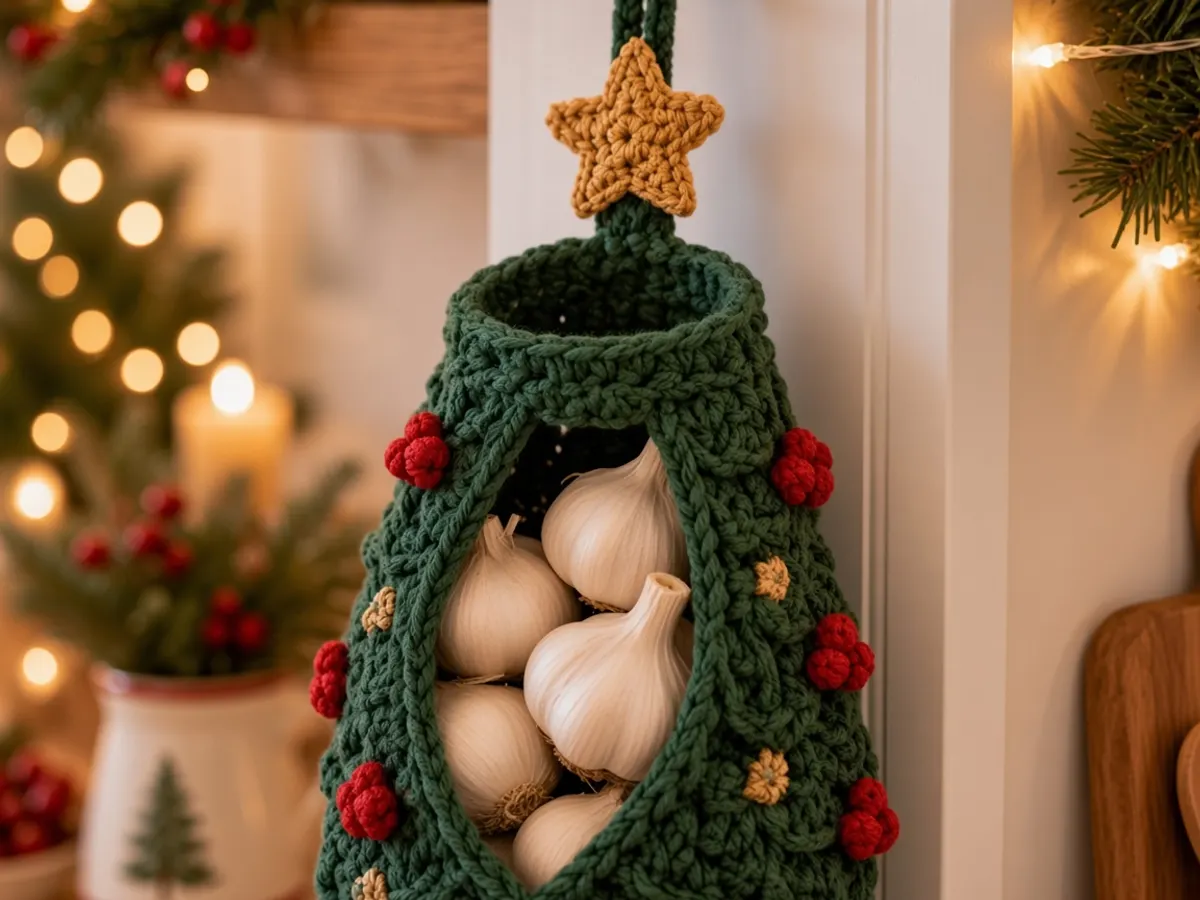
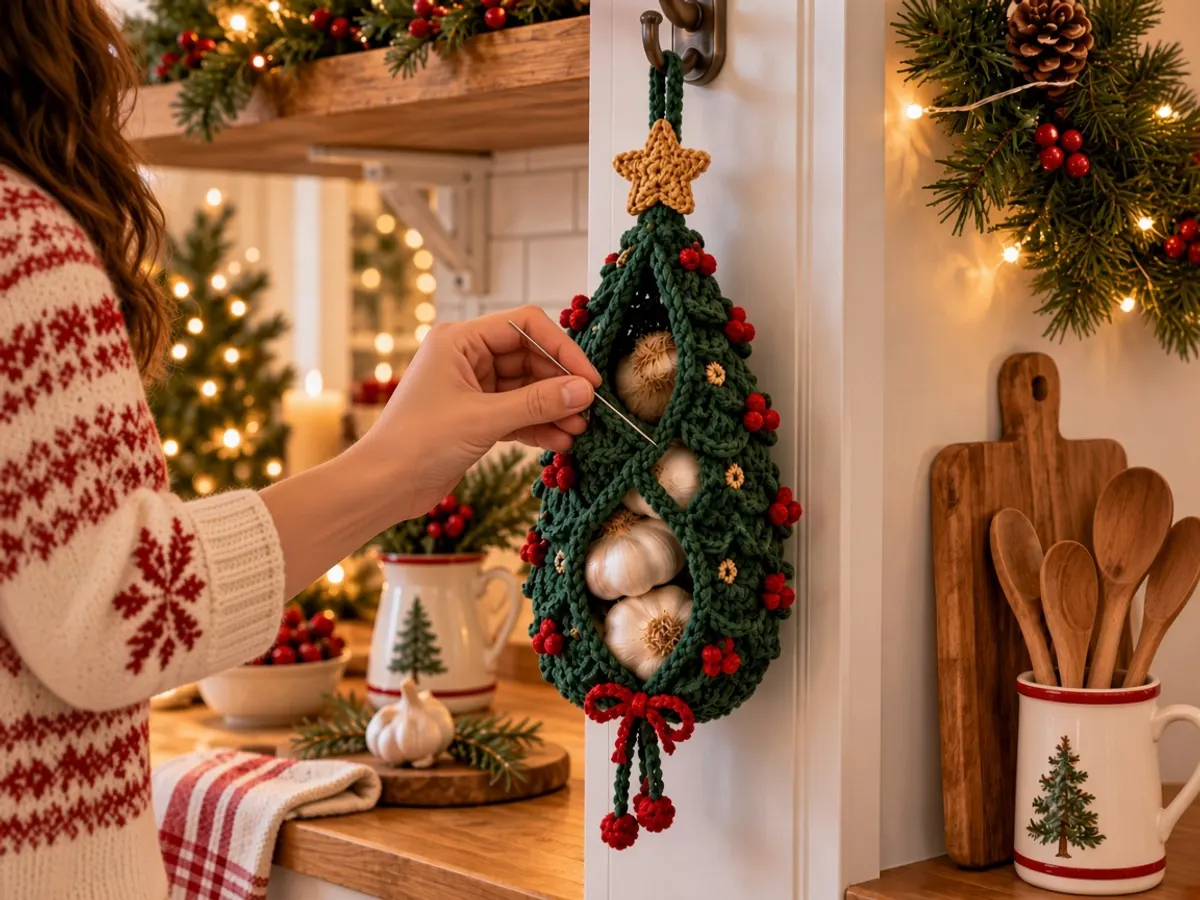
A few whole garlic bulbs need air and a place that is not the back of the counter. This holder is a small forest-green mesh tube, with three short scalloped strips, a few red berries, and a gold star. It is a pouch you load from the top. It is not a stuffed ornament, and it is not a bag you pull bulbs out of at the bottom.
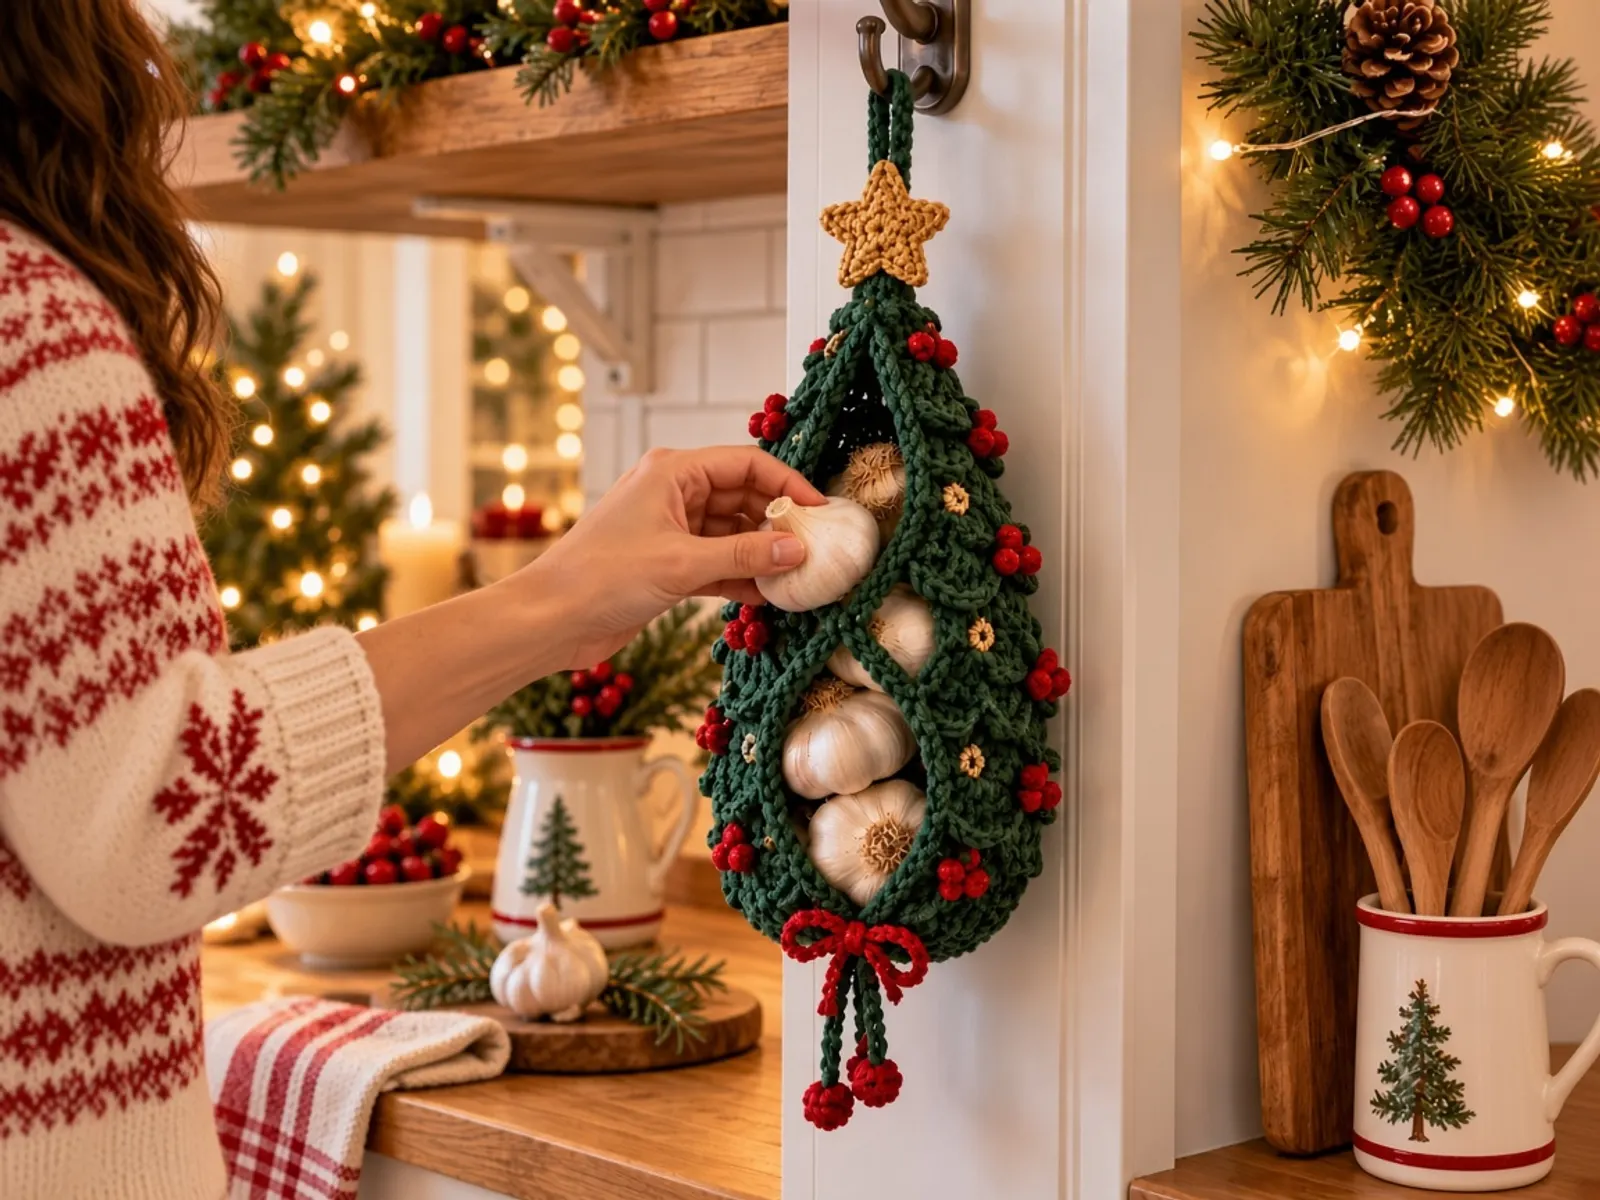
The pictures are illustrations of the intended holder. They are not photographs of a piece crocheted from these rounds. The stitch counts below are the written pattern. The centimeter figures are design targets from the gauge note, not tape measurements of a finished holder.
US terms. Single crochet, half double crochet, and double crochet are the US stitches. Names are in the abbreviations chart.
Store whole, dry garlic only. Do not put peeled cloves, cut cloves, or wet bulbs in the pouch. Mesh helps air move. It does not keep garlic fresh for a set number of months, and it does not fix a hot, damp, or sunny spot. Keep the holder off the stove, away from steam, and away from children and pets. A wooden bead on the loop, if you add one, is a choking hazard.
At a glance
| Detail | Written plan |
|---|---|
| Skill | Chain, single crochet, double crochet, joined rounds, and a simple sew |
| Yarn | Worsted cotton, category 4 |
| Hook | 4.0 mm to start |
| Foundation | Chain 36, joined |
| Mesh | 12 sc posts and 12 ch-2 spaces every round |
| Top | Round 16 makes 36 sc. Rounds 17 and 18 stay at 36 sc. The top stays open. |
| Bottom | A chain-65 cord, 64 slip stitches, woven through the foundation and tied |
| Branches | Three flat strips: 4, 5, and 6 scallops |
| Load | In through the open top. The bottom cord is a closure. |
Shopping allowances, not weighed amounts: about 65–85 m green, 5–8 m red, 5–8 m gold.
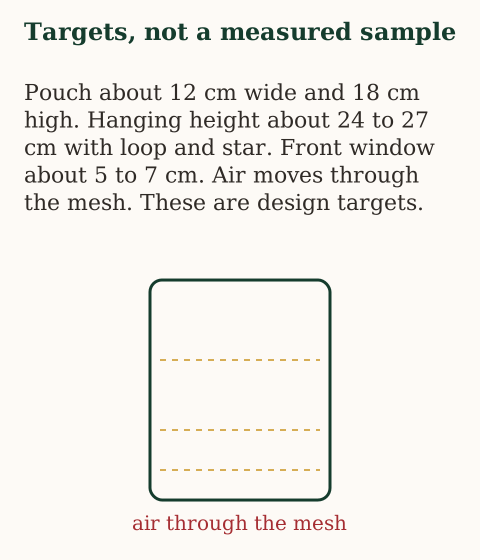
The pouch target, lying flat, is about 12 cm wide and 18 cm high. The hanging height, with loop and star, is about 24–27 cm. Those are targets for the yarn and the swatch below. They are not measurements of a made holder. Start with 3 or 4 medium dry bulbs and stop when the hanger and the hook are still comfortable. That count is a starting suggestion, not a measured capacity.
Why the mesh stays open
Whole garlic keeps best in a cool, dry, ventilated place, out of direct sun and away from moisture. A mesh holder can give the bulbs that air. It does not add shelf life on its own. Check the bulbs and remove any that soften or mold.
Oregon State University Extension writes about preserving garlic, and the University of Nebraska–Lincoln Extension writes about storing fresh garlic. Those pages are the storage guidance. This pattern is only the holder.
The same kitchen has a plastic bag holder and a towel holder. Those counts do not build this tube. The Christmas bag-holder tree is a different tube: bags go out through the trunk. Garlic does not.
Supplies
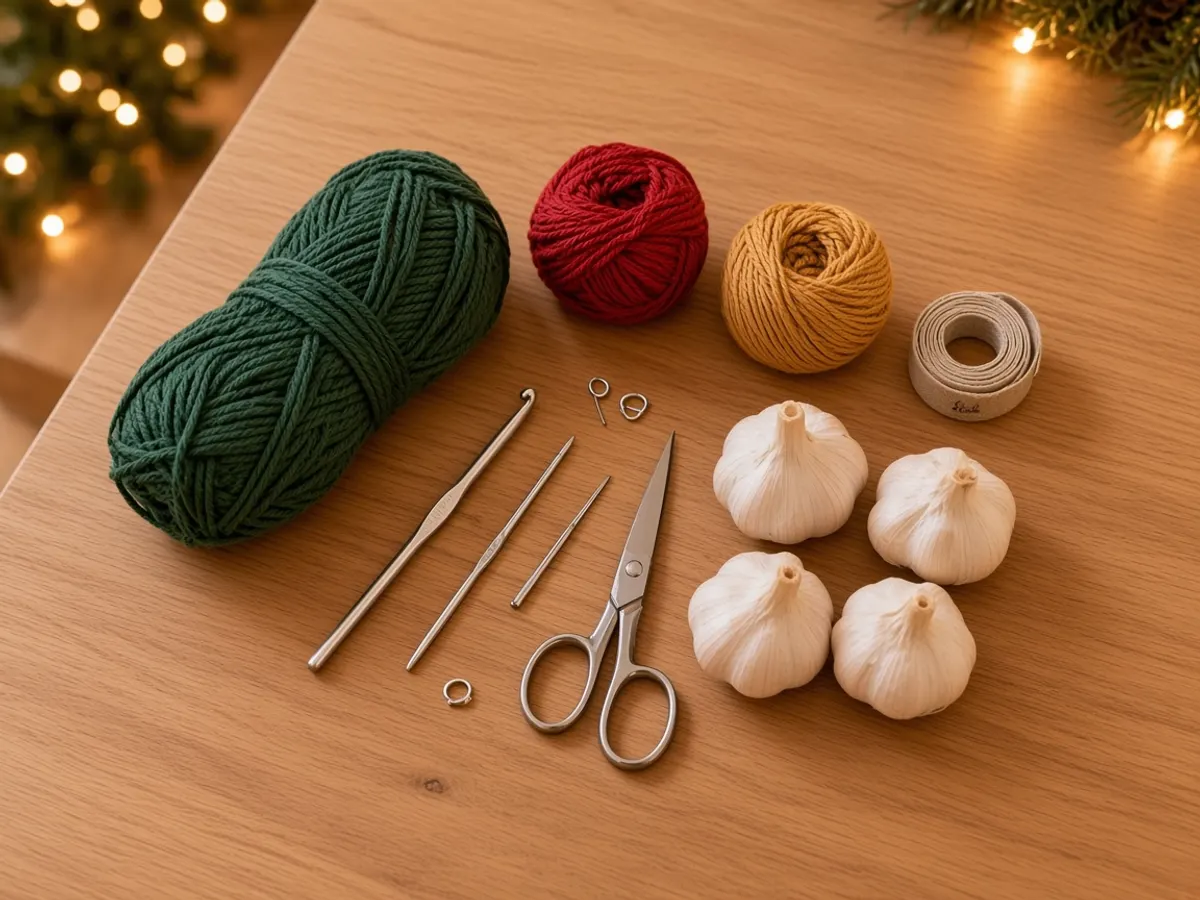
- Forest-green worsted cotton, about 65–85 m, for the pouch and the three strips
- Berry-red cotton, about 5–8 m, for the berries and a small bow
- Golden-yellow cotton, about 5–8 m, for the star
- 4.0 mm hook to start. Hook sizes.
- Yarn needle, scissors, four stitch markers, a tape
- A hook on a wall or inside a cabinet, rated for the wall
- Optional: a small wooden bead on the loop, kept away from children
Smooth, washable cotton sheds less than a fuzzy yarn. Wash the empty holder and dry it fully before the first bulbs go in. Yarn weights explain the category 4 label.
Stitches, in US terms
| Abbreviation | Meaning |
|---|---|
| ch | chain |
| sl st | slip stitch |
| sc | single crochet |
| hdc | half double crochet |
| dc | double crochet |
| sk | skip |
| BLO | back loop only |
A bracket such as [sc in next sc, ch 2] 12 times means do that sequence 12 times. A turning chain does not count as a stitch unless the round says it does. A marker in the first stitch of the round keeps the 12 repeats from drifting.
Gauge
With the green yarn and a 4.0 mm hook, make a plain single-crochet swatch. Aim for 16 sc and 18 rows in 10 cm, unstretched. The method is in Crochet Gauge. Mesh stretches more than that plain fabric, so the finished tube is the measurement that matters. If the swatch is loose, try a smaller hook. If it is stiff, try a slightly larger one. The mesh should hold a shape and still show holes.
What you are making
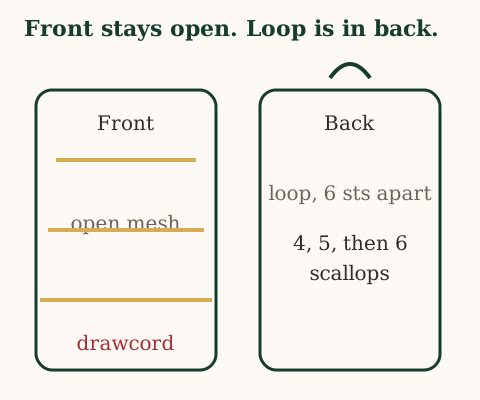
The mesh tube is worked from the bottom edge upward. The foundation chain stays open so a drawcord can gather it later. The top becomes a solid rim of 36 sc and stays open for loading. The hanger is sewn on the back of that rim. Three flat scallop strips are sewn along the back and the sides. Their ends stop short of the center front, so the bulbs stay visible and the holes stay clear.
Do not fill the front window with solid crochet, and do not glue decorations onto the mesh.
Step 1 — Crochet the bottom foundation ring
Chain 36. Lay the chain flat and check that it is not twisted. Join the last chain to the first with a slip stitch.
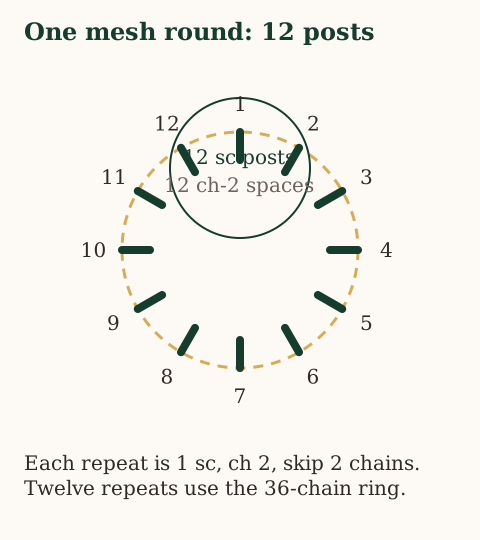
Round 1. sc in the next chain, ch 2, skip 2 chains, 12 times. You have 12 sc posts and 12 ch-2 spaces. Join with a slip stitch to the first sc.
Each repeat uses 3 chains. Twelve repeats use all 36. Do not close the bottom yet. That foundation edge is the channel for the drawcord.
Checkpoint: 12 openings, each between single-crochet posts.
Step 2 — Build the mesh pouch
Round 2. Chain 1. Single crochet in the same stitch as the join, chain 2. Then sc in the next sc post, ch 2, 11 more times. Join to the first sc. Work into the posts. Do not put a stitch into the chain-2 space. You still have 12 posts and 12 spaces.
Rounds 3–15. Repeat round 2. Keep 12 posts and 12 spaces. A marker in the first post stops a quiet extra repeat.
The mesh will look narrow on the table. A clean glass or a rolled towel can check the tube for a moment. Take it out. Do not leave a lining in the pouch.
After round 15, measure from the starting edge. You may need 2 to 4 more mesh rounds to approach an 18 cm body after the rim. Add or remove whole rounds. Do not change the 12-repeat count in the middle of a round.
Checkpoint: an even mesh cylinder, still open at both ends.
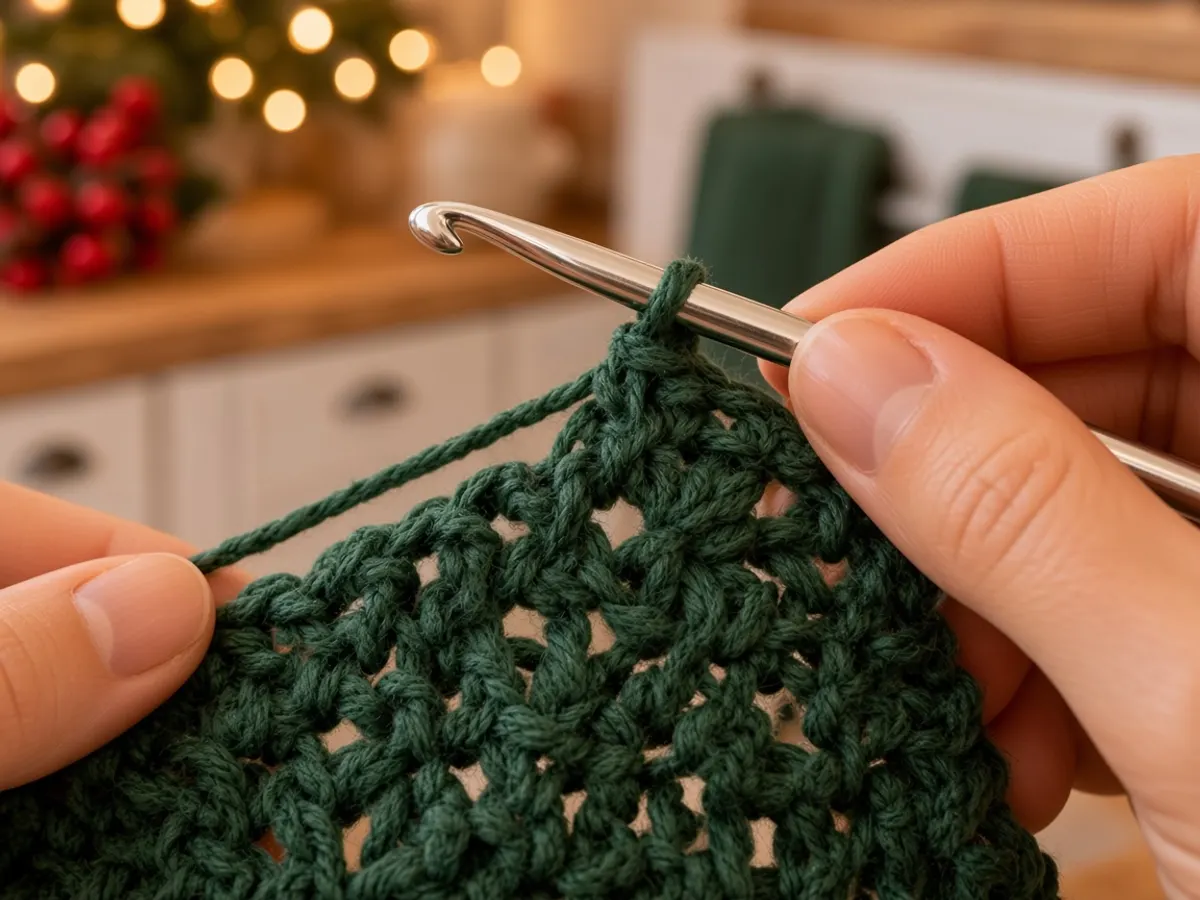
If the tube corkscrews, you may have worked into a chain space instead of the next post. If it narrows, count the openings. There should still be 12. Eleven means the last round lost a repeat. Undo that round. If the tube is only too short or too tall, change the number of mesh rounds, not the starting chain, so the rim math still matches.
Step 3 — Make the top rim
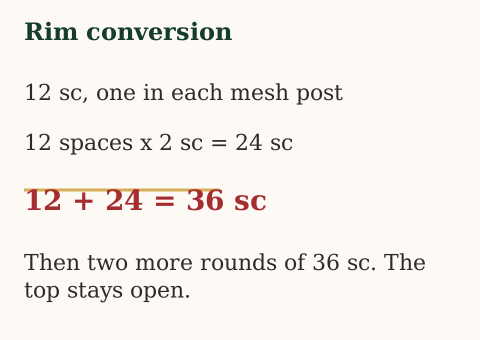
Round 16. Single crochet in each sc post, and 2 sc in each ch-2 space. That is 12 stitches in the posts and 24 stitches in the spaces: 36 sc. Join to the first sc.
Round 17. Chain 1, sc in each of the 36 sc, join. 36 sc.
Round 18. Chain 1, sc in each of the 36 sc, join. 36 sc. Fasten off and leave a tail to weave in.
The rim should feel firmer than the mesh. Leave it open. This is where the bulbs go in. A tight extra tie around the rim can make loading worse, so these three rounds are the rim.
Step 4 — Make the bottom drawcord
Chain 65. Slip stitch in the second chain from the hook and in each chain across. That is 64 slip stitches. Fasten off and leave short tails.
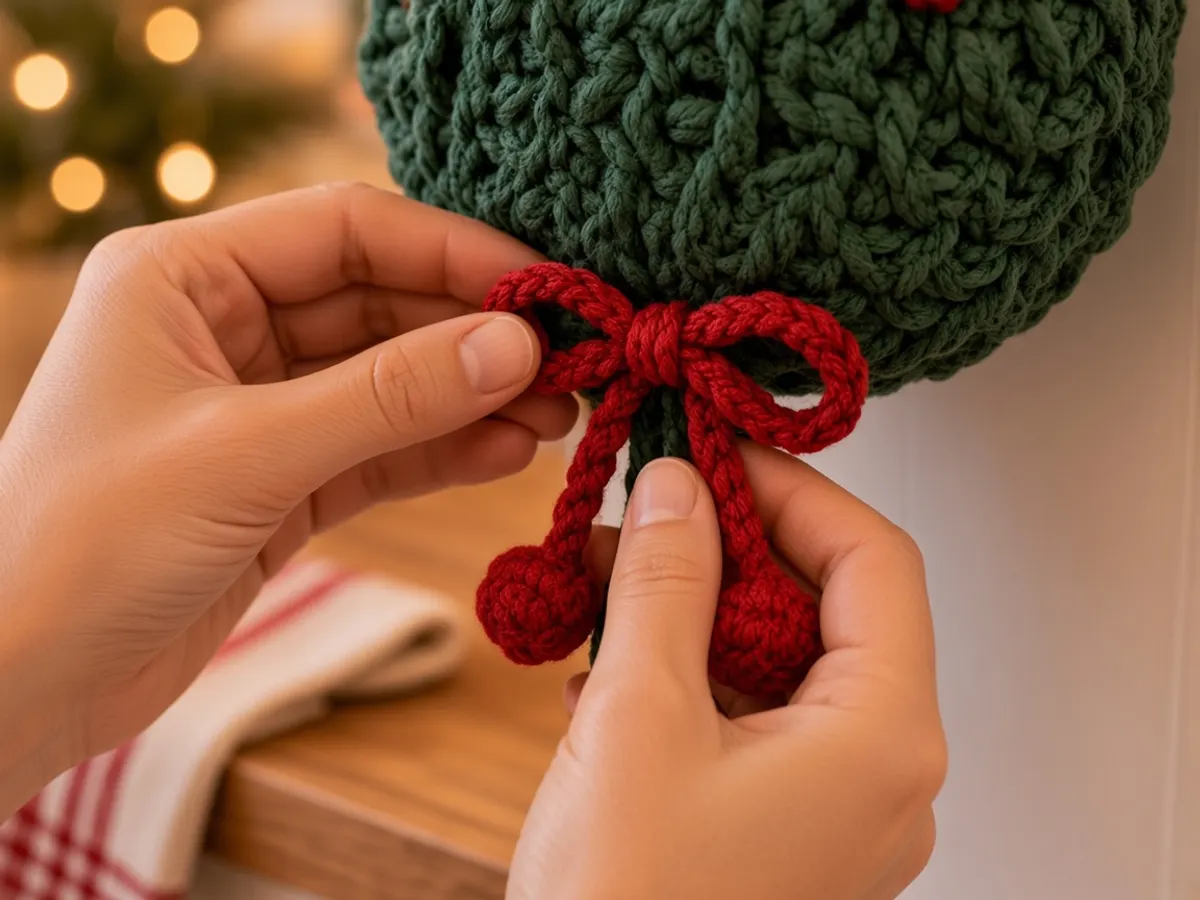
Weave the cord in and out through the foundation chain at the bottom, all the way around. Bring the ends together. Pull until a bulb cannot slip through, and tie a removable bow. A red cord is fine if you want a red bow. The written cord is green, with the red bow optional on the same closure.
This cord closes the bottom. It is not a dispenser. Do not pull garlic out through it. Take a bulb out through the top, or untie the cord while you support the bulbs.
Before you trust it, hold the empty pouch by the rim, tug the cord, then try two bulb-sized objects over a towel. If the base opens, weave the cord through more of the foundation chains and tie it again.
Step 5 — Crochet the hanging loop
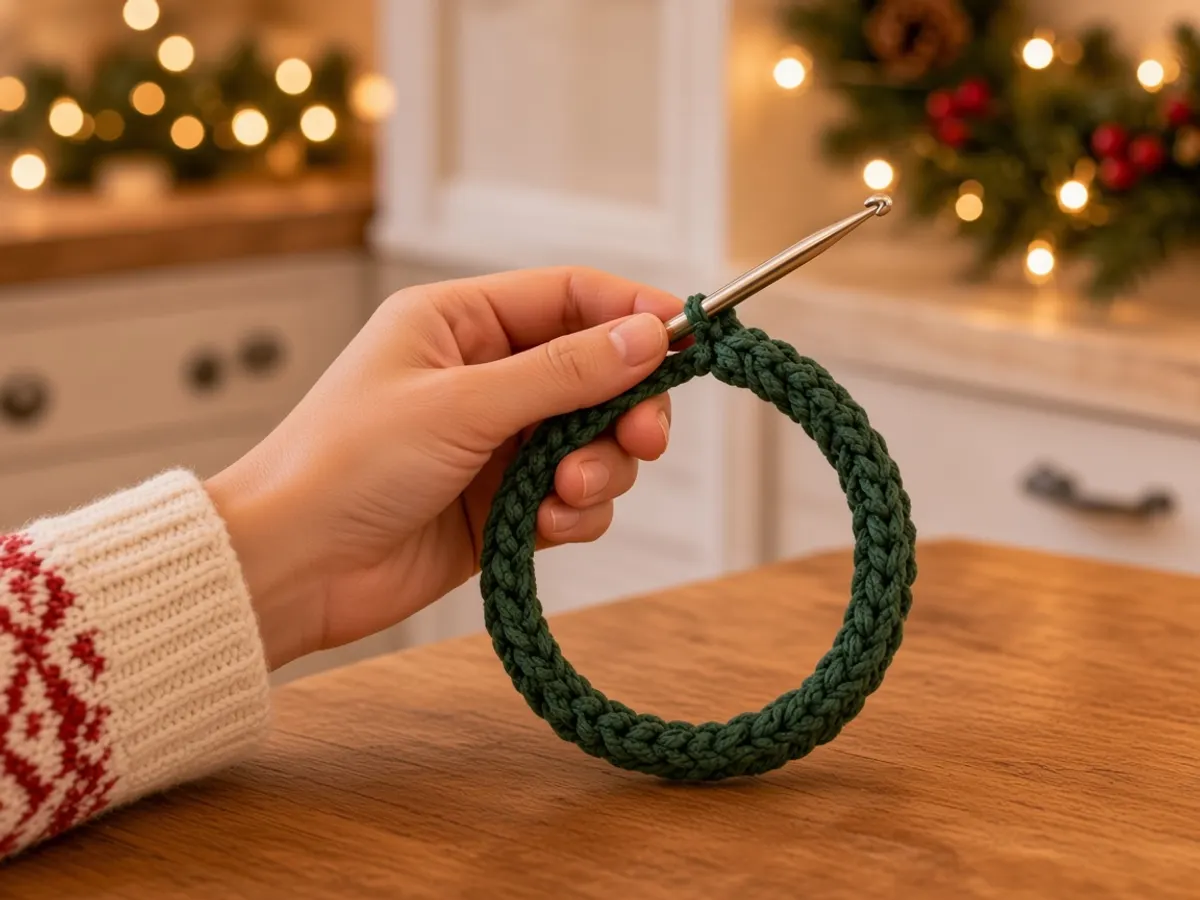
Chain 46. Starting in the second chain from the hook, slip stitch in each of the next 45 chains. At this gauge the cord is in the range of about 12–15 cm before you fold it. That length is a gauge estimate, not a measured cord.
Fold it in half. Sew the ends on the back half of the top rim, six stitches apart, so the center front stays clear for loading. Pass the needle through several rim stitches at least four times at each end. A single knot is not the join. Weave the tails into the rim.
Hang the empty holder on a real hook over a towel and press down gently. The tails should not pull out. Do not hang it over a stove, a heater, an outlet, or a place where a falling hook lands in food.
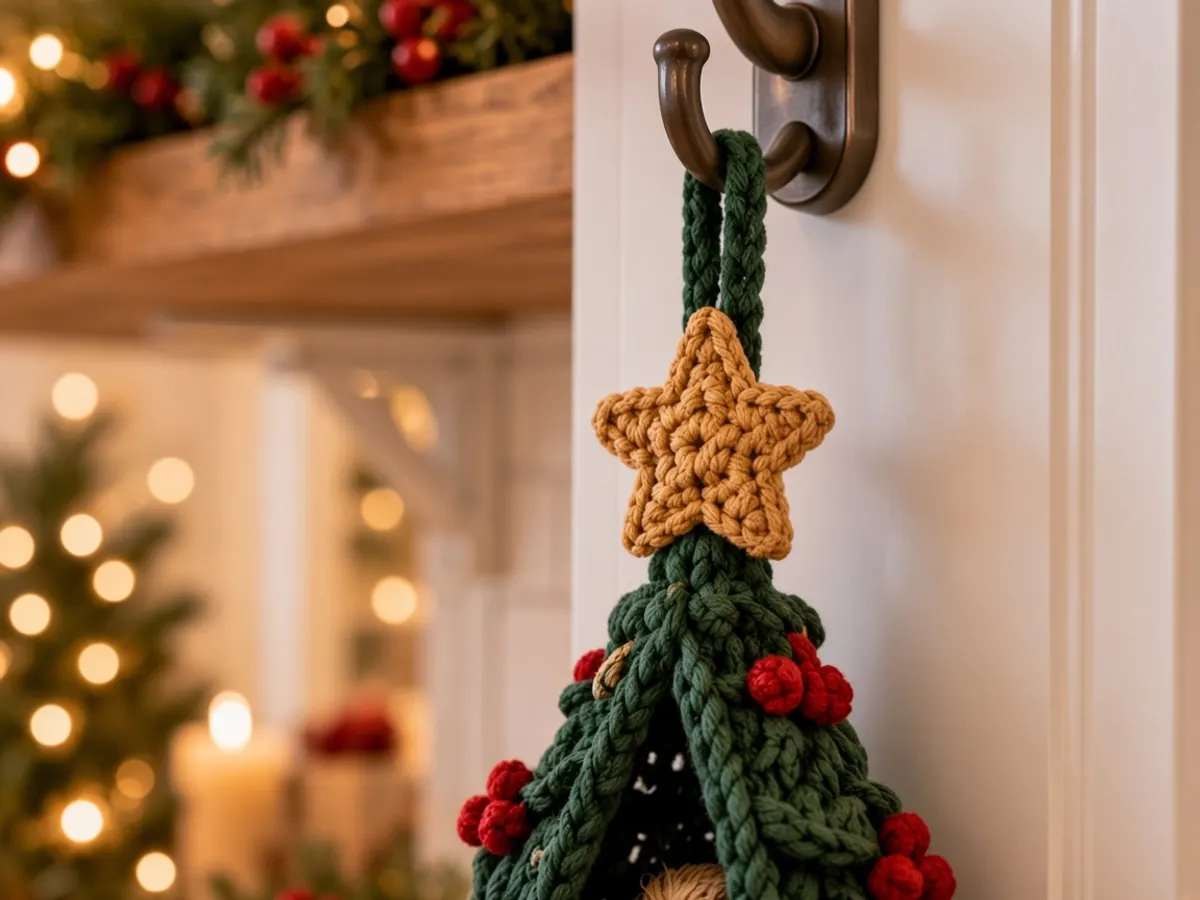
Step 6 — Crochet three scalloped strips
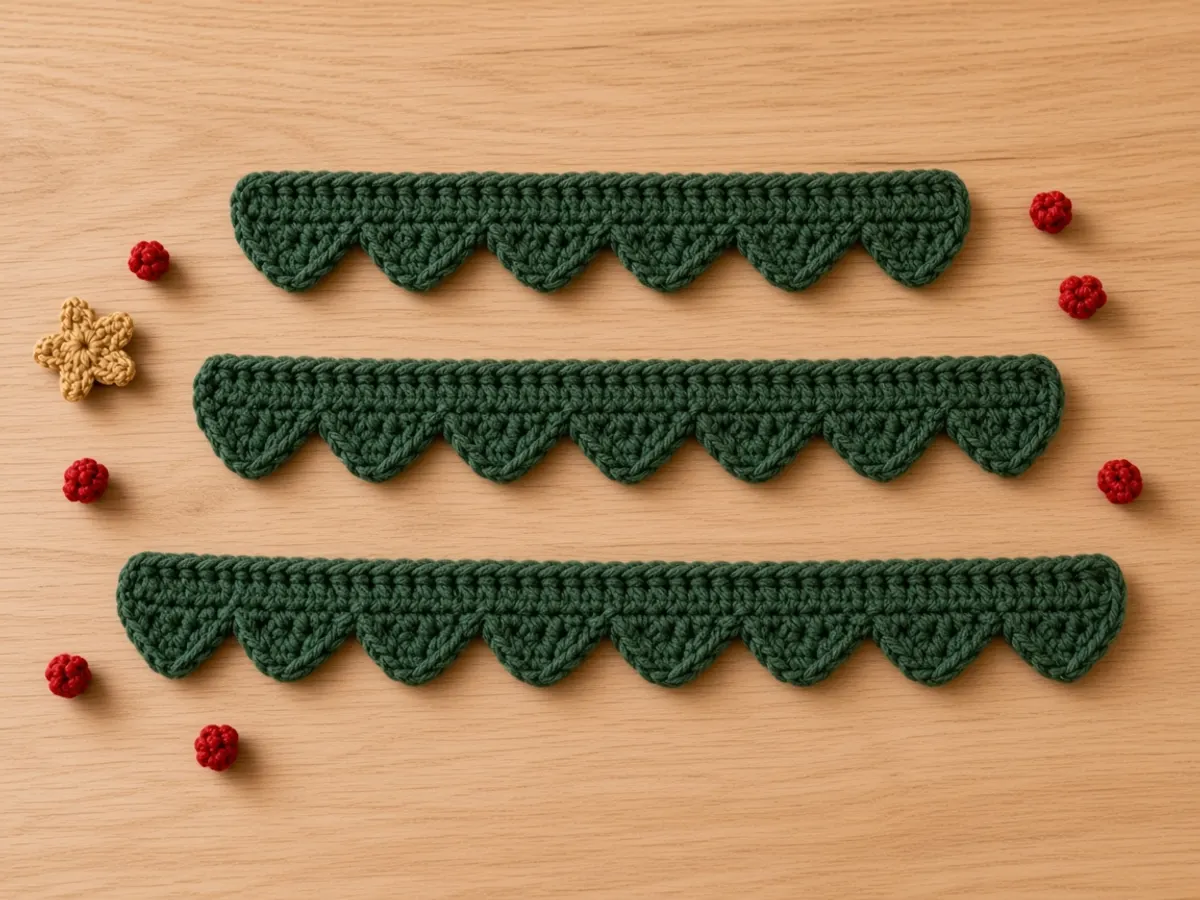
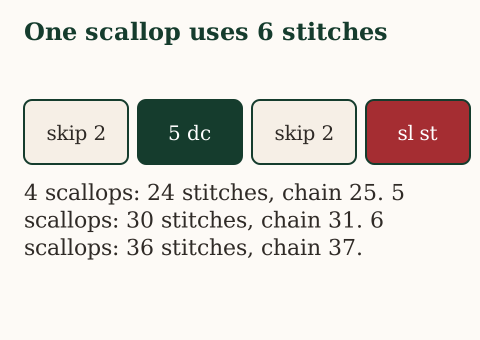
The branches are three separate flat strips, not rings. The same scallop is used on each. One scallop is skip 2, 5 dc in the next stitch, skip 2, slip stitch in the next stitch. That uses 6 stitches. Nothing is left over when the row divides by 6.
Upper tier, four scallops
Chain 25.
- Row 1. Sc in the second chain from the hook and in each chain across. 24 sc. Chain 1, turn.
- Row 2. Hdc in each stitch. 24 hdc. Chain 1, turn.
- Row 3. The scallop, 4 times. Four scallops. Fasten off and leave sewing tails.
Middle tier, five scallops
Chain 31. Row 1 is 30 sc. Row 2 is 30 hdc. Row 3 is the scallop 5 times. Fasten off with sewing tails.
Lower tier, six scallops
Chain 37. Row 1 is 36 sc. Row 2 is 36 hdc. Row 3 is the scallop 6 times. Fasten off with sewing tails.
24, 30, and 36 stitches are 4, 5, and 6 scallops. The strips are flat. Shape them with your hands. Do not steam yarn next to food, and do not put wire in the holder.
Step 7 — Place the branches
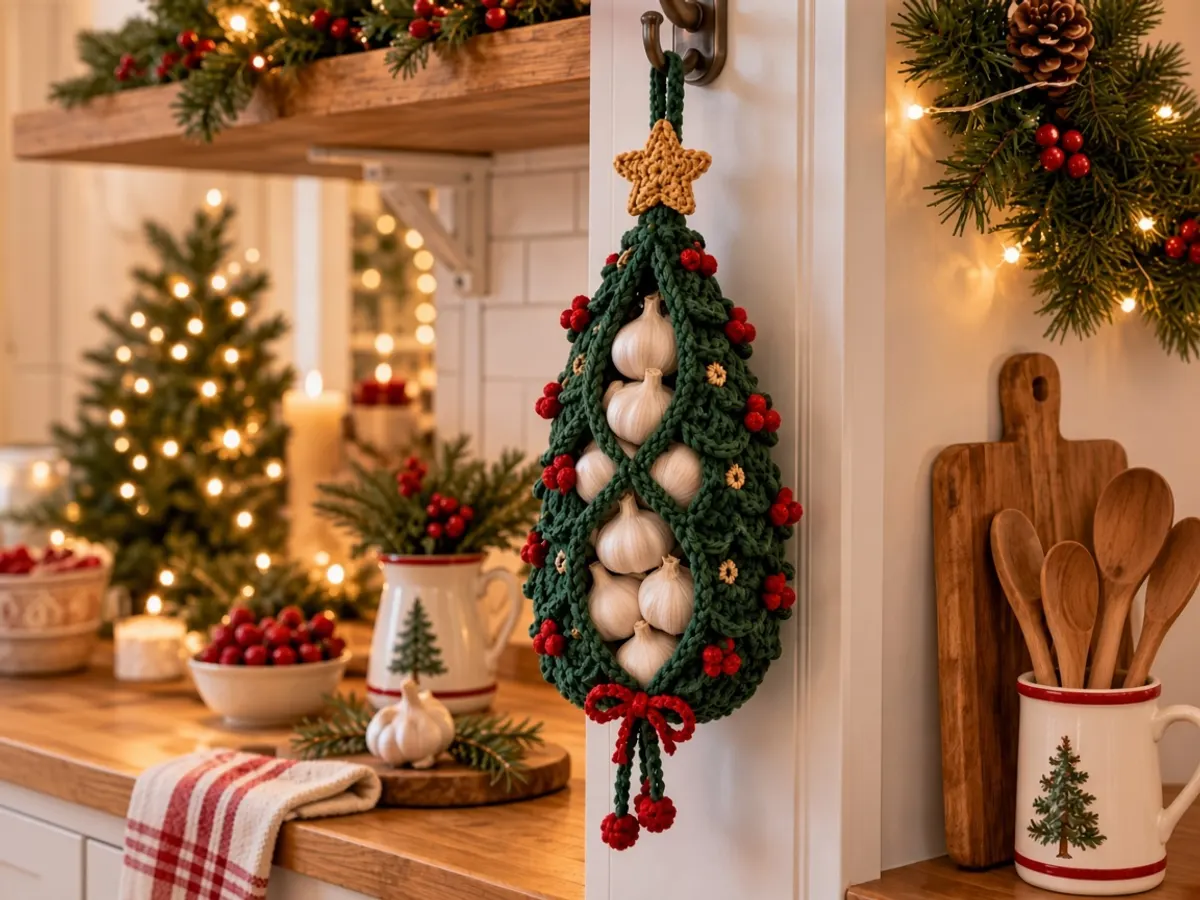
Lay the pouch with the front up and the hanger behind. The four-scallop strip sits about 3 cm below the rim, around the sides, with a gap at the front center. The five-scallop strip sits about 7–8 cm below the rim. The six-scallop strip sits about 12–13 cm below the rim.
Each strip is a shallow curve. The scallops point down. The lower strip reaches farther around the sides than the upper one. Leave a front window about 5–7 cm wide where the mesh stays bare. Judge that window on the hanging pouch, not on a crushed flat one. Pin with markers before you sew.
Step 8 — Sew the strips on
Sew only along the straight edge of each strip, through mesh posts, with short whip stitches. Leave the scalloped edge free. Sew the lower strip first, then the middle, then the upper, so a higher scallop can overlap the row below a little.
The inside of the pouch should not have long loops that catch papery skins. If the ends pull the front shut, loosen the sewing and move the strips toward the back. Three garlands, a clear center, and an open top are the checkpoint.
Step 9 — Crochet the star
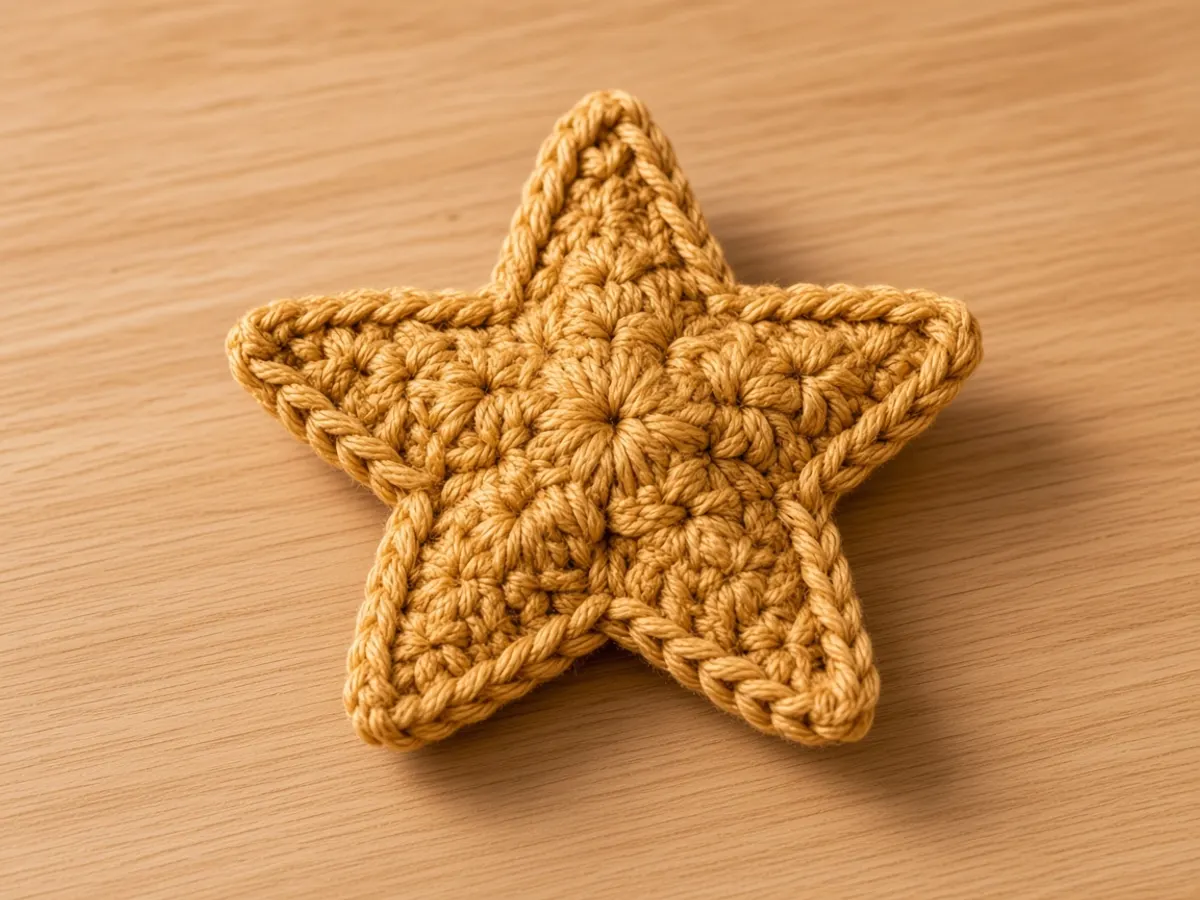
Use the gold yarn and a 3.5 mm or 4.0 mm hook.
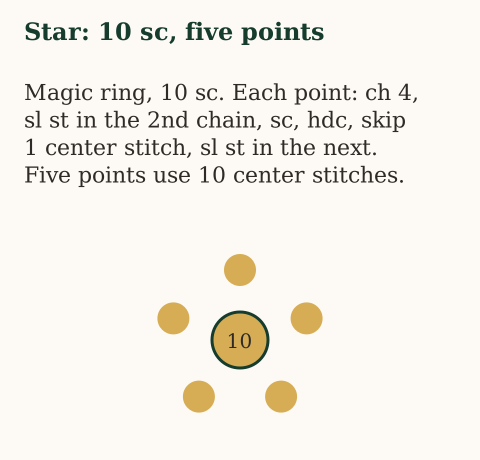
Center. Magic ring, chain 1, 10 sc into the ring. Close the ring. Slip stitch to the first sc. If you skip the magic ring, chain 4, join, and work the 10 sc into that ring.
Five points. Five times: chain 4, slip stitch in the second chain from the hook, sc in the next chain, hdc in the next chain, skip the next center stitch, slip stitch in the following center stitch.
Each point uses two center stitches. Five points use all 10. Fasten off and leave a tail.
Sew the star to the front of the upper rim, under the loop, without closing the mouth and without sewing the front wall to the back wall. Do not hang the holder from the star.
Step 10 — Crochet the berries
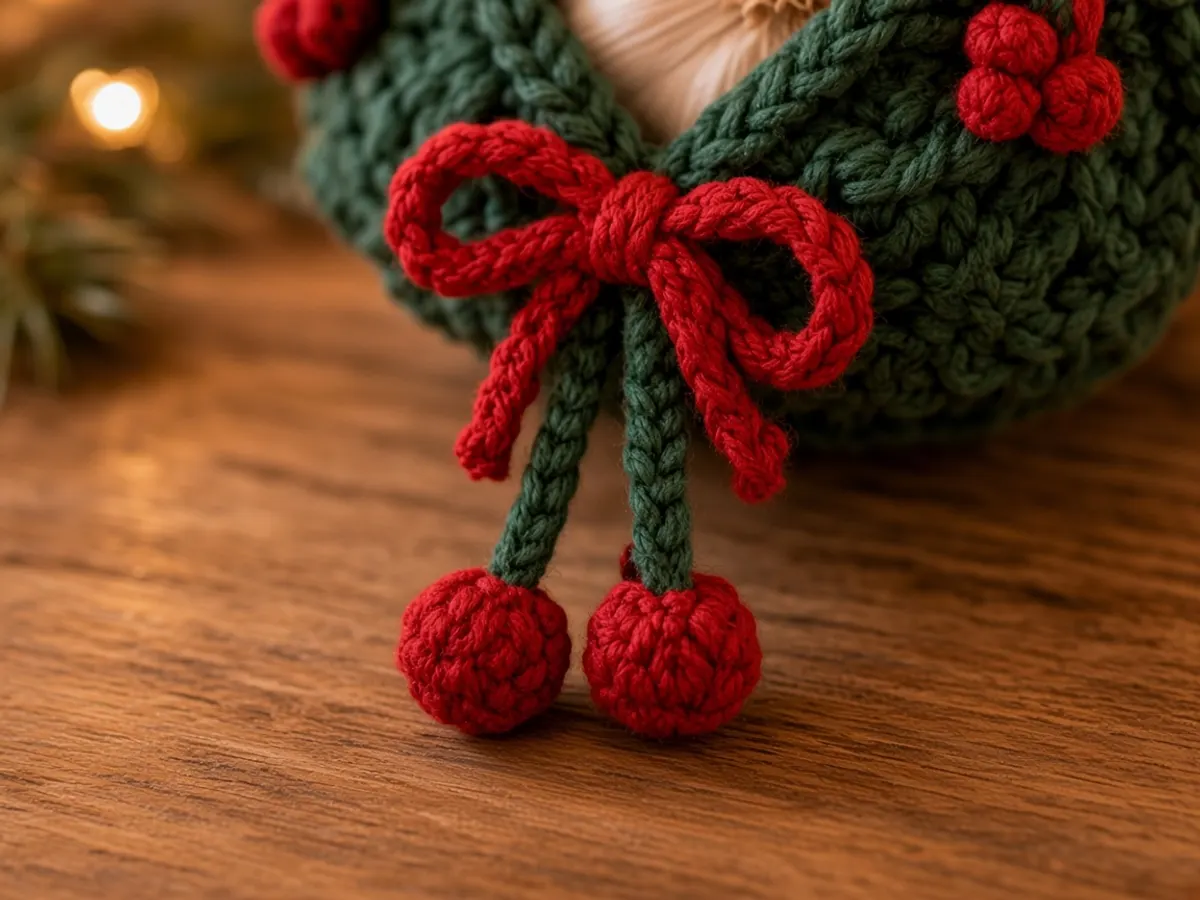
For one berry, magic ring, 6 sc into the ring, join to the first sc. Pull the ring into a small dome and fasten off. For a fuller berry, sew two of those circles together around a scrap of the same red yarn. Do not use loose fill that could reach food.
Make 6 to 9 berries. Sew them on the green strips, spread out, away from the top opening and away from the drawcord. No glue, sequins, or loose beads.
For a small red bow, chain 50, turn, and slip stitch back along the chain. Tie it around the drawcord ends. Trim tails that could catch on the counter.
Step 11 — Finish and measure
Turn the holder gently and check every sewn spot. Weave ends through the fabric in more than one direction. The base cord should be tied, and the loop should be sewn at both ends.
The pouch target is about 12 cm wide and 18 cm high, lying flat. With the loop and the star, the hanging length is about 24–27 cm. Those numbers move with gauge. The outline is a soft mesh pouch with staggered scallops, not a rigid triangle.
Step 12 — Load the garlic
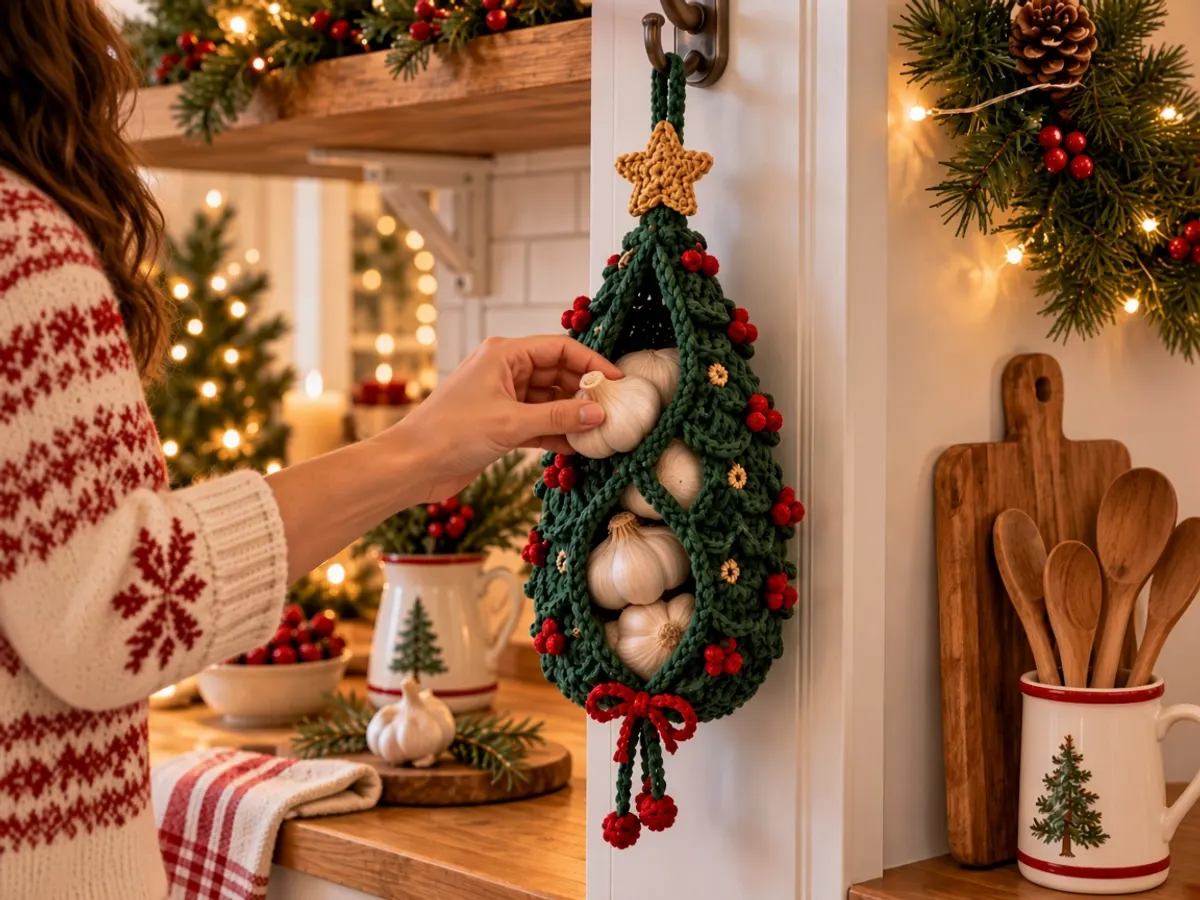
Use whole, dry, undamaged bulbs. Put them in one at a time through the open top. Start with 3 or 4 medium bulbs and watch the weight. A smaller bulb count is the right stop if the yarn or the hook is unhappy. Tie the bottom cord. Hang the holder somewhere cool, dry, shaded, and ventilated. A pantry wall away from the stove is the idea.
Do not store peeled or wet garlic in it. Air should move through the front mesh.
Other versions, same mesh
A darker green, a cream star, and three berries is the quiet version. The full set is 6 to 9 berries, the gold star, and a red bow. Olive or sage uses the same rounds.
A fourth strip, if you want a shorter tier under the star: chain 19, 18 sc, 18 hdc, and 3 scallops. Keep it off the front window.
For more height, add or remove whole mesh rounds in step 2. For a wider tube, chain 42, which is 14 repeats of 3, and keep 14 posts and 14 spaces. The rim is then 14 plus 28, which is 42 sc. The three strips may not reach around that tube. Add scallops in sets of 6 stitches if you test-fit them.
For a smaller holder, chain 30 and work 10 repeats. The rim is 30 sc. Try a real bulb before you commit to the narrower tube. The aim is air and a hanger that holds, not the largest number of bulbs.
Frequently asked
Can a beginner make this?
Yes, if chain, single crochet, double crochet, and joined rounds are already familiar. Count the 12 openings every round. The star and the scallop strips are the slower parts.
Is cotton or acrylic better?
Smooth cotton is the kitchen choice. It can be washed to the yarn label. Either fiber stays off heat, and neither should shed onto food.
Can it hang by the sink or the stove?
Not if that spot is damp, steamy, or warm. A shaded pantry wall is the place this pattern is written for.
How do I take a bulb out?
Through the open top. Untie the bottom only when you are supporting the pouch.
Does the mesh replace ordinary storage rules?
No. It lets air through. It does not repair a hot or humid corner. Discard bulbs that spoil.
Can I wash it?
Empty it first. Follow the yarn label. Cool hand washing is the gentle choice for sewn pieces. Dry it completely before bulbs go back in.
Can I give one as a gift?
Yes. Tell the recipient it is for whole, dry garlic, in a cool, dry, ventilated place.
Mistakes
| What you see | What it may mean | What to change |
|---|---|---|
| 11 openings | A repeat was missed | Undo to the last round that had 12 |
| The body is short | Tight yarn, or too few rounds | Add whole mesh rounds |
| The rim puckers | A stitch was skipped, or the hook is tight | Rework the conversion to 36 sc |
| Bulbs slip out the bottom | The cord is loose | Weave it through more chains and retie |
| The strips hide the garlic | They meet at the front | Move them toward the back and the sides |
| The holder leans | The loop ends are uneven | Reseat them six stitches apart |
| The star curls | The points were pulled tight | Flatten it and sew along the five points |
| The bulbs feel damp | The spot is wet, or the garlic was wet | Empty the holder and move it |
There is a plain use for a tree that also holds the bulbs. Keep the top open, keep the bottom tied, and count the 12 spaces before you add the star.
More kitchen crochet: the plastic bag holder, the towel holder, and the Christmas tree bag holder.
More premium patterns
Other printable editions from the same collection.
Kitchen Crochet
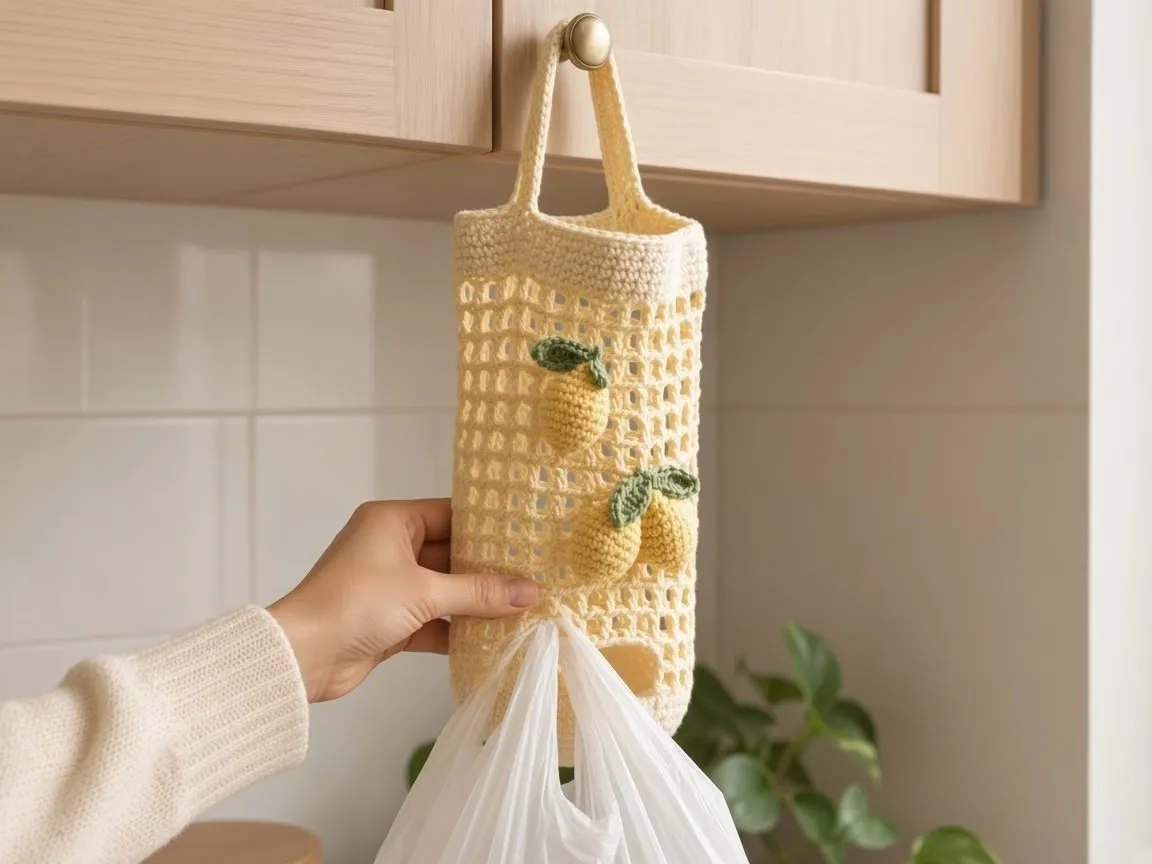
Crochet Lemon Plastic Bag Holder
A hanging mesh dispenser with a front opening, two straps, and lemon appliqués. The printable edition follows the free tutorial.
Difficulty: Beginner
Christmas Patterns
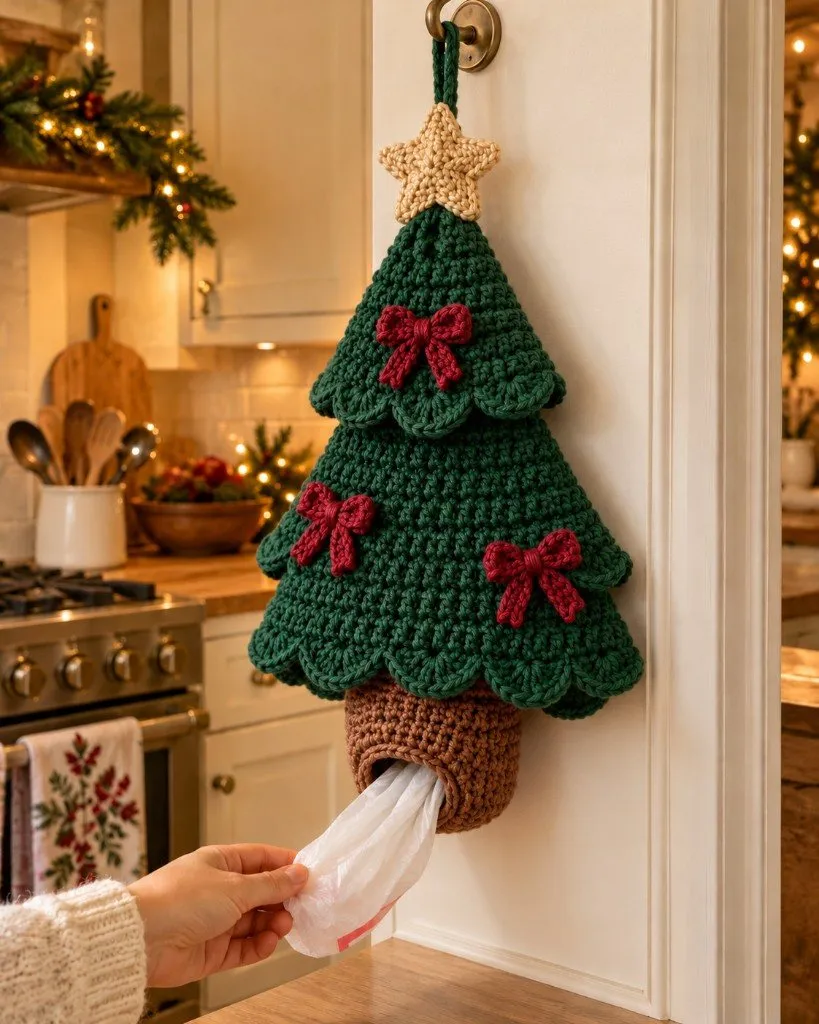
Crochet Christmas Tree Plastic Bag Holder
A hollow Christmas tree that holds grocery bags, with a brown trunk and shell rows. The printable edition follows the free tutorial.
Difficulty: Intermediate
- garlic holder
- christmas tree
- kitchen
- mesh
Read this next
- How to Crochet a Christmas Tree Plastic Bag Holder Crochet a hollow Christmas tree that holds grocery bags. Bags go in the open top and out the brown trunk. US terms. Sizes come from gauge.
- How to Crochet a Compact No-Slip Kitchen Towel Holder A compact cotton crochet towel holder with two wooden rings, one above the other. Assembly counts are still being checked. US terms.
- How to Crochet a Hanging Plastic Bag Holder for Your Kitchen Crochet a pale yellow mesh grocery-bag holder with a front oval, two straps, and three lemons. US terms, with diagrams.