

Elegant Twist Crochet Ear Warmer
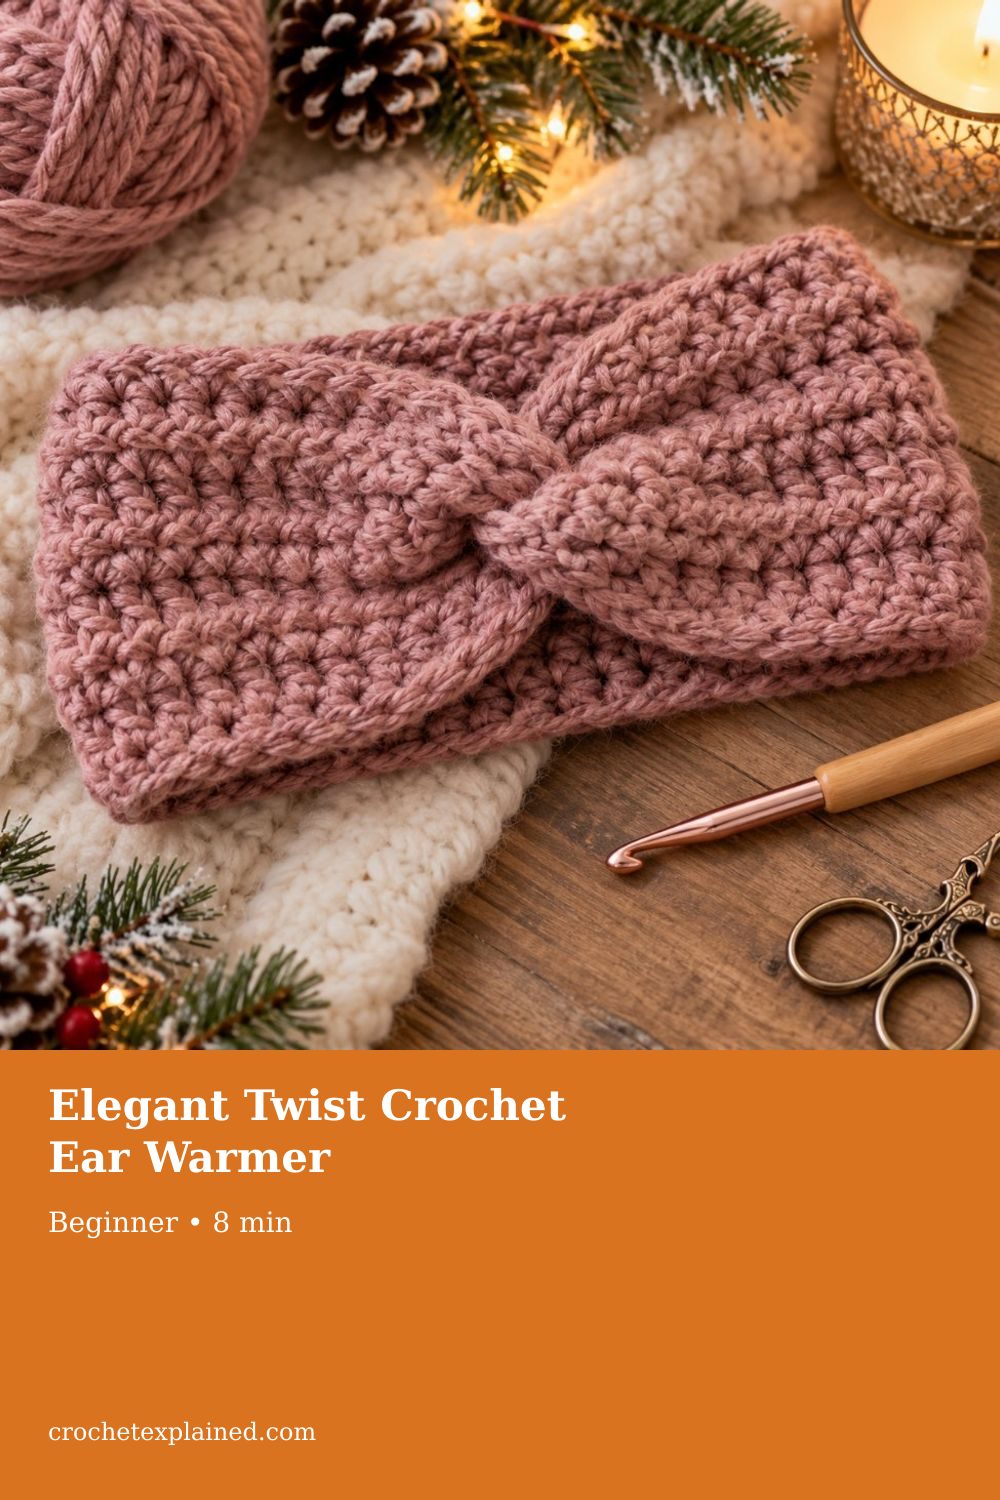
Chain 17 for 16 half double crochet. Work back-loop rows to 90, 95, or 103, fold both short ends, nest the four layers, sew, and turn the twist right side out.
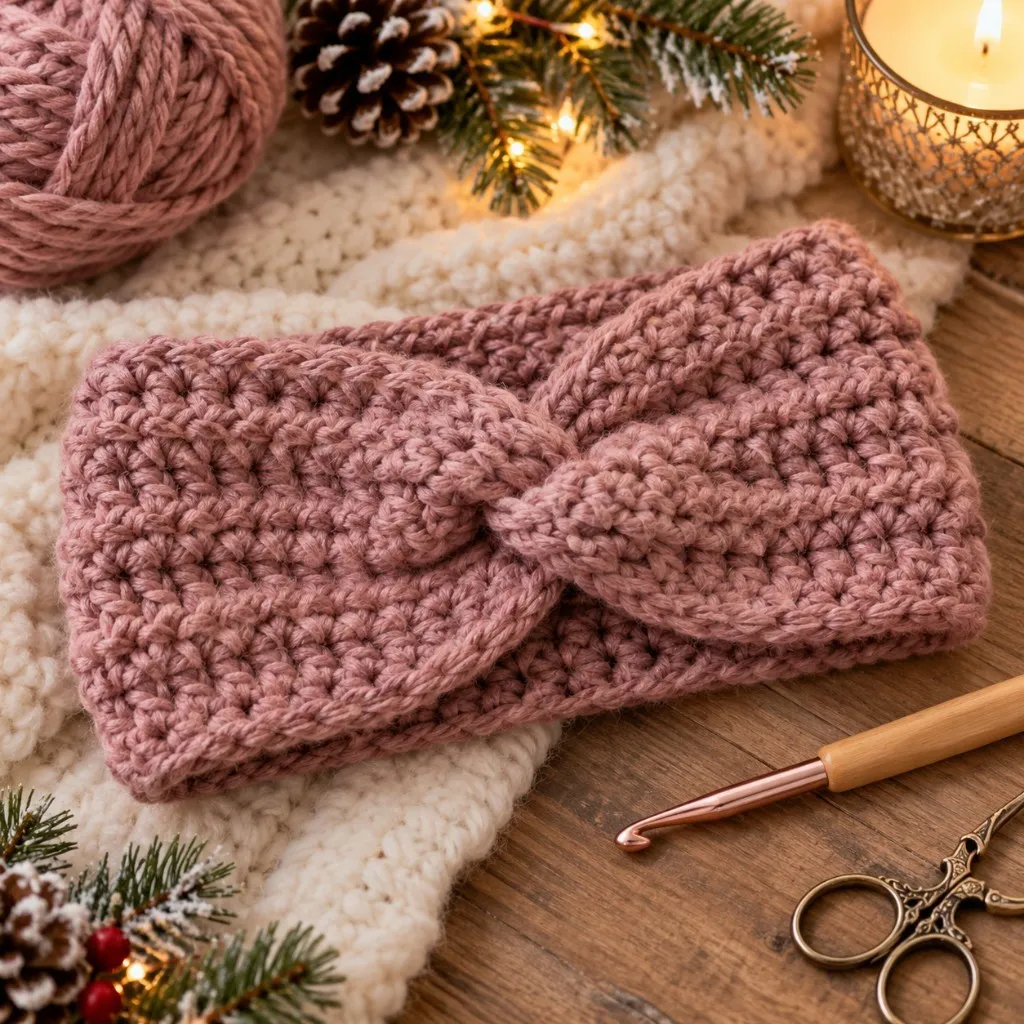
A ribbed half double crochet band with a folded front twist. Adult Small, Medium, and Large from gauge. US terms.
At a glance
- Skill level
- beginner
- Time
- One evening for most sizes, including the seam
- Finished size
- Adult Small, Medium, or Large from the written gauge
- Yarn weight
- Worsted, category 4. About 100–160 yd
- Hook size
- 5.0 mm (H/8), or the hook that hits the swatch
- Yardage
- Planning range, not a weighed finished band
On this page
Track your progress
- Go Step 1: crochet the strip
- Go Step 2: interlock the short ends
- Go Step 3: wear-test before the last weave
Ticks are saved on this device only. Counting rows? Keep the stitch counter open in another tab.
US crochet terms throughout. Sizes here are worked out from gauge rather than from a finished sample, so swatch and measure as you go, and the pictures of finished pieces are illustrations. Made one? Send a photo through the contact page.
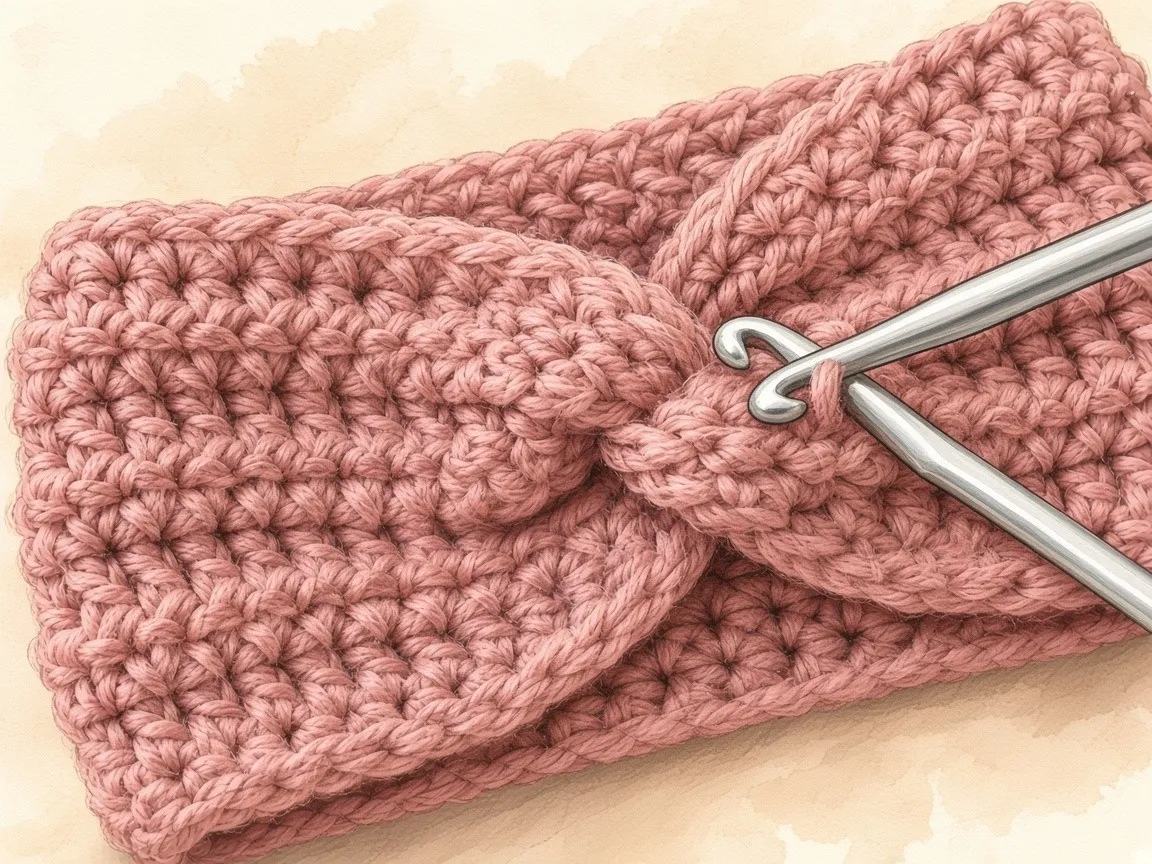
A flat seam at the back of a headband is easy to hide. This pattern puts the interest at the front instead. You crochet a ribbed strip, fold both short ends, nest four layers, and sew once. Turned right side out, that join reads as a soft twist. No separate knot, no increases, no appliqué.
The sizes below are worked out from the written gauge rather than from a finished sample, and the pictures are illustrations. If you would rather tape a head and add rows until the strip matches, use the measure-first ear warmer.
US terms. US half double crochet is UK half treble. Names are in the abbreviations chart.
Start with the head, not the hook
Ribbing stretches, so the finished loop should sit smaller than the head. Measure the path the band will take, then pick a size whose target band circumference is a little short of that number.
| Size | Head circumference | Target band circumference | Rows |
|---|---|---|---|
| Small | 20–21 in (51–53 cm) | 18 in (45.7 cm) | 90 |
| Medium | 21.5–22.5 in (55–57 cm) | 19 in (48.3 cm) | 95 |
| Large | 23–24 in (58–61 cm) | 20.6 in (52.3 cm) | 103 |
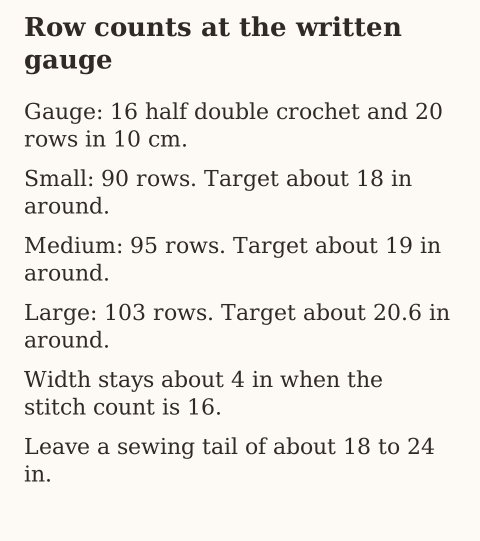
Swatch half double crochet in the back loop. Let it settle. The target is 16 half double crochet and 20 rows in 4 in / 10 cm. The 16 stitches are the band width (about 4 in). The 20 rows run along the length. How to measure that swatch is in crochet gauge.
If the swatch is too big, go down a hook. If it is too small, go up. The row counts above assume that gauge. Yarn stretch still changes the fit, so wrap the finished strip around the head before you sew.
What sits beside the hook
Worsted (category 4) with some stretch sits better than stiff cotton. Merino blends, premium acrylic, and wool-acrylic mixes all work. Category 4 is on the yarn weight chart. A 5.0 mm (H/8) hook is the starting point; change it to hit the swatch. Letter sizes are on the hook size chart.
| Supply | Amount |
|---|---|
| Worsted yarn | About 100–160 yd (91–146 m), by size and gauge |
| Hook | 5.0 mm (H/8), or whatever hits gauge |
| Yarn needle | One blunt needle |
| Scissors and a tape | Measuring and finishing |
| Stitch markers | Optional, for the last stitch of each row |
Keep yarn for the seam. Solid colors show the ribs. Ivory, camel, dusty rose, burgundy, charcoal, and navy are common winter choices. Amounts are planning figures.
Abbreviations used below: ch (chain), hdc (half double crochet), BLO (back loop only), st(s) (stitch or stitches). The turning chain does not count as a stitch. That rule is explained in the turning chain.
The only stitch you need
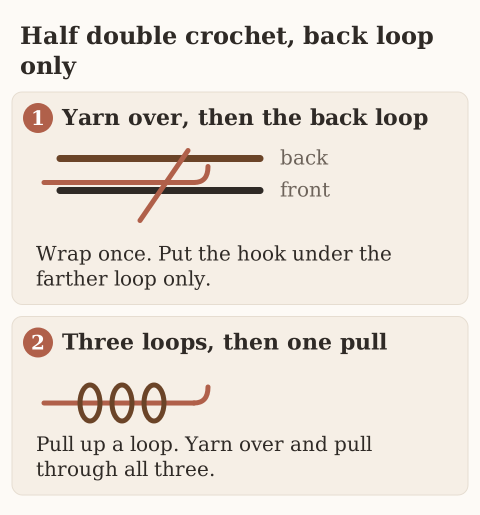
Every row after the foundation is the same move. Yarn over. Insert the hook under the back loop only (farther from you). Yarn over and pull up a loop. Three loops on the hook. Yarn over and pull through all three. The front loop stays on the fabric and makes the rib.
Under both loops, the same half double is in basic crochet stitches. These drawings are right-handed. The mirrored path is on left-handed crochet.
Step 1: crochet the strip
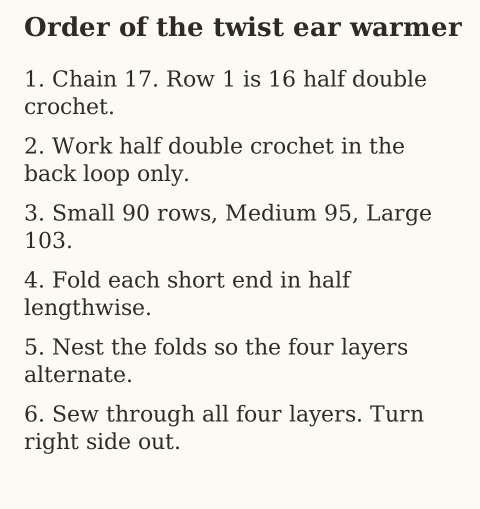
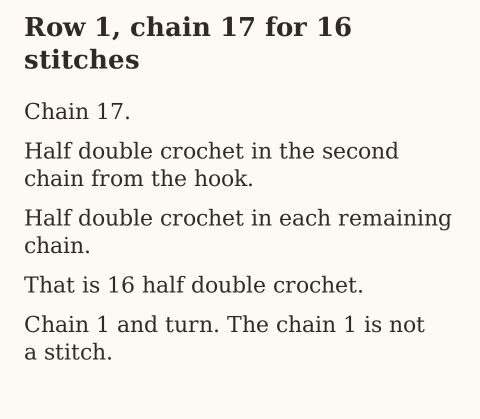
Chain 17.
Row 1: Half double crochet in the second chain from the hook and in each chain across. 16 hdc. Chain 1 and turn. The chain 1 is not a stitch.
Row 2: Half double crochet in the back loop of each stitch across. 16 hdc BLO. Chain 1 and turn.
Row 3 and every following row: Repeat row 2. Count 16 at the end of every row.
Stop at 90 rows (Small), 95 (Medium), or 103 (Large). At the written gauge the strip is about 4 in wide and about 18, 19, or 20.6 in long.
Leave about 18–24 in (46–61 cm) of yarn for sewing. Do not cut a short tail.
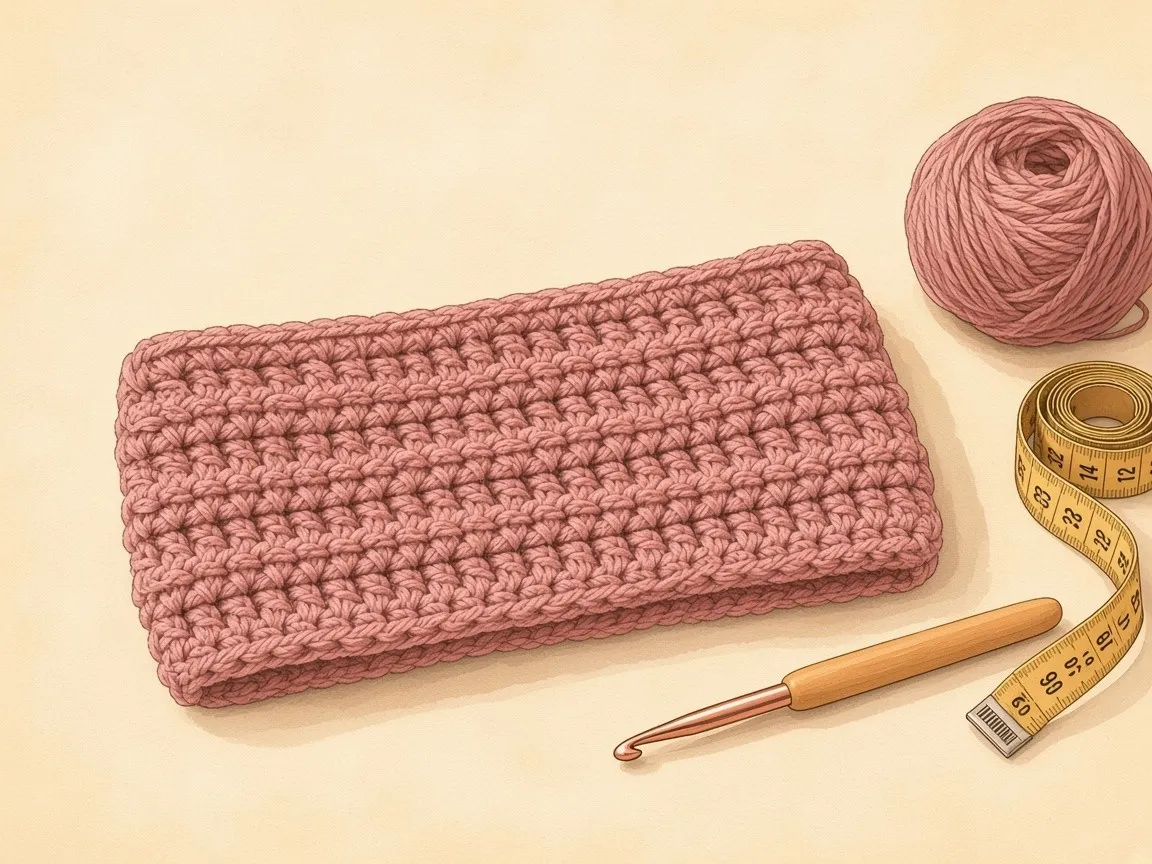
Lay the strip flat without stretching. Straight edges and an even width mean the count stayed at 16. A strip that narrows usually missed the last stitch. A strip that widens usually worked into the turning chain.
Step 2: interlock the short ends
The twist is how you join the strip, not a second crocheted piece.
- Lay the rectangle with the ribs facing you. Bring the short ends together into a loop. Do not twist the long body.
- Fold one short end in half lengthwise so the top and bottom corners meet. Two layers.
- Fold the other short end the same way.
- Nest the folds so the four layers alternate: first end, second end, first end, second end. Line up all four raw edges.
- Thread the long tail. Sew through all four layers with a firm whipstitch or mattress join. Reinforce both ends of the seam. Do not pull so hard that the join puckers.
- Turn the band right side out. Ease the folds until the front looks gathered and balanced, not like a hard knot.
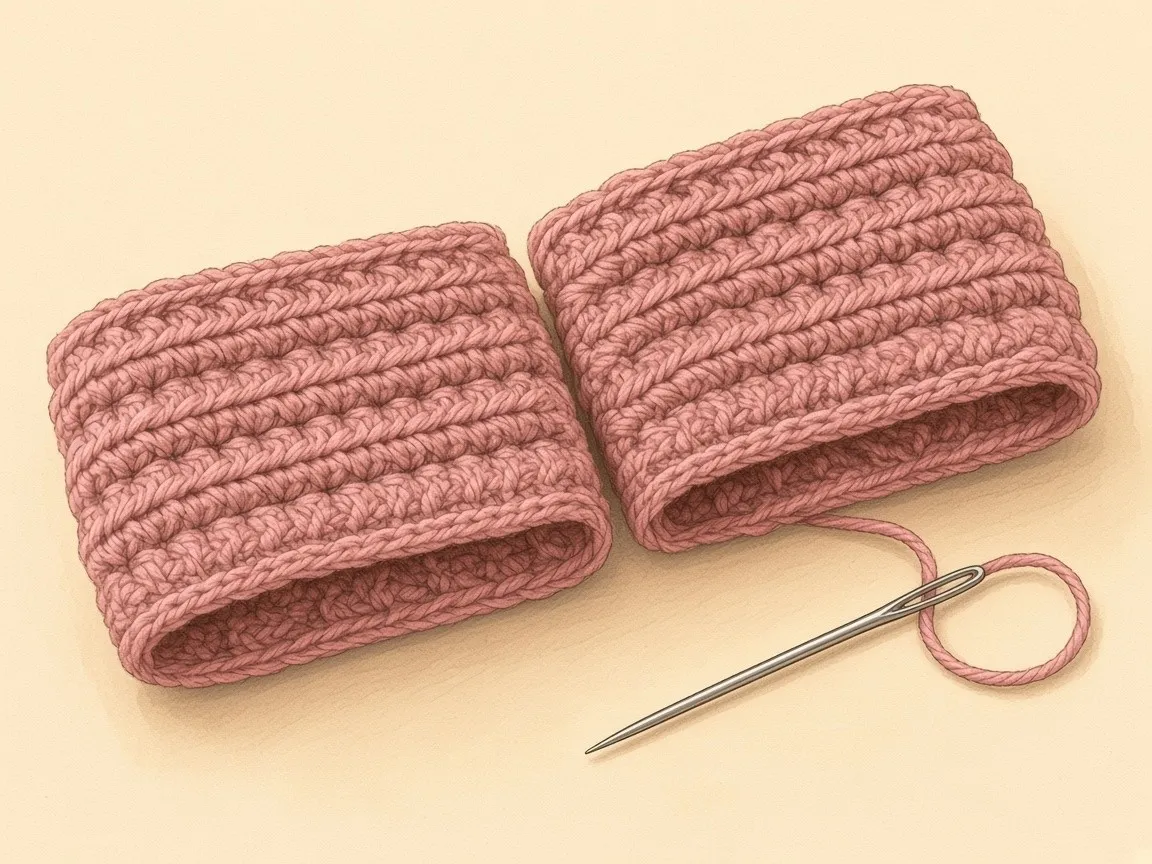
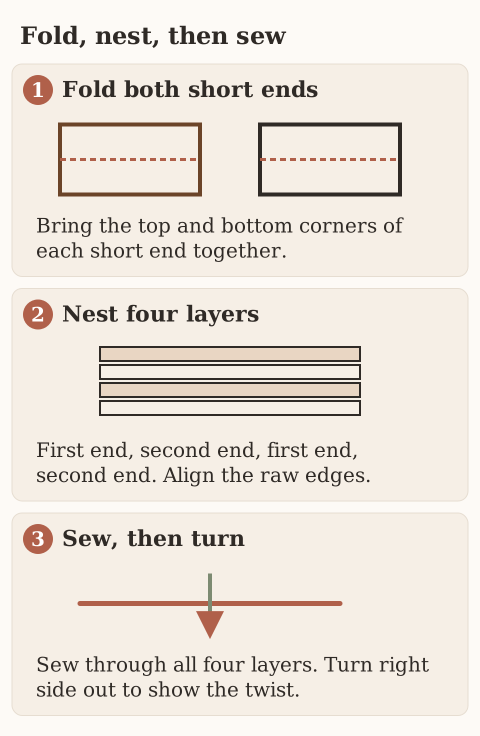
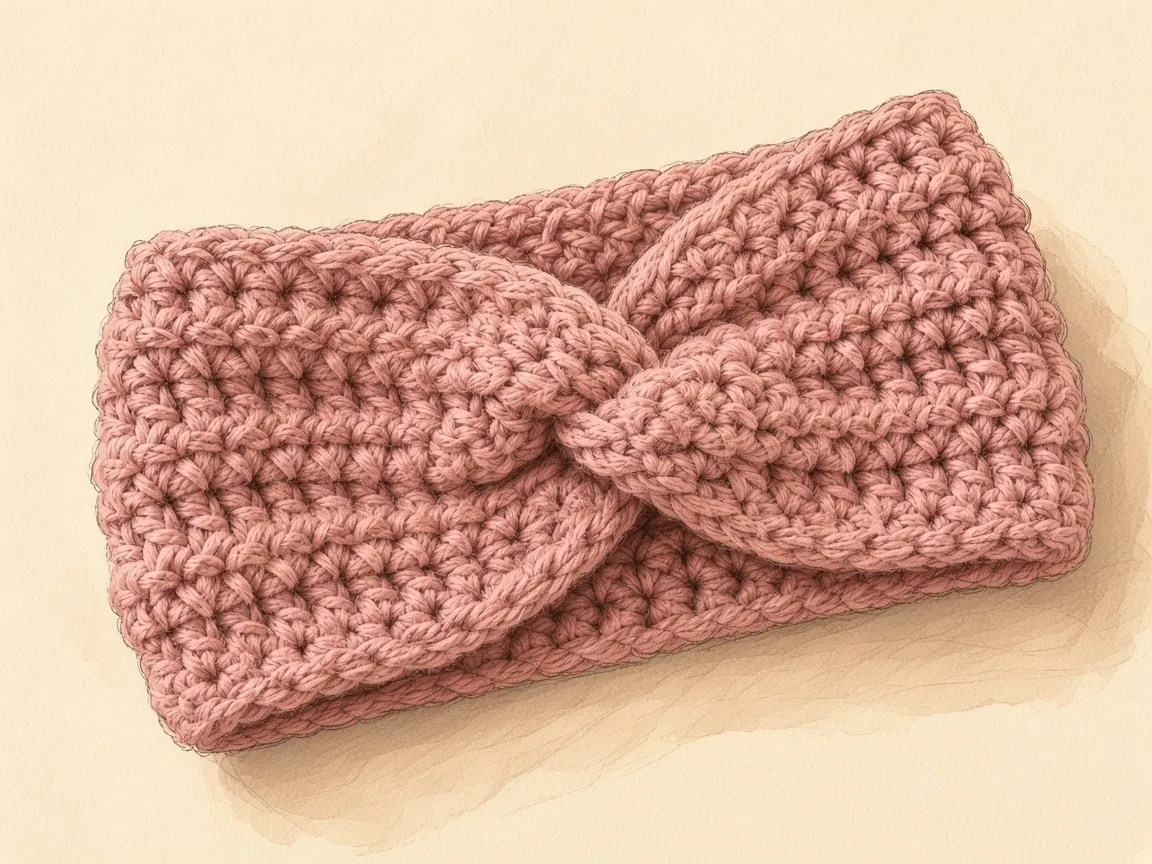
A thick, overwrapped seam makes a clumsy twist. One neat pass through all four layers usually looks better than wrapping the join again and again.
Step 3: wear-test before the last weave
Try the band on with the twist at the center front. It should cover the upper ears, sit without digging into the forehead, and recover when you take it off.
Too tight: open the seam and add rows. Too loose: remove rows and resew. Stretching a short strip into place is a poor fix.
When the fit is right, weave each tail through several inside stitches, change direction once, then trim. Details are in weaving in ends. Ease the twist with your fingers. If the yarn label allows it, dampen or steam lightly and dry flat. Do not overheat acrylic.
Other winters from the same strip
| Look | Yarn direction |
|---|---|
| Neutral | Ivory, oat, or camel |
| Soft winter | Dusty rose, mauve, or muted burgundy |
| Dark classic | Charcoal, black, or navy |
A smooth yarn shows the ribs better than a fuzzy novelty yarn. Wider bands need a longer foundation chain (add 2 or 4 chains and keep those stitches on every row). More rows only lengthen the loop.
When the band fights you
Too tight. Row gauge was tighter than 20 rows per 4 in, or the size had too much negative ease. Add rows and test again.
Uneven edges. A stitch was skipped or the turning chain was worked as a stitch. Count 16 every row. Mark the last stitch if you need to.
Bulky twist. The four layers were misaligned, or the seam is overstuffed. Open it, nest again, and sew evenly.
Slides backward. Too many rows, or yarn that does not recover. Remove rows, or switch to a yarn with better stretch.
Flat ribbing. Both loops were worked. From row 2 on, the hook goes under the back loop only.
Wash and store
Follow the yarn label. Many wool blends need cool hand washing. Some acrylics can go in the machine. Do not wring. Press water out in a towel and dry flat. Store folded. Long hanging can stretch the loop.
Frequently asked
Can a beginner make this?
Yes, if you know chains, half double crochet, and a basic seam. The fold needs care. The stitch itself is one move.
Can I change yarn weight?
Yes, but then the written chain and row counts no longer apply. Swatch again and recalculate both the starting chain and the row count.
How do I get more stretch?
Use yarn with good recovery, keep a relaxed tension, and keep the seam thin.
What else matches this rib?
A hat in rounds is the chunky beanie. A purple snowman band with a face is the snowman wink hat. A strip sized only from a head measurement is the ear warmer.
Next
If this size chart misses the head in front of you, switch to the measure-first ear warmer. If the back-loop rows keep changing width, swatch again with crochet gauge before you add the rest of the length.
- ear warmer
- headband
- winter
- beginner
Read this next
- 10 Christmas Crochet Ornament Patterns Ten mini ornaments: gingerbread, tree, snowman, reindeer, Santa, candy cane, stocking, gift, angel, and snowflake.
- Snowman Wink Crochet Hat A purple snowman beanie from a flat rectangle: white face band, one wink, a carrot nose, and a pompom. US terms.
- Navy Lace Fingerless Gloves: A Detailed Crochet Tutorial Learn to crochet elegant navy fingerless gloves with ribbed cuffs, an openwork shell-lace hand, a practical thumb slit, and a decorative scalloped edge.