

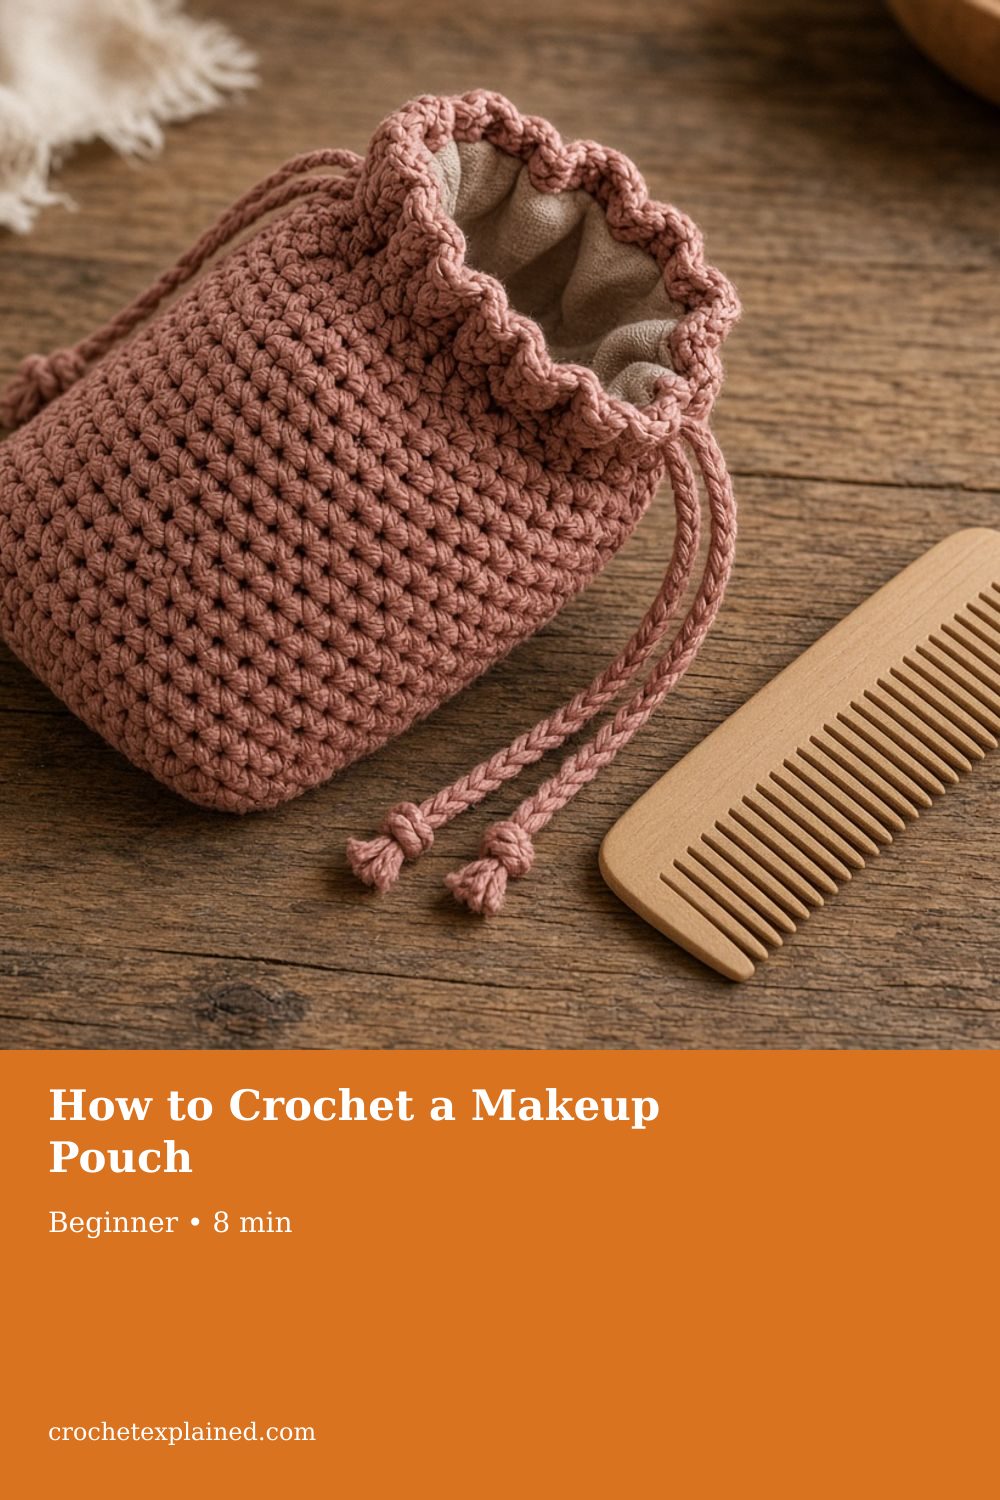
How to Crochet a Makeup Pouch
Fold and seam a single-crochet rectangle, then add an eyelet round and a cord. Size it from the widest, thickest, and tallest items you carry.
A cotton drawstring makeup pouch sized from the widest, thickest, and tallest things you carry. US terms.
At a glance
- Skill level
- beginner
- Time
- One rectangle, two seams, an eyelet round, a cord
- Finished size
- From three measurements of what goes inside
- Yarn weight
- Smooth worsted cotton
- Hook size
- US G/6 (4.0 mm) to start
- Yardage
- Not weighed. Weigh 10 rows and multiply by 5.
On this page
Track your progress
- Go to Stage 1: the rectangle
- Go to Stage 2: seam
- Go to Stage 3: eyelets and the top round
- Go to Stage 4: the cord
Ticks are saved on this device only. Counting rows? Keep the stitch counter open in another tab.
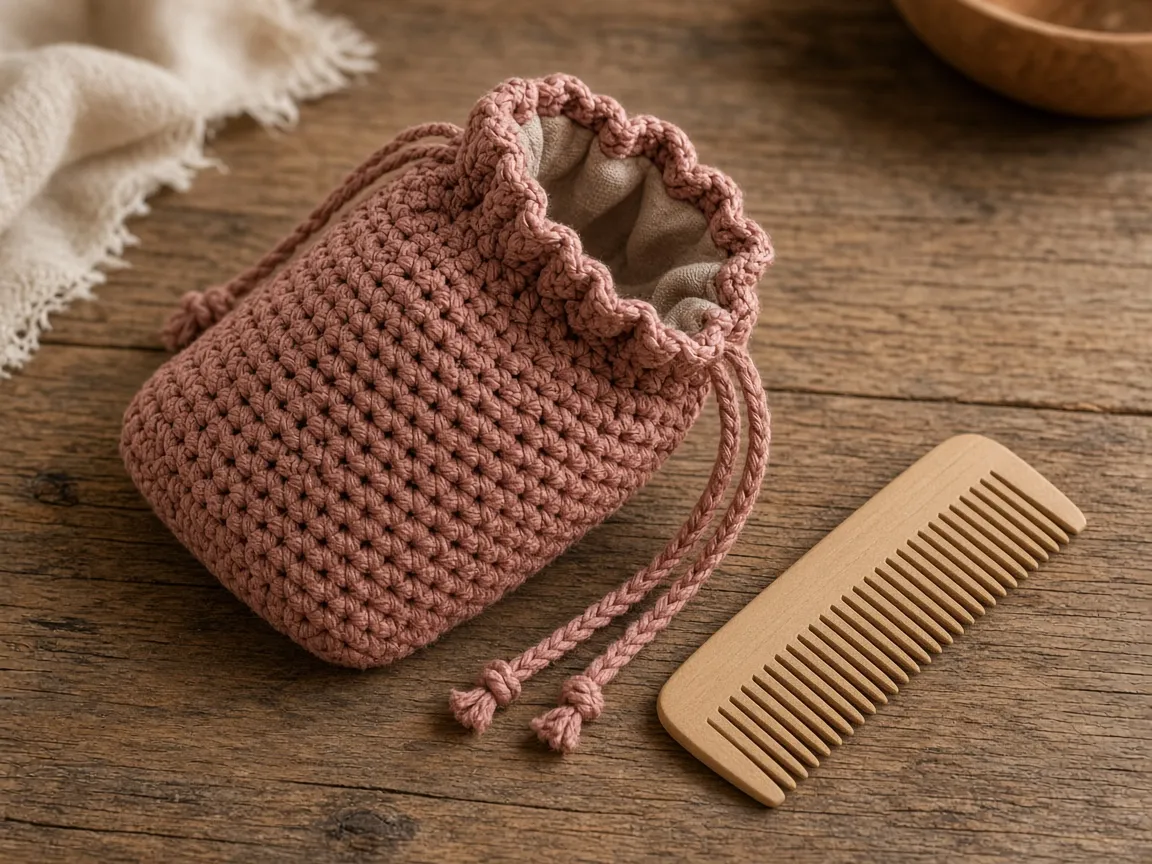
US crochet terms throughout. Sizes here are worked out from gauge rather than from a finished sample, so swatch and measure as you go, and the pictures of finished pieces are illustrations. Made one? Send a photo through the contact page.
Makeup at the bottom of a bag picks up crumbs, and an open tube leaves a mark on whatever it touches. A small drawstring pouch keeps everything together so you can lift it out in one go. This one is a single-crochet rectangle, folded and seamed, with an eyelet round and a cord at the top.
The construction is simple. The sizing is where most pouches go wrong, in two ways. A flat pouch has to be wider than the widest item, because thick items take up width too. And a drawstring needs spare fabric above the contents to gather. A pouch cut to the exact height of the tallest tube will not close over it.
US terms. US single crochet is UK double crochet. Abbreviations. The pictures are illustrations. No pouch for this page was crocheted or packed. The item sizes below are an invented example.
How the pouch is built
Crochet a rectangle twice as long as the pouch is tall. Fold it in half so the fold is the bottom. Seam both sides with single crochet through both layers, on the wrong side. Turn it right side out. Around the opening, work an eyelet round and a round above it. Thread a cord through the eyelets and pull.
Seaming on the wrong side matters. A single crochet seam leaves a ridge. Turned inside, the ridge is hidden, and the outside shows only a neat fold line at each side.
Measure what goes in
Lay out what you will carry and find three numbers:
- The widest item, lying flat. Example: a palette, 5.75 inches.
- The thickest item. Example: a compact, 0.75 inch.
- The tallest item, standing. Example: a brush or tube, 3.5 inches.
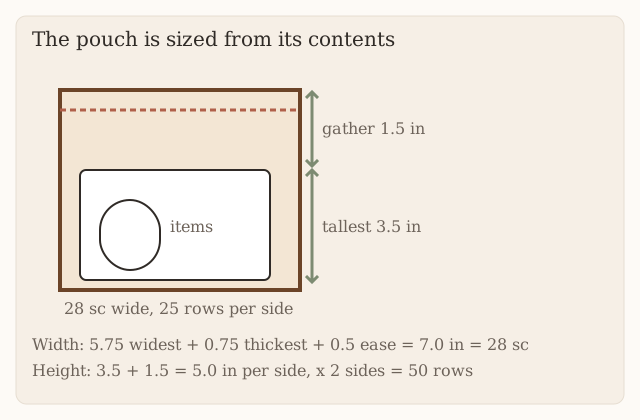
Width. Widest item + thickest item + about half an inch of ease. A flat pouch with a 0.75 inch compact inside bulges, and the bulge takes fabric from the width. The same rule sizes the phone case.
Height. Tallest item + about 1.5 inches. The eyelets sit near the top, and gathering pulls the fabric above the contents into the middle. Without that spare height, the cord closes on top of the tallest tube and leaves a gap.
Yarn, hook, and gauge
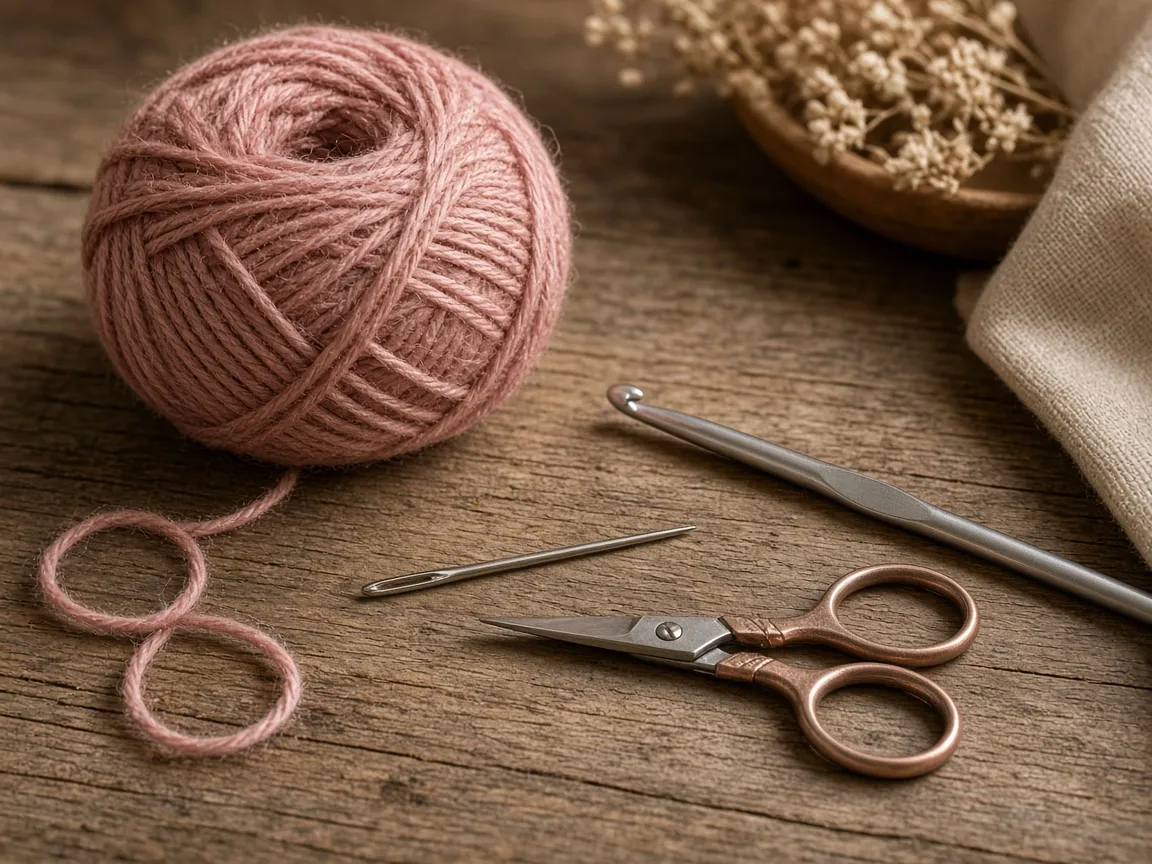
- Smooth worsted cotton. It washes. It also stains: makeup oil and dark lipstick will not come out of pale cotton just because it is cotton. Pick a color that can wear a mark. Fuzzy yarn grabs powder and pills. Yarn weights.
- US G/6 (4.0 mm) hook, or the hook that gives dense fabric. Hook chart.
- Yarn needle, scissors.
Single crochet is the whole fabric. Taller stitches leave holes, and a pressed powder will dust through them. Swatch and measure; gauge turns inches into stitches. The example uses 4 stitches and 5 rows per inch.
The worked example
| Part | Arithmetic | Result |
|---|---|---|
| Width | 5.75 + 0.75 + 0.5 | 7.0 in, 28 sc, chain 29 |
| Height per side | 3.5 + 1.5 | 5.0 in |
| Rows | 5.0 × 2 sides × 5 rows | 50 rows |
| Opening | 28 + 28 | 56 sts, even |
| Cord | 14 in around + 2 tails of 5 in | 24 in |
Stage 1: the rectangle
Chain 29. Keep the chain loose. The foundation edge becomes half of the opening, and a tight chain draws it in.
Row 1: Sc in the second chain from the hook and in each chain across. Ch 1, turn. (28)
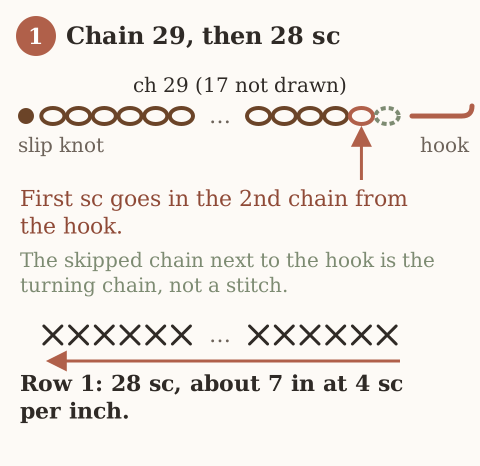
Rows 2–50: Sc in each stitch. Ch 1, turn. (28)
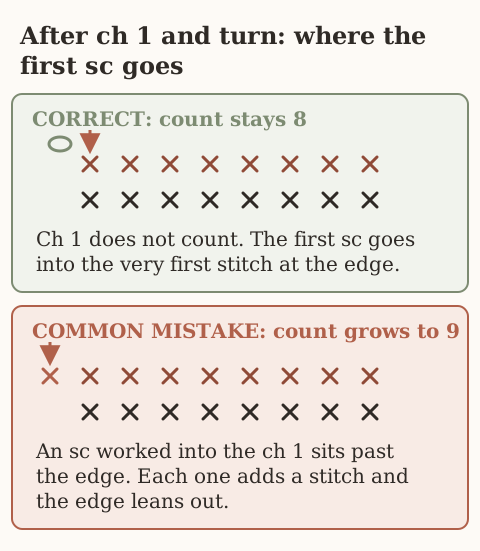
The ch 1 does not count as a stitch. Count every 10 rows. An extra stitch makes one side seam longer than the other, and the pouch twists.
Checkpoint: fold the rectangle in half and set the contents on it. The fabric should close around them with the edges meeting and about an inch and a half above the tallest item. If not, add rows now.
Stage 2: seam
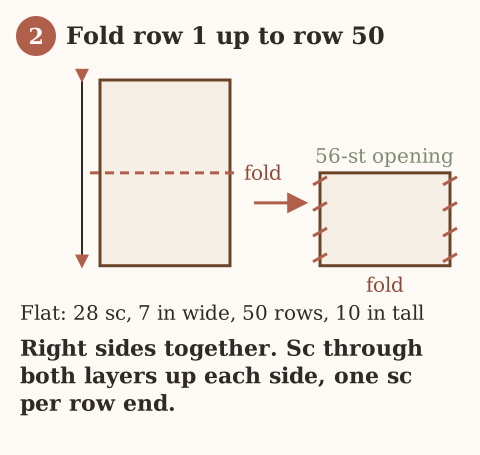
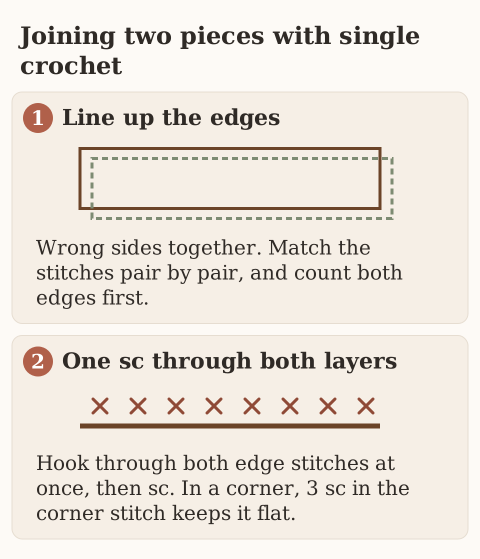
Fold so row 1 meets row 50, right sides together. The fold is the bottom. Join yarn at the fold on one side and single crochet through both layers, one stitch in each row end, up to the opening. Fasten off. Repeat on the other side. Start each seam in the fold itself, not one row above it, or powder leaks out of the corner. Turn the pouch right side out.
Stage 3: eyelets and the top round
Join yarn at one side seam at the opening. You will work around both top edges: 28 stitches along row 50 and 28 along the foundation chain, 56 in all.
Eyelet round: Ch 1, (sc in the next stitch, ch 1, skip 1) 28 times. Slip stitch to the first sc. (28 sc, 28 ch-1 spaces)
Top round: Ch 1, sc in each sc and in each ch-1 space. Slip stitch to the first sc. (56) Fasten off.
The eyelet round needs an even count, because each repeat uses two stitches. Work the counted fifty-six-stitch setup round described below before making the eyelets; do not add a stitch halfway through the eyelet repeat. The drawstring bag shows what an odd count does to the last hole.
Stage 4: the cord
The cord goes once around the opening, 14 inches, and leaves two tails to knot, about 5 inches each: 24 inches. Chain to 24 inches without stretching, then slip stitch back along the chain so it does not stretch in use.
Thread it in and out of the eyelets, starting and finishing at the center front. Knot each tail so it cannot pull back through.
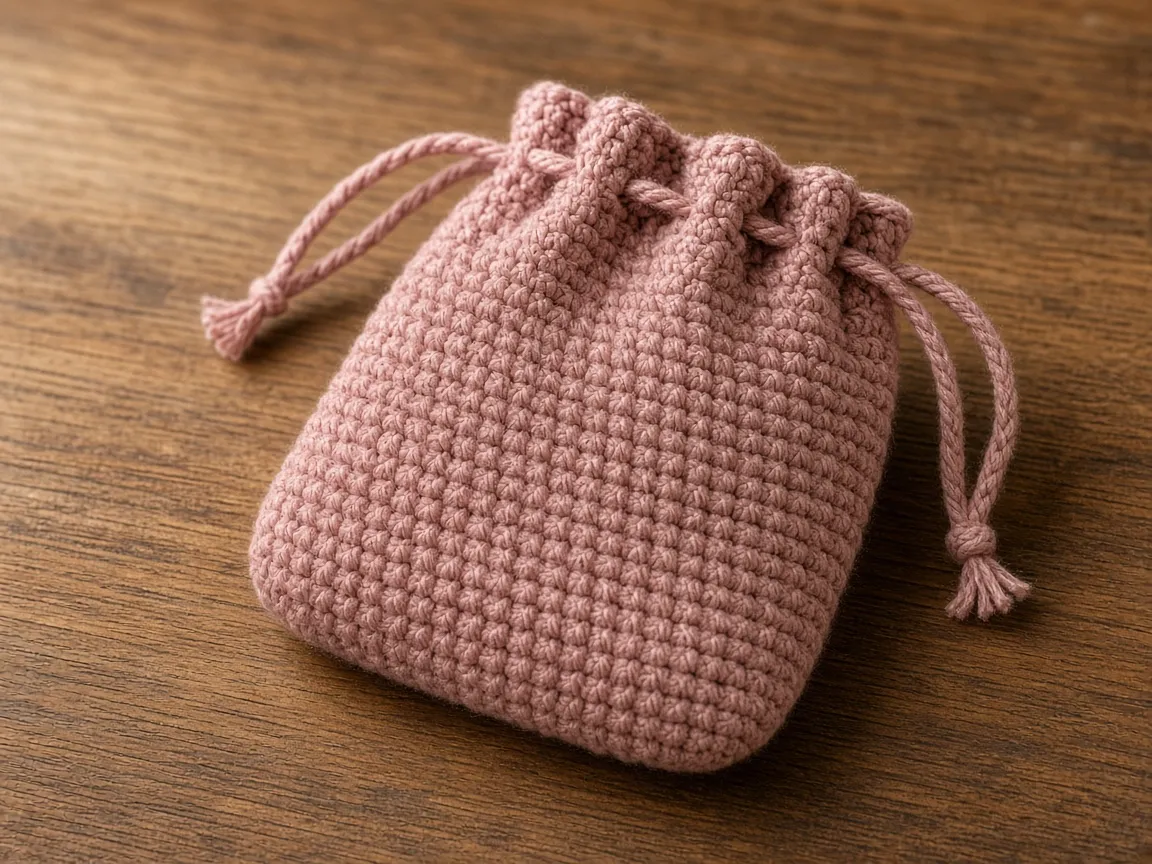
Checkpoint: pack the pouch and pull the cord. The top should close above the tallest item with no gap you can see into.
Do not put nail polish, a leaking bottle, or a wet brush in this pouch. Cotton holds the stain and passes the liquid on to whatever it touches. This is a dry organizer, not a wash bag.
Establish the opening count before making holes
After seaming and turning, mark the two side folds. Join yarn and work a plain setup round: one sc in each of the twenty-eight top-row stitches and one in each of the twenty-eight used foundation-chain positions. Exclude the skipped foundation chain and do not add stitches into the side-seam ridges. Join to the first sc (56). Work the eyelet round over these fifty-six stitch tops, then restore fifty-six in the top round. If the setup count differs, fix it before the eyelets rather than inserting an extra corner stitch partway through the hole repeat. Yarn is porous: keep loose powder and liquids in their own sealed containers.
Troubleshooting
The top will not close over the items. Not enough height for the gather. Add rows, or carry fewer tall things.
It bulges and the seams strain. The width did not include the thickness of the thickest item.
The pouch twists. The rows gained or lost stitches, so one side seam is longer.
One spot will not gather. An odd count on the eyelet round left a missing hole.
The cord stretches and the top reopens. Slip stitch back along the chain.
Powder escapes at a bottom corner. A seam started above the fold. Close the corner with a few stitches.
Care
Empty it. Hand wash cool. A makeup stain may not come out. Dry flat with the cord pulled loose so the eyelets do not dry crushed. Refill only when dry.
Frequently asked
Can I line it?
A cloth lining stops crumbs and some stains. Cut it from the finished pouch, not from these numbers. This page does not include a lining pattern.
What about a bigger pouch?
Redo the table from your own three measurements. The method does not change.
Can I sell pouches?
Finished pouches, yes. Do not republish the rows as your pattern.
Next
A pouch with a zipper instead of a cord is the pumpkin zipper pouch. The same rectangle with a strap is the strap bag.
- makeup pouch
- drawstring
- cotton
- beginner
Read this next
- How to Crochet a Christmas Tree Garlic Holder A small mesh garlic holder with scalloped branches, a gold star, and an open top. US terms. Sizes are design targets.
- How to Crochet a Christmas Tree Plastic Bag Holder Crochet a hollow Christmas tree that holds grocery bags. Bags go in the open top and out the brown trunk. US terms. Sizes come from gauge.
- How to Crochet a Compact No-Slip Kitchen Towel Holder A compact cotton crochet towel holder with two wooden rings, one above the other. Assembly counts are still being checked. US terms.