

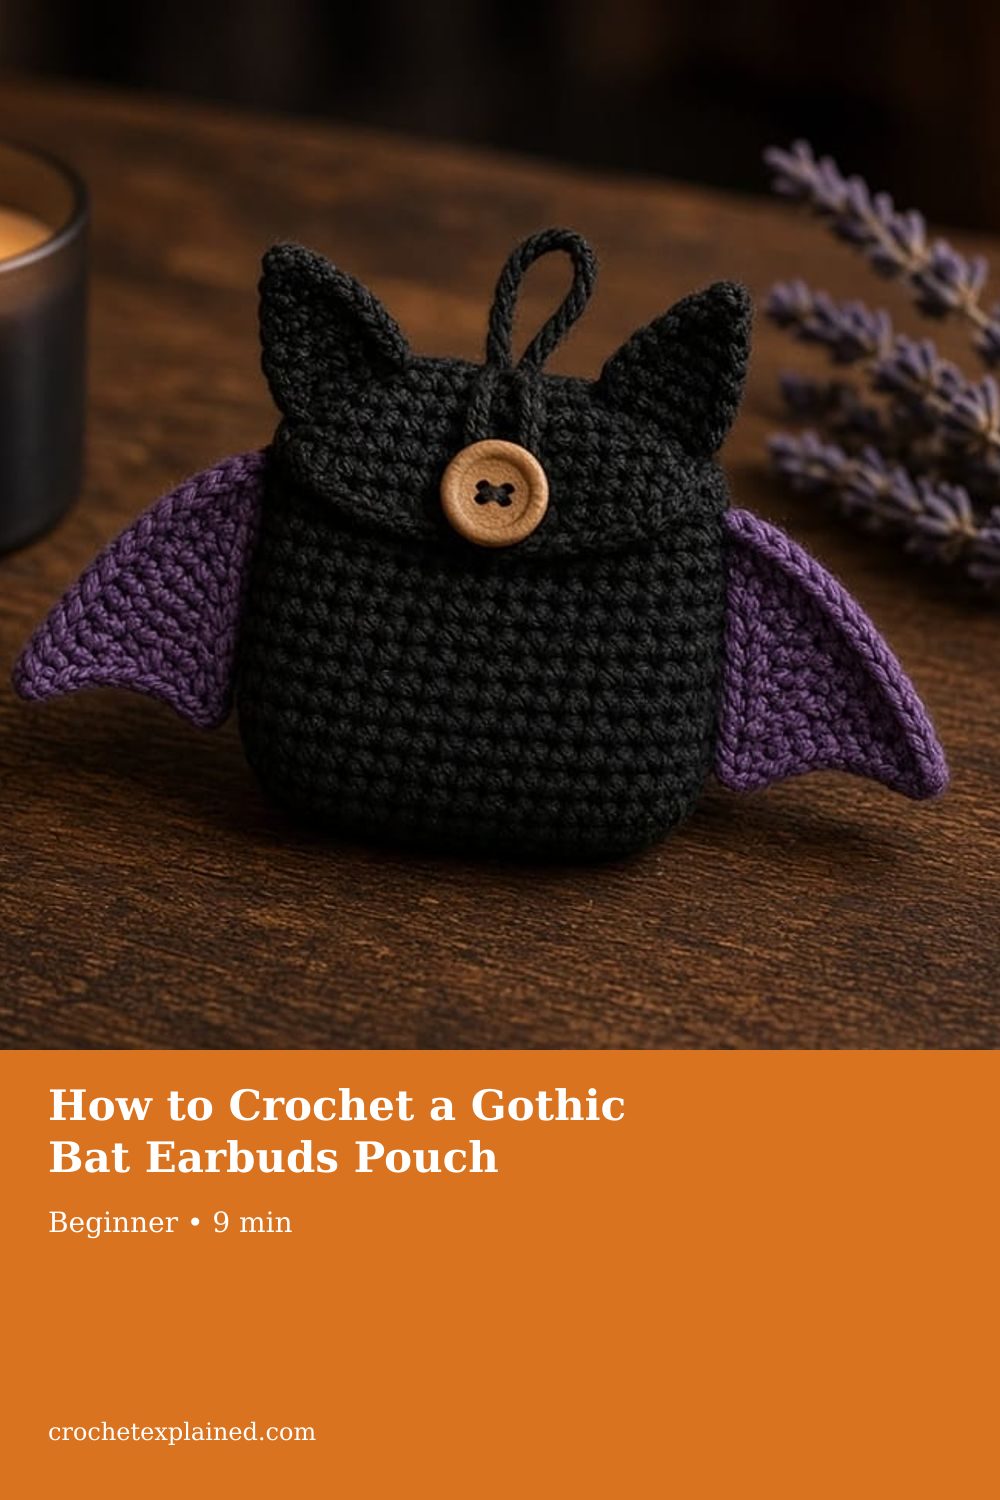
How to Crochet a Gothic Bat Earbuds Pouch
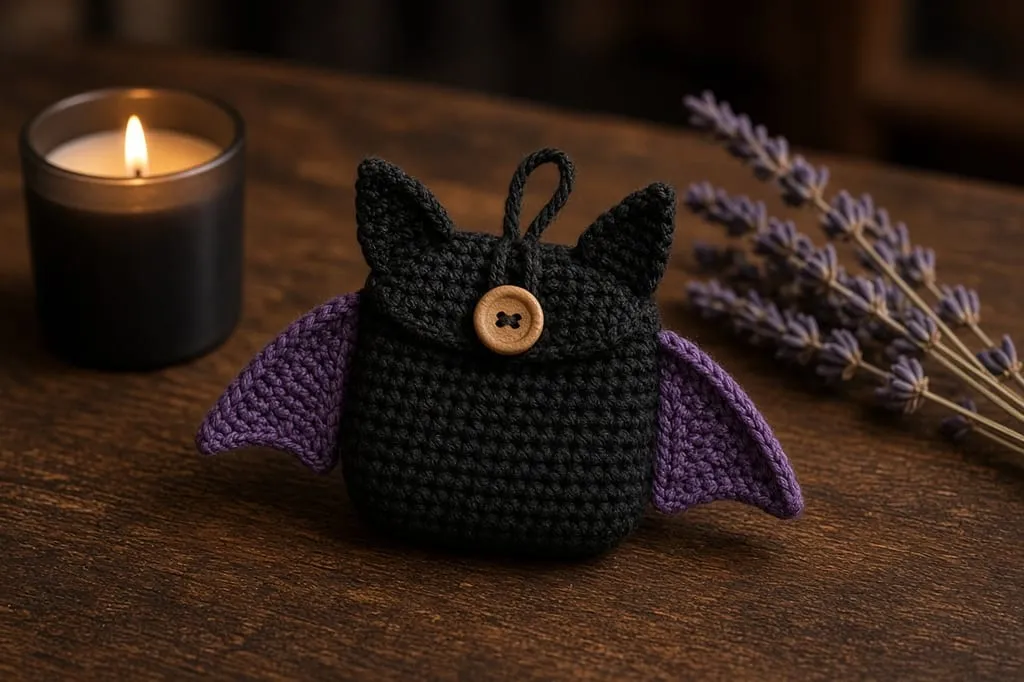
The pouch is a cup sized to the case, with a button flap. Sew the purple wings and ears where they do not stop the flap from closing.
A black crochet earbud pouch with purple bat wings, ears, a button flap, and a keychain loop. Shows how to shape and place sewn-on parts. US terms.
At a glance
- Skill level
- beginner
- Time
- A small pouch, two ear triangles, two picot wings, sewing
- Finished size
- Sized to your earbud case
- Yarn weight
- Worsted cotton, black and purple
- Hook size
- US G/6 (4.0 mm) to start
- Yardage
- Not weighed. Small scraps for the ears and wings.
On this page
Track your progress
- Go to Stage 1: the body
- Go to Stage 2: the flap
- Go to Stage 3: the ears (make 2)
- Go to Stage 4: the wings (make 2)
- Go to Stage 5: placing and sewing
Ticks are saved on this device only. Counting rows? Keep the stitch counter open in another tab.
US crochet terms throughout. Sizes here are worked out from gauge rather than from a finished sample, so swatch and measure as you go, and the pictures of finished pieces are illustrations. Made one? Send a photo through the contact page.
A bare earbud case disappears in a bag. A small black bat with purple wings is easy to spot, but only if the case still fits and the flap still closes once the wings are on. Decorations sewn on the outside take up room and shift the balance. Put them in the wrong place and the pouch either tips over or will not shut.
The pouch itself is a cup sized to the case. The round-pouch method in the device case guide explains in detail how to size one by measuring around the case, so this page keeps the sizing short. What this page adds is the appliqué: shaping a flat triangle with decreases, adding picots to an edge, and sewing parts on where they stay out of the way.
US terms. US single crochet is UK double crochet. Abbreviations. The pictures are illustrations. No pouch for this page was crocheted. Inches are estimates from the example gauge.
How it is built
A flat circle, then straight rounds, makes a cup. A short flap is worked in rows over part of the rim and closes with a chain loop and a button. Two ear triangles sit on top. Two wing triangles with picot edges sit on the sides. A chain loop between the ears takes a split ring.
Yarn and hook
- Worsted cotton, black and purple. Cotton gives the wing points a crisp edge. Fuzzy yarn blurs the picots. Yarn weights.
- US G/6 (4.0 mm) hook, or the size that gives firm fabric. Hook chart.
- A button about 1/2 inch across, a yarn needle, a stitch marker, an optional split ring.
Size the body to the case
Measure around the case at its widest point. At 4 single crochet per inch, multiply by 4, then round up to the nearest multiple of 6 for a flat circle. A small round case about 7 inches around needs 28, so 30. A larger case needs 36. Make a swatch first and use your own stitches per inch, not the example’s.
The cup is deep enough when the top of the case sits just below the rim.
Stage 1: the body
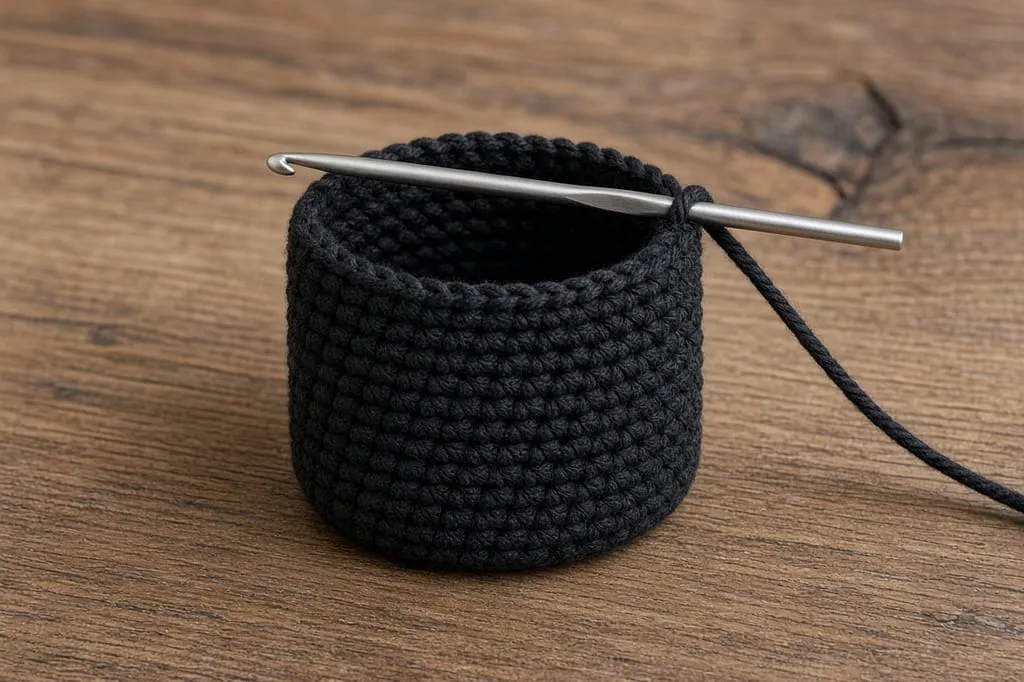
Black. Work in a spiral, without joining, and move a marker up each round. Working in the round.
Round 1: 6 sc in a magic ring. (6)
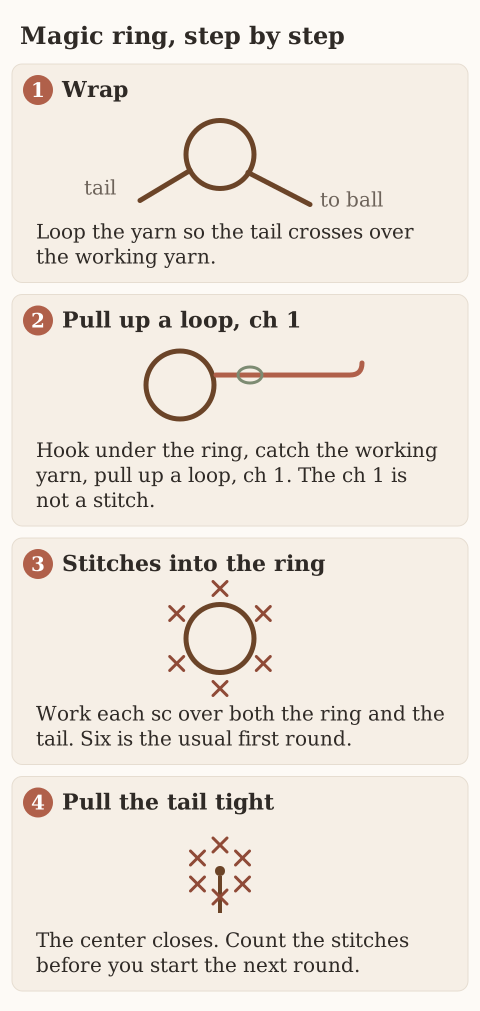
Round 2: 2 sc in each stitch. (12)
Round 3: (Sc, 2 sc in next) 6 times. (18)
Round 4: (Sc 2, 2 sc in next) 6 times. (24)
Round 5: (Sc 3, 2 sc in next) 6 times. (30)
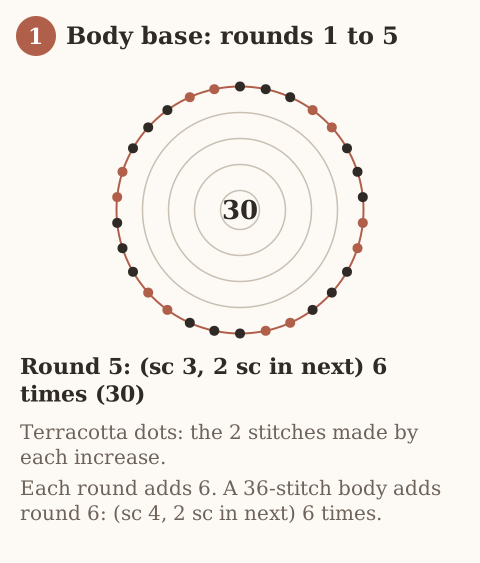
For a 36-stitch body: Round 6: (Sc 4, 2 sc in next) 6 times. (36)
Even rounds: Sc in each stitch until the case sits just inside the rim. At 5 rounds per inch, about 10 rounds for a 2 inch case.
Stage 2: the flap
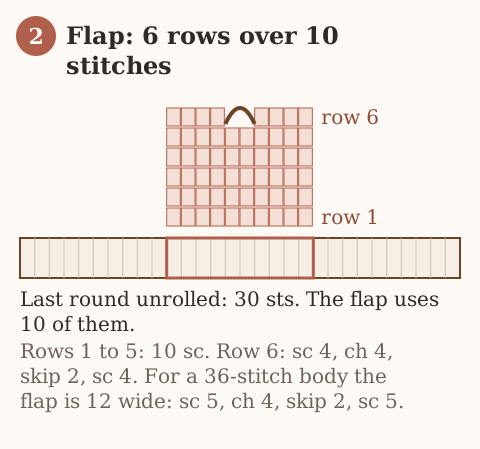
Worked in rows over one third of the rim.
Row 1: Sc in the next 10 stitches. Turn. (10) For 36 stitches, use 12.
Rows 2–5: Ch 1, sc in each stitch. Turn. (10)
Row 6: Ch 1, sc 4, ch 4, skip 2, sc 4. (8 sc and a 4-chain loop) For 12, sc 5, ch 4, skip 2, sc 5.
Fasten off. Close the flap over the case and mark where the loop lands. Sew the button there.
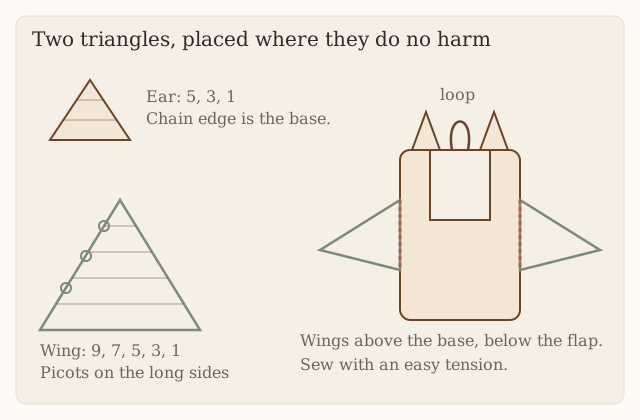
Stage 3: the ears (make 2)
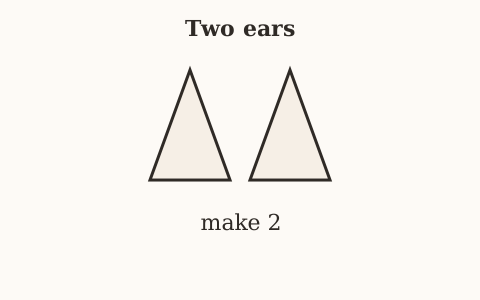
Black. A triangle loses one stitch at each edge every row.
Row 1: Ch 6. Sc in the 2nd chain from the hook and each chain across. Turn. (5)
Row 2: Ch 1, sc2tog, sc, sc2tog. Turn. (3)
Row 3: Ch 1, sc3tog. (1)
Fasten off with a sewing tail. The chain edge is the base.
Stage 4: the wings (make 2)
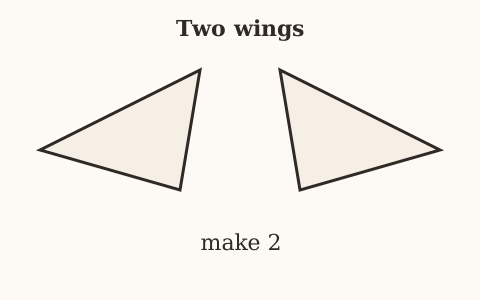
Purple. The same shaping, made larger.
Row 1: Ch 10. Sc in the 2nd chain from the hook and each chain across. Turn. (9)
Row 2: Ch 1, sc2tog, sc 5, sc2tog. Turn. (7)
Row 3: Ch 1, sc2tog, sc 3, sc2tog. Turn. (5)
Row 4: Ch 1, sc2tog, sc, sc2tog. Turn. (3)
Row 5: Ch 1, sc3tog. (1) Do not fasten off.
Each row uses every stitch of the one below: 2 + 5 + 2 = 9, 2 + 3 + 2 = 7, 2 + 1 + 2 = 5, then all 3.
Picot edge: Slip stitch down one long side, working into the row ends. At three evenly spaced points, work (sl st, ch 3, sl st in the same place). Slip stitch along the chain edge without picots, because that edge gets sewn down. Work the second long side the same way. Fasten off with a sewing tail.
A picot is a small chain loop that stands off the edge. Three per side read as the scalloped edge of a bat wing.
Stage 5: placing and sewing
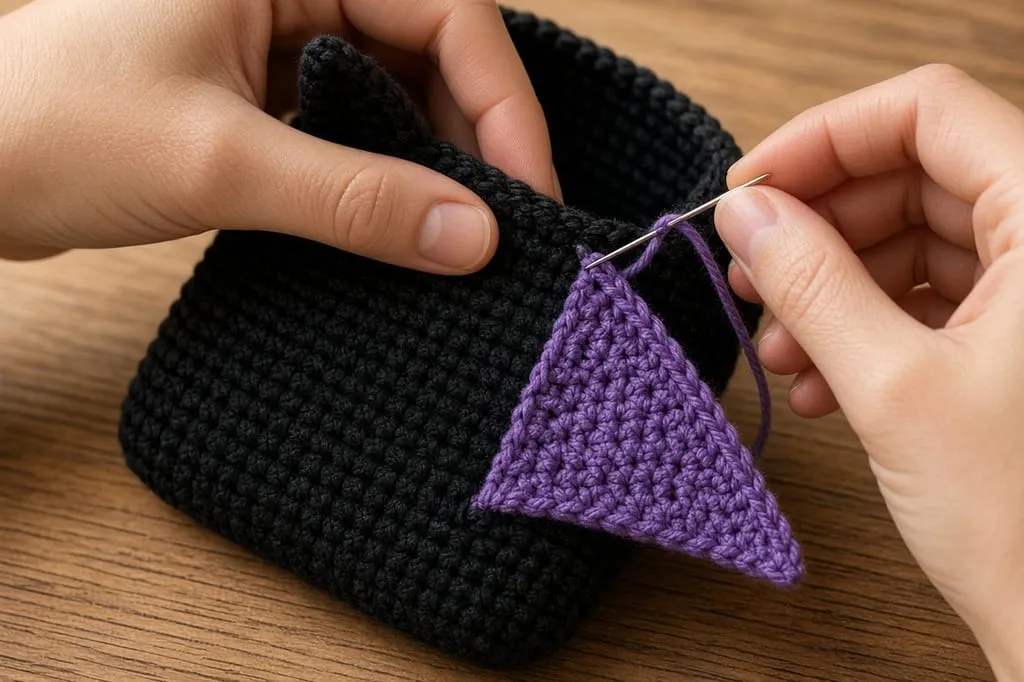
- Case in first. Put the case in the pouch and close the flap. Everything is placed with the pouch full, because an empty pouch is narrower.
- Ears. Sew the chain edge of each ear to the rim just beside the flap, one on each side of where the flap starts. They must not sit on the flap, or they stop it folding.
- Wings. Pin each wing’s wide edge vertically along a side, centered on the middle of the wall. Too low and the wing touches the table and tips the pouch. Too high and it catches the flap.
- Sew loosely. Whipstitch through both layers with easy tension. Pulled tight, the seam puckers the wall and makes the pouch smaller inside.
- Loop. Join black on the back wall, one round below the middle of the flap’s base. Ch 16, slip stitch into the same stitch. For a sturdier loop, slip stitch back along the chain.
- Weave the ends in on the inside. Weaving in ends.
Check the case one last time. It should drop in and the flap should close without pulling.
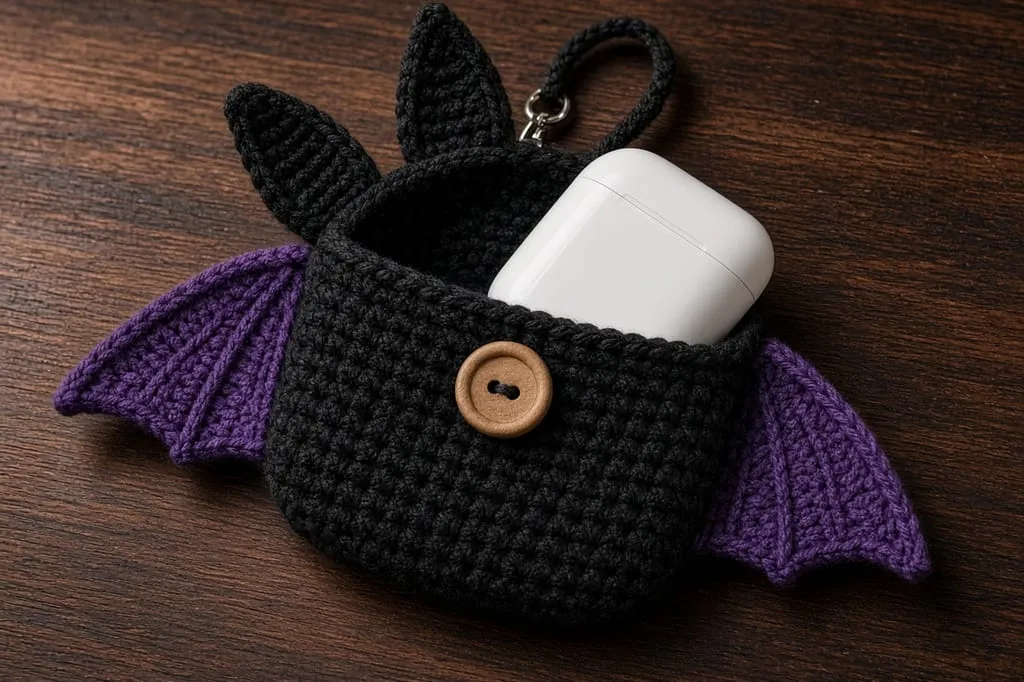
Use markers to keep the decoration out of the opening
Before the flap, flatten the filled pouch and mark the center back and the intended flap span. Rejoin at its first stitch if the spiral marker is elsewhere. For 30 rim stitches the flap is ten stitches; for 36 it is twelve. Work only that span and leave the rest open. Pin ears beside the flap base, then pin each wing’s nine-stitch foundation edge vertically along one wall. Sew through wing and that wall only, with the device removed. Check the lid and flap movement after temporarily tacking each piece. Do not assume circumference alone guarantees a round base matches a box-shaped case.
Variations
All black. The wing shape still reads as a bat.
Eyes. Embroider two small eyes rather than sewing on beads. Beads come off and are a choking risk for small children.
Larger wings. Start the wing with ch 12 (11 sc). Decrease the same way: 11, 9, 7, 5, 3, 1. Larger wings stick out further and catch on things in a bag.
Troubleshooting
The pouch tips over. The wings were sewn too low. Move them up.
The flap will not close. The ears are on the flap, or the case is too tall. Move the ears, or add rounds.
The side puckers. Sewn too tight. Redo with easier tension.
The wing has no point. Row 5 was skipped, or a decrease was missed. Count each row.
The picots disappear. The yarn is too fuzzy, or the picot chain is too short. Use ch 4.
Care
Hand wash cool. Press out in a towel. Dry flat. Machine drying can shrink cotton enough to trap the case.
Frequently asked
Will it fit every earbud case?
Only if you size it to yours. Measure around the case and use the stitch count that covers it.
Is the loop strong enough for keys?
It has not been tested. A chain loop is weaker than a slip-stitch-reinforced one. For a heavy key ring, use a metal clip sewn on firmly, not a yarn loop.
Can I sell finished pouches?
Yes. Do not republish the pattern.
Next
Sizing a case by its perimeter, in more detail, is the round-pouch method in the device case guide. Another flat piece with a closure and a decoration is the card wallet.
- halloween
- bat
- earbuds pouch
- beginner
- keychain
- how to
Read this next
- How to Crochet a Christmas Tree Garlic Holder A small mesh garlic holder with scalloped branches, a gold star, and an open top. US terms. Sizes are design targets.
- How to Crochet a Christmas Tree Plastic Bag Holder Crochet a hollow Christmas tree that holds grocery bags. Bags go in the open top and out the brown trunk. US terms. Sizes come from gauge.
- How to Crochet a Compact No-Slip Kitchen Towel Holder A compact cotton crochet towel holder with two wooden rings, one above the other. Assembly counts are still being checked. US terms.