

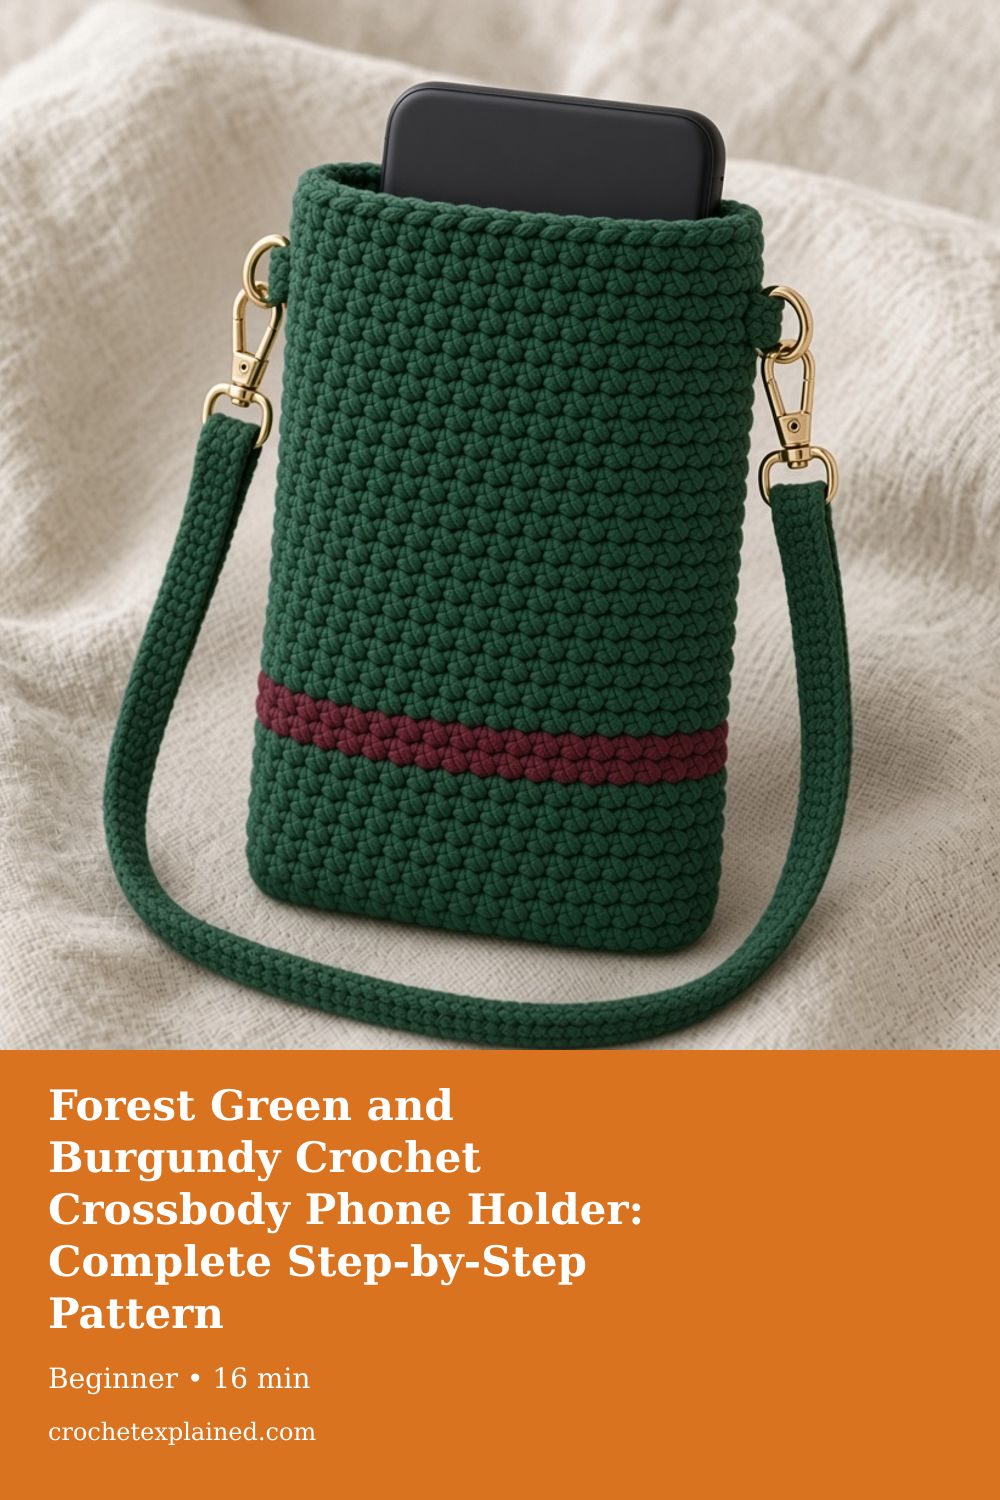
Forest Green and Burgundy Crochet Crossbody Phone Holder: Complete Step-by-Step Pattern
One oval of 42 single crochet, worked upward in a spiral. Burgundy is rounds 13 through 17. The strap is a separate 6-stitch strip on two D-rings. Sizes below come from the gauge, so measure your phone and your swatch before you fasten off.
Crochet a forest-green phone pouch with a burgundy stripe and a handmade strap. Gauge, stitch counts, and sizing from your phone.
At a glance
- Skill level
- beginner
- Time
- Several hours of crochet, then sewing the tabs
- Finished size
- About 4.1 in wide and 7.9 in tall at the sample gauge
- Yarn weight
- Worsted cotton in forest green and burgundy
- Hook size
- 3.5 mm, or the hook that matches the gauge
- Yardage
- A shopping estimate of 100–150 g total, not a weighed sample
On this page
- Finished size at the sample gauge
- Materials
- Stitches and terms
- Step 1 — Measure the phone
- Step 2 — Swatch
- Step 3 — Chain 21
- Step 4 — Oval round 1
- Step 5 — Check the base
- Step 6 — Green walls, rounds 2–12
- Step 7 — Burgundy stripe, rounds 13–17
- Step 8 — Green again, rounds 18–40
- Step 9 — Finish the opening
- Step 10 — Two tabs
- Step 11 — Sew the tabs on
- Step 12 — Strap
- Step 13 — Clasps, fit, and care
- Round checklist
- Other phones
- What usually goes wrong
- Before you call it finished
- Frequently asked
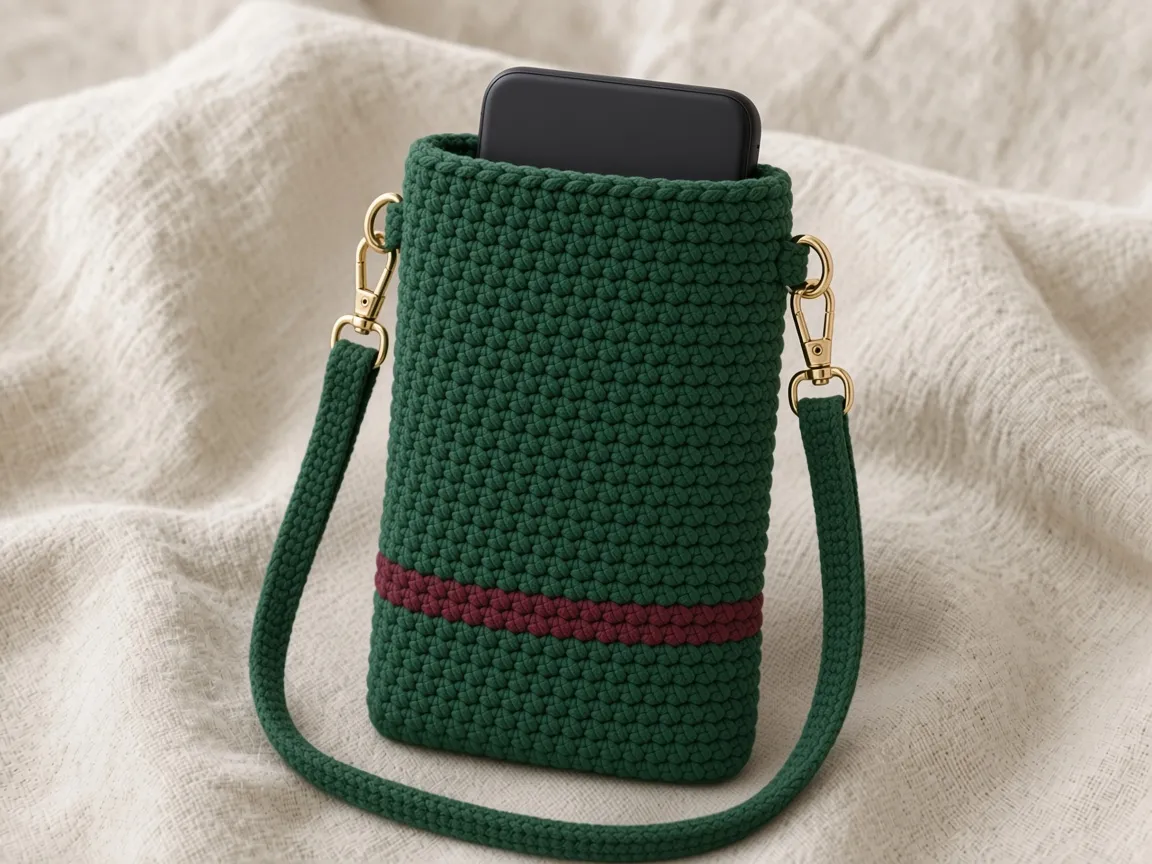
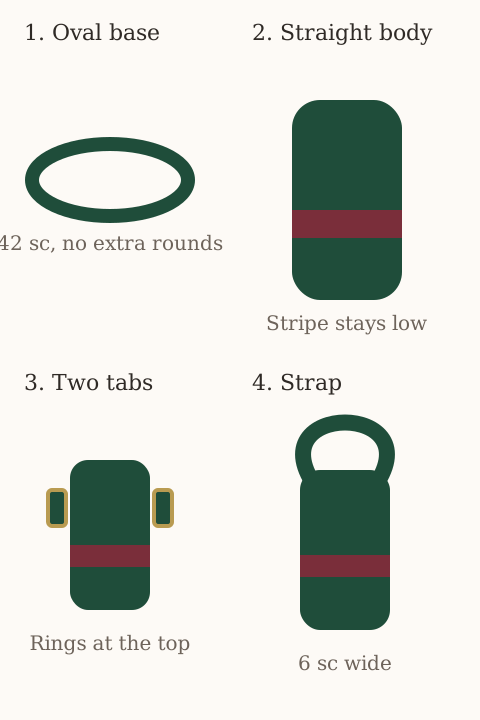
A forest-green body, one burgundy stripe, and a slim crocheted strap make a small phone pouch you can wear across the body. This is an original single-crochet pattern: an oval base, a straight tube, two folded tabs, and a strap. It does not use a flap.
The sizes below are worked out from the stitch gauge, not from a finished sample. The pictures are illustrations of that construction. Measure your own phone, in its everyday case, and check the pouch on that phone before you sew the hardware.
This is a soft yarn pocket, not a shockproof case. It is not waterproof, and an open top will not hold a phone if you turn the pouch upside down. Test the tabs and clasps with a light object before you carry a phone. Take the phone out while it charges.
Finished size at the sample gauge
The sample gauge is 20 single crochet and 20 rounds = 10 cm (4 in). At that gauge:
| Piece | Count | About |
|---|---|---|
| Flat width | 42 sc around, pressed flat | 10.5 cm / 4.1 in |
| Outside height | Round 1, then rounds 2–40 | 20 cm / 7.9 in |
| Circumference | 42 sc every round | 21 cm / 8.3 in |
| Burgundy band | Rounds 13–17 | 2.5 cm / 1 in |
| Strap | 6 sc wide, length you measure | about 115–125 cm / 45–49 in |
The sample envelope used for the arithmetic is a cased phone about 16.5 × 8 × 1.2 cm (6.5 × 3.1 × 0.5 in). A thicker case needs a longer starting chain. Eleven green wall rounds are about 5.5 cm, five burgundy rounds about 2.5 cm, and twenty-three green rounds above the stripe about 11.5 cm. Those 39 wall rounds are about 19.5 cm before the base thickness.
Materials
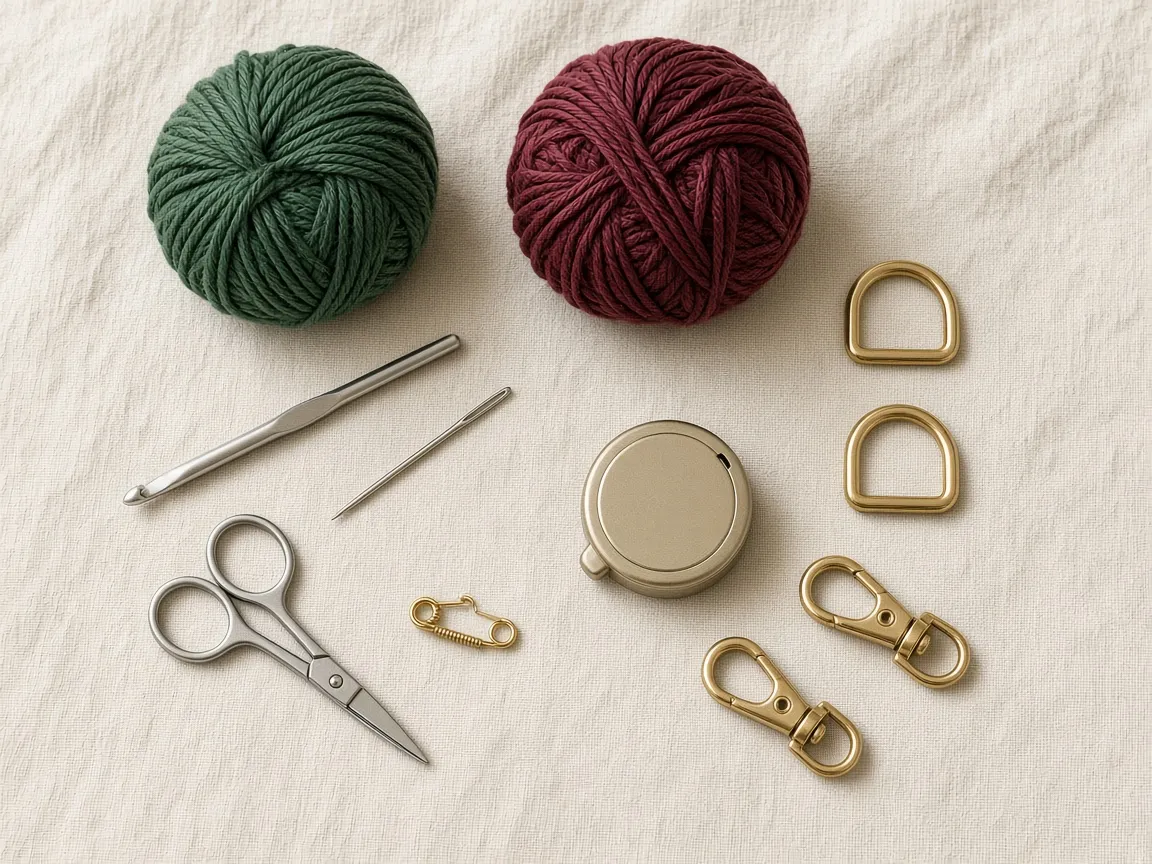
- 100–150 g worsted cotton in total. Forest green is the main color. Burgundy is the stripe. Buy an extra skein if the strap will be long. This is a shopping estimate, not a weight taken from a finished pouch.
- 3.5 mm hook, or whatever hook gives you the gauge in firm cotton.
- Blunt tapestry needle, locking stitch marker, tape measure, scissors.
- A cardboard rectangle the size of your phone, plus about 5 mm (1/4 in) past the phone on each side.
- Two metal 20 mm (3/4 in) D-rings and two swivel clasps that fit those rings. Skip thin decorative rings. Plastic rings are a poor choice for a strap you will wear.
- Optional: a plain unstamped charm, and a little extra cotton if you want an inside reinforcement patch.
Cotton and a tight single crochet make a firmer fabric than a loose acrylic. They still will not make the pouch waterproof. If you change fiber, swatch again. The same hook size is not a promise across yarns.
Stitches and terms
US names are used throughout. A US single crochet is a UK double crochet. If you learned UK terms, read the abbreviation chart before you start, and follow the US single crochet in the basic stitches lesson.
| Term | Meaning |
|---|---|
| ch | Chain |
| sc | Single crochet: insert, yarn over, pull up a loop, yarn over, draw through both loops |
| sl st | Slip stitch |
| BLO | Back loop only |
| st(s) | Stitch(es). Count the V at the top of each stitch |
| rnd | Round |
There is no turning chain in the body. The body is a spiral. Move the marker up into the first stitch of each new round.
Step 1 — Measure the phone
Take height, width, and depth with the case you actually use. Published phone sizes leave out the case, a grip, and a camera bumper.
For a flexible sleeve, a trial flat width is width + depth + 0.5 to 1 cm. On the sample phone that is about 8 + 1.2 + 0.5 to 1 cm, or roughly 9.7–10.2 cm. The 42-stitch tube presses flat to about 10.5 cm at the sample gauge, which is in that range only if your gauge matches. The opening still has to admit the phone without force.

Checkpoint. Write down the three measurements and cut the cardboard template before you chain.
Step 2 — Swatch
With forest green and the 3.5 mm hook, crochet a single-crochet square at least 15 cm (6 in) across. Let it rest, then measure an interior 10 cm (4 in).
Target: 20 sc across and 20 rows high in that 10 cm.
More than 20 stitches in 10 cm means the fabric is tight: go up a hook size. Fewer than 20 means it is loose: go down a hook size. Also check that a phone can slide into a tube made at that tension. A stiff fabric can meet the stitch count and still be unpleasant to use.
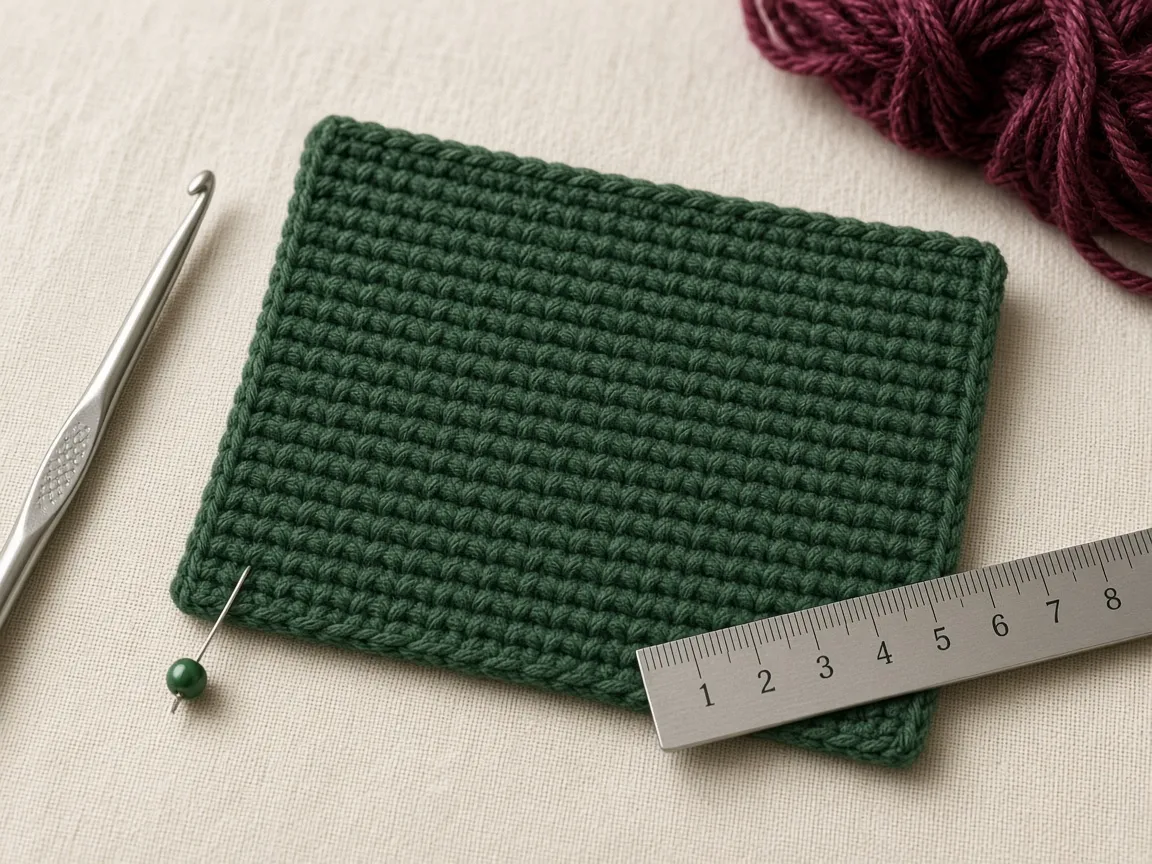
Checkpoint. Record your stitches per 10 cm. If it is not 20, resize the chain with the formula in the sizing section before you follow the sample counts.
Step 3 — Chain 21
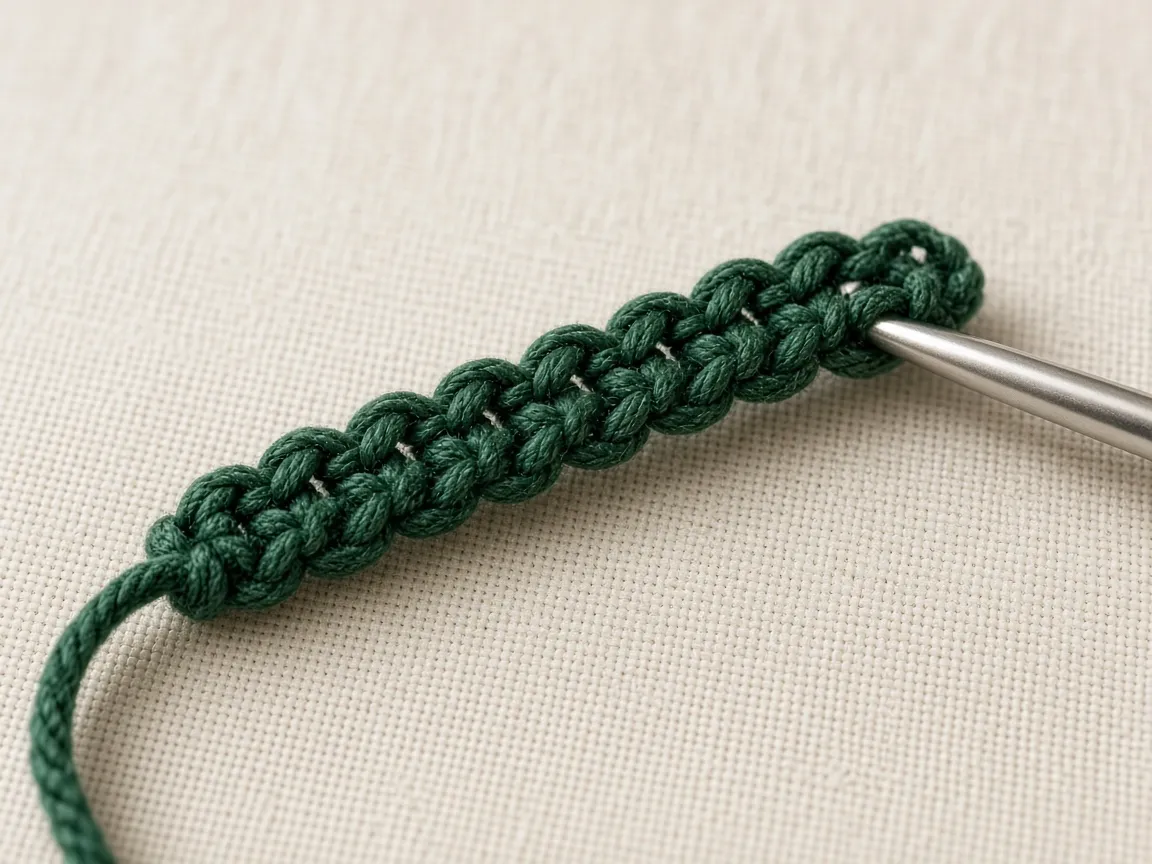
Chain 21 in forest green. Mark the first chain so you can find it again. The chain should lie flat. A tight chain makes the oval curl.
Step 4 — Oval round 1
You work around both sides of the chain so the bottom is one piece. Do not make two flat panels.
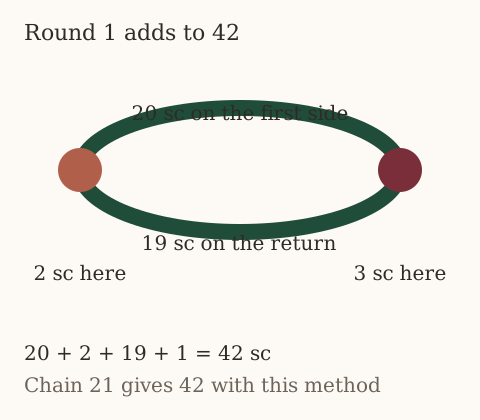
Round 1. Single crochet in the second chain from the hook and in each chain across (20 sc). The last of those 20 sits in the end chain. Work 2 more sc in that same end chain, so the end holds 3 sc. Rotate. Work 19 sc along the unused loops on the way back. Work 1 more sc in the first chain you used, so that end holds 2 sc.
20 + 2 + 19 + 1 = 42 sc.
Put the marker in the first stitch. With this method, a starting chain of N gives 2N stitches. Chain 21 gives 42. Chain 19 gives 38. Chain 23 gives 46.
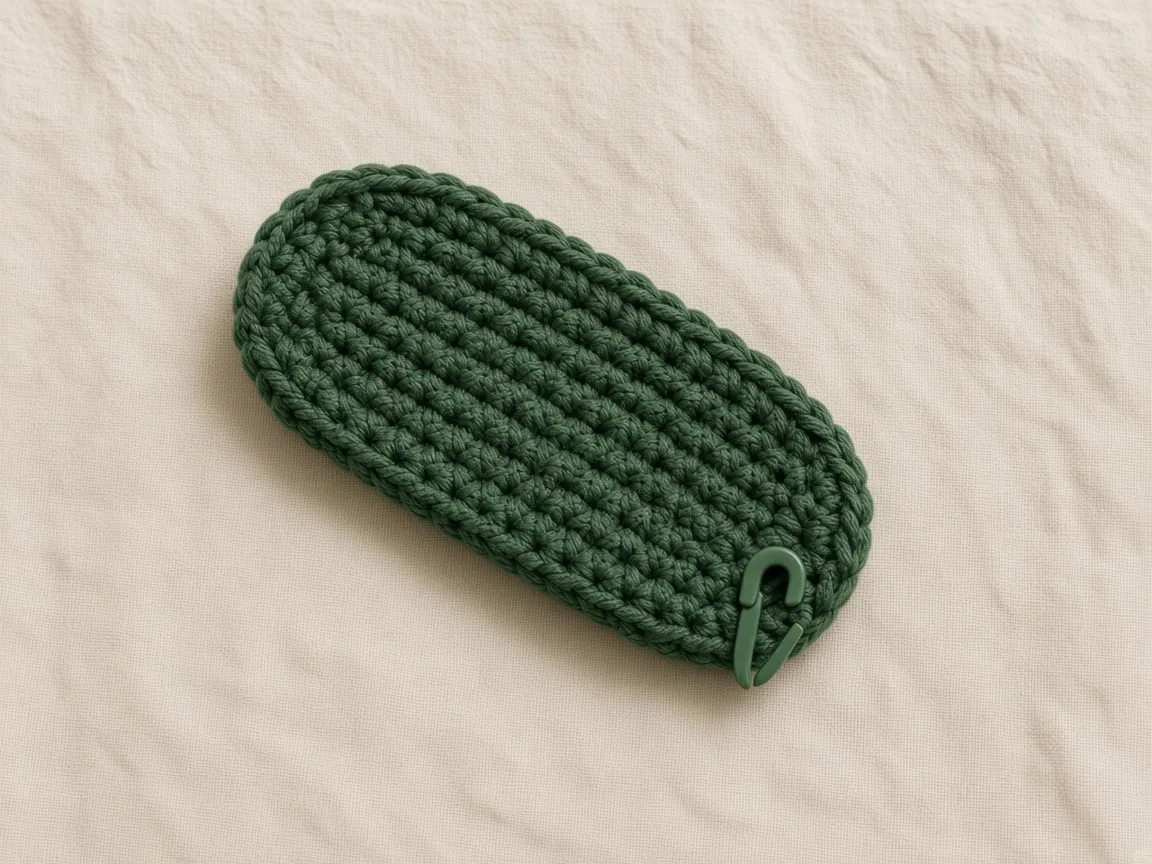
Checkpoint. Count 42 Vs. If you have 41 or 43, undo back to the chain. Do not keep going.
The next rounds do not increase. An extra stitch here becomes a wider pouch on every round after it.
Step 5 — Check the base
Lay the oval beside the cardboard phone. At the sample gauge the oval is about 10.5 cm (4.1 in) from tip to tip. It is a narrow rounded base, not a flat box, because you will not add increase rounds.
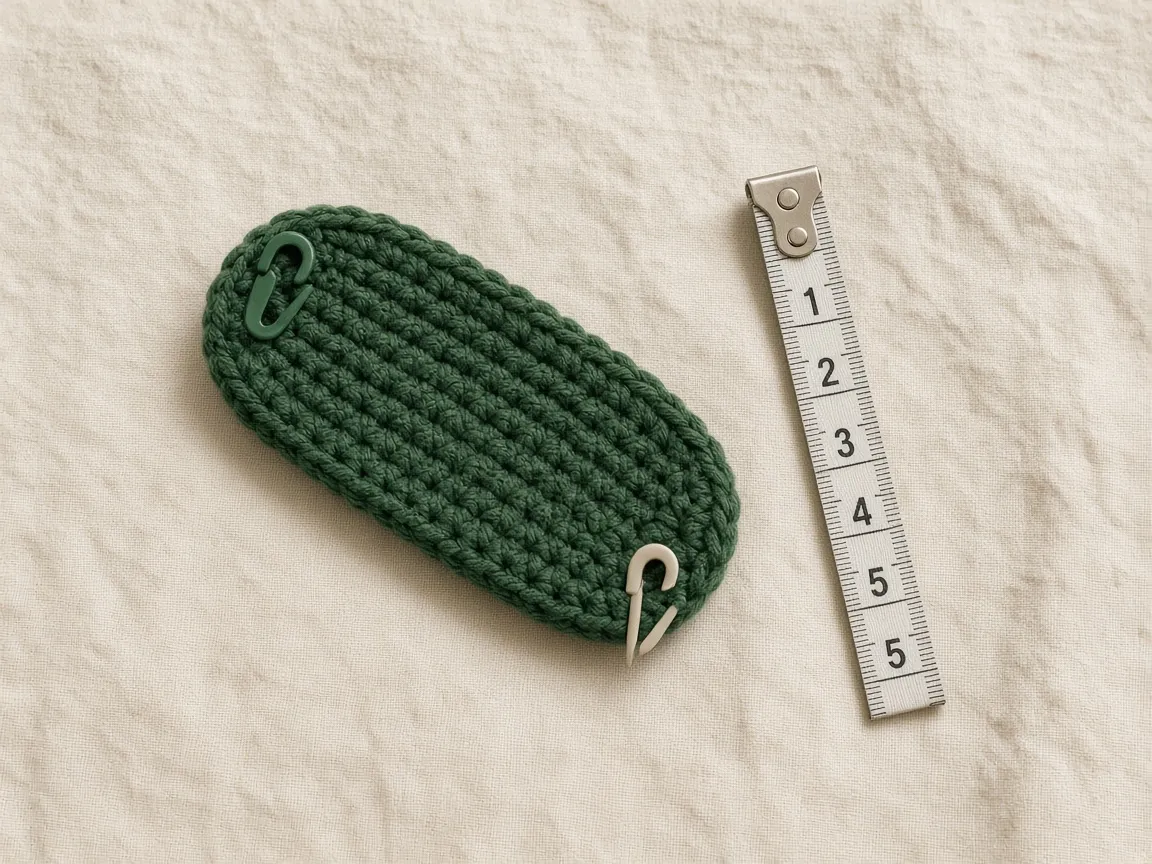
Common mistake. Counting the chain bumps instead of the stitch tops. Count the Vs you just made.
Step 6 — Green walls, rounds 2–12
Round 2. 1 sc in the back loop only of each of the 42 stitches. The unworked front loops make a small ridge where the wall stands up from the base.
Rounds 3–12. 1 sc through both loops of every stitch. Do not join, turn, or increase. Move the marker each round.
That is 11 wall rounds, about 5.5 cm (2.2 in) at the sample gauge. Every round still has 42 sc.
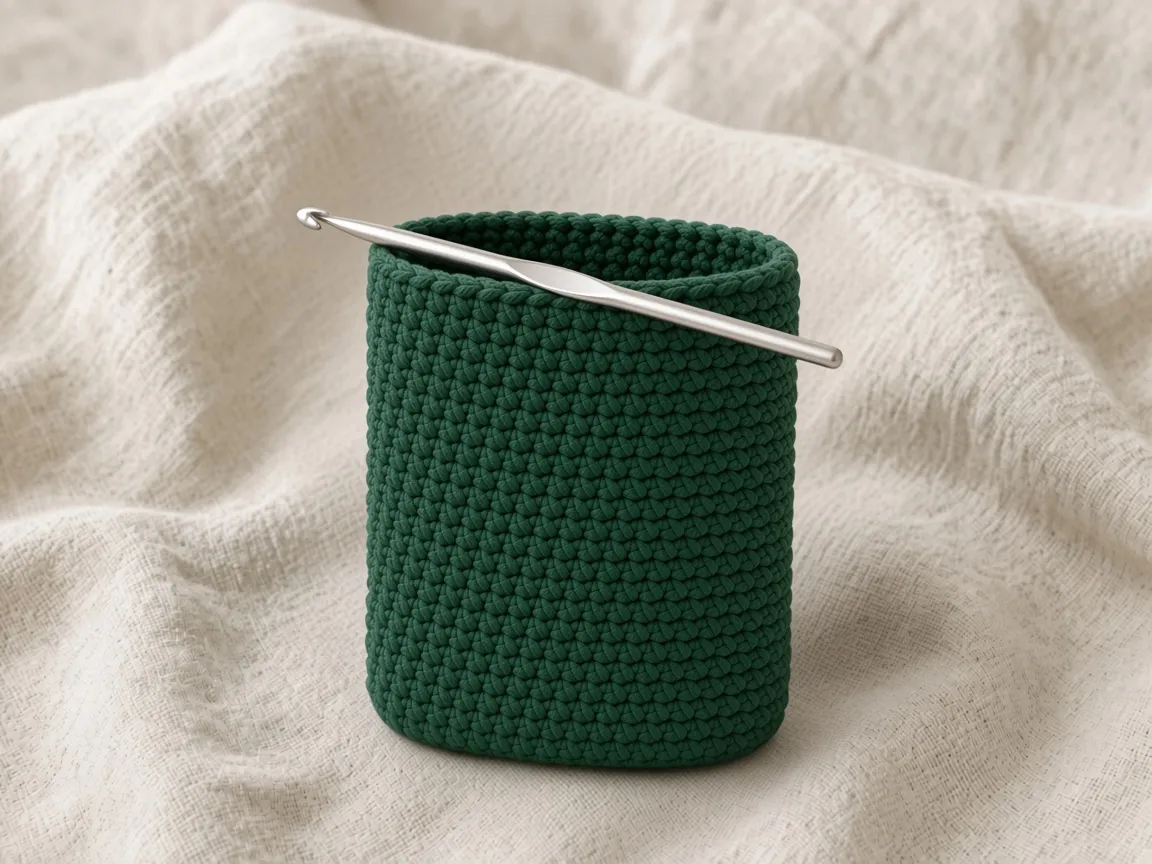
Checkpoint. The tube should not be getting wider. If it is, you are working the marked stitch twice or adding a stitch where the spiral climbs. Count 42 and remove the extra stitch now.
Step 7 — Burgundy stripe, rounds 13–17
On the last yarn-over of the last sc of round 12, draw the burgundy yarn through so the next loop is burgundy. Leave tails of 10–12 cm (4–5 in) on the inside. Cut the green. Carrying it across five rounds would leave bulky floats.
Rounds 13–17. 42 sc in burgundy each round. Five rounds are about 2.5 cm (1 in) at the sample gauge.
The spiral makes a small step at the color change. Park that step on the back, near a side fold. A jogless color change is optional. Either way, count 42 before and after the join.
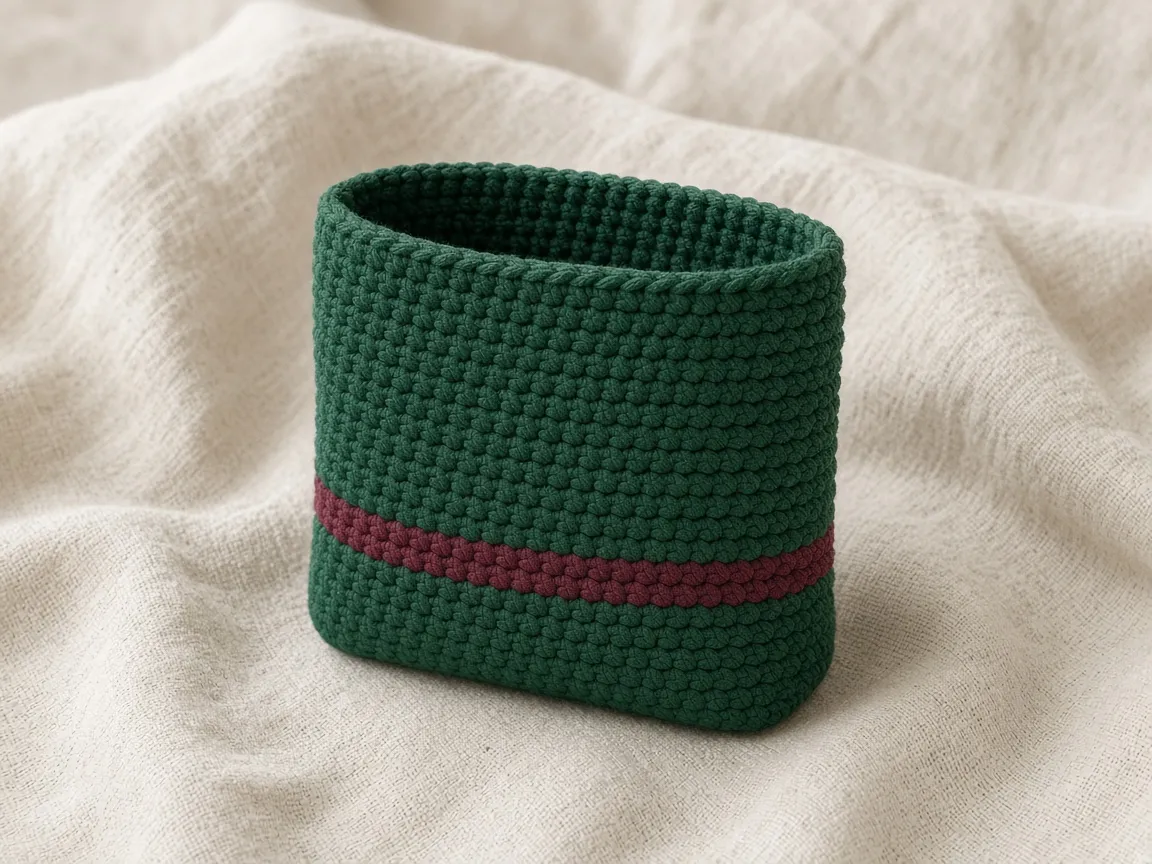

Common mistake. Changing color in the middle of a round, or working a second stripe at the opening. This pattern has one band, and it sits low.
Step 8 — Green again, rounds 18–40
On the last yarn-over of the last burgundy stitch of round 17, join green again.
Rounds 18–40. 42 sc in green each round. Do not increase or decrease. That is 23 rounds, about 11.5 cm (4.5 in) above the stripe.
Try the phone in the pouch before you fasten off. If the top does not clear the phone by about 1 cm, add green rounds after round 40. If you need a shorter pouch, stop only after the burgundy rounds are finished, and still leave room above the phone.
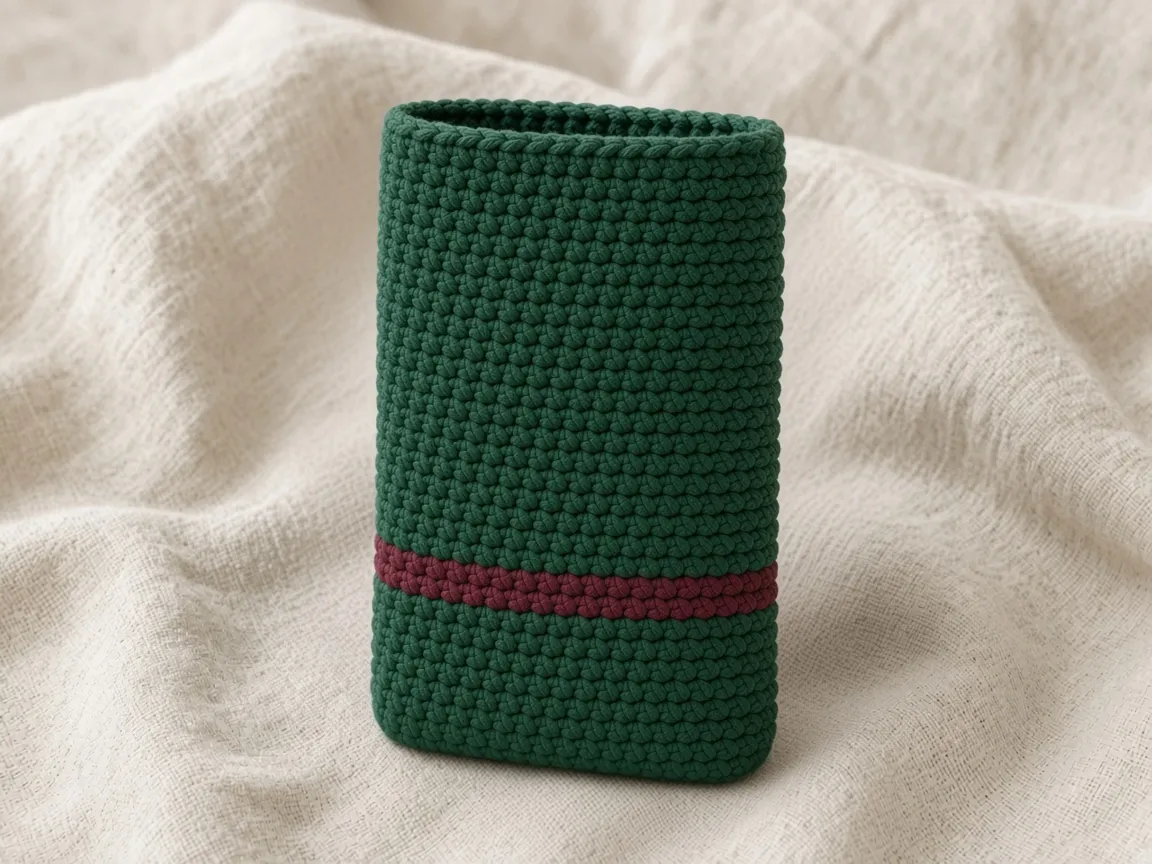
Checkpoint. 42 stitches. Sides straight. One burgundy band, with more green above it than below it.
Step 9 — Finish the opening
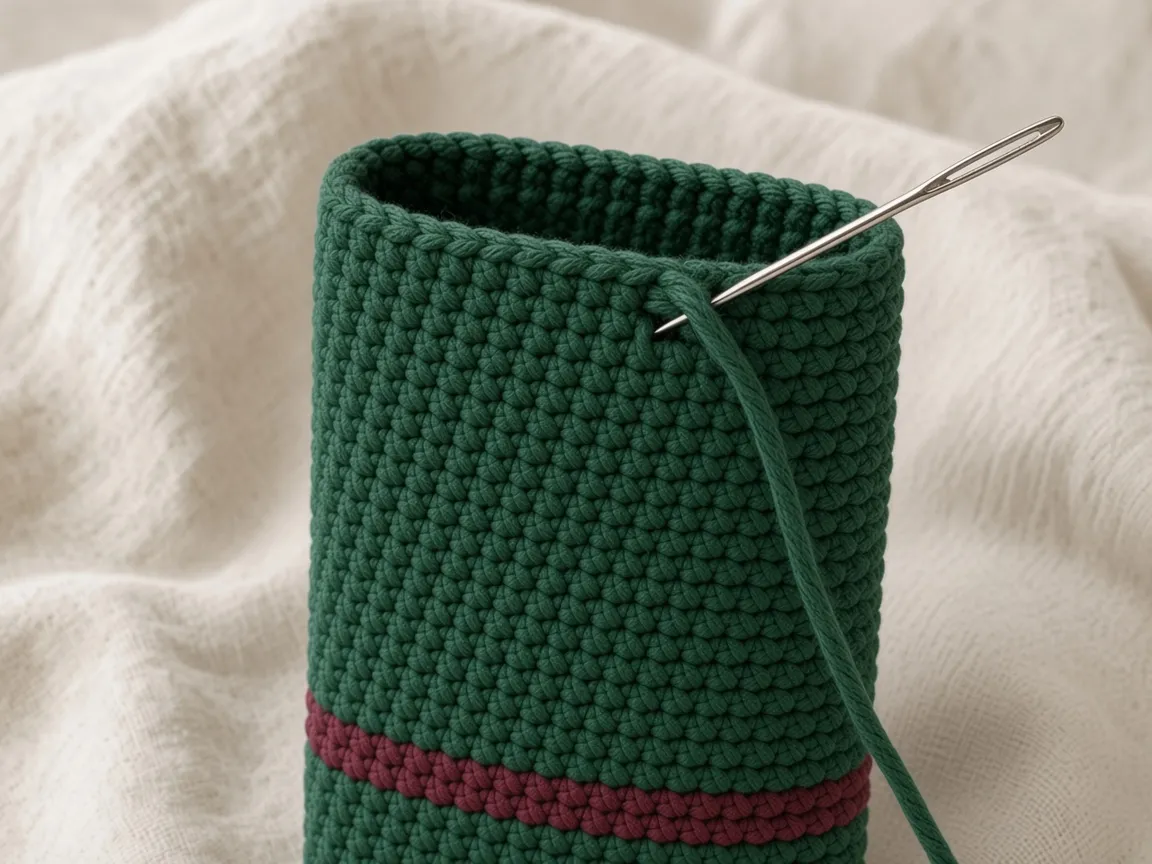
After round 40, slip stitch into the next sc to ease the spiral step. Optional: one round of loose slip stitches around the rim. If that round tightens the opening, take it out.
Cut the yarn, leave about 15 cm (6 in), and pull the tail through. Weave it on the inside through 5 or 6 stitch legs, then turn and weave back. Trim only after the tail stays put. Slide the phone in and out a few times. The rim should not catch.
Step 10 — Two tabs
Make two the same, in forest green.
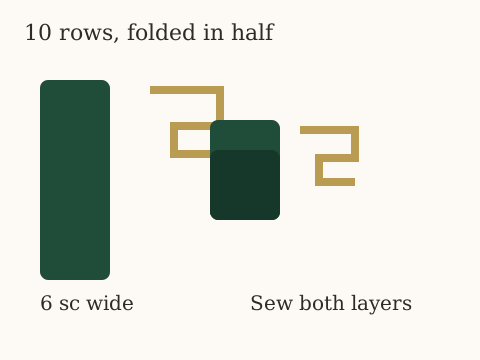
Chain 7. Row 1: sc in the second chain from the hook and across (6 sc). Turn, ch 1. Rows 2–10: 6 sc, turn, ch 1. Leave a 35 cm (14 in) tail for sewing.
At the sample gauge a tab is about 3 cm wide and 5 cm long (1.2 × 2 in). Fold it in half around a 20 mm D-ring so 5 rows sit on each side of the ring. Sew the two layers together with the tail, through several rows, not only the edge.
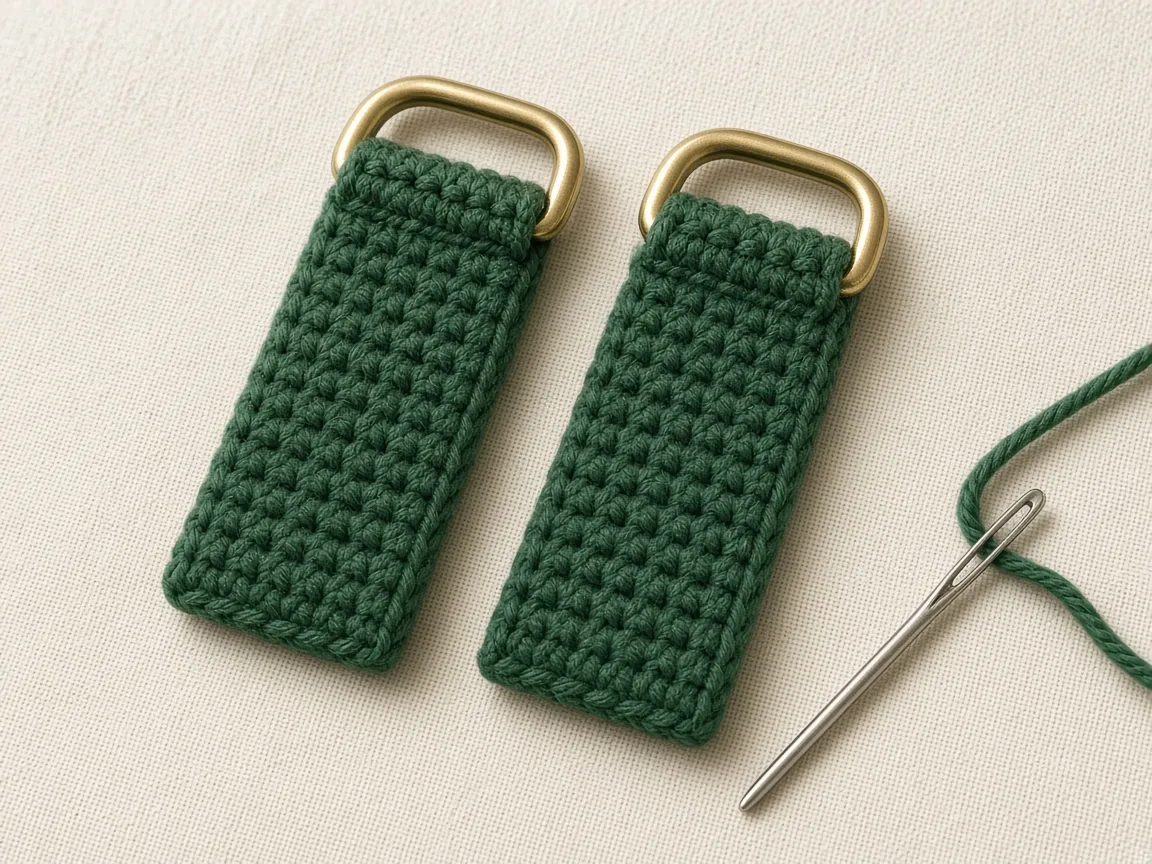
Checkpoint. The ring cannot slide out of the fold. Make the second tab before you sew either one to the pouch.
Step 11 — Sew the tabs on
Flatten the pouch so the side folds are opposite each other. Set one tab on each side. The ring sits at or just above the rim, and the sewn part of the tab extends 2–3 cm (about 1 in) down the outside.
With matching cotton, sew a rectangle around the overlap, then an X through the middle. Sew through the pouch wall only. Do not catch the front and back together, or you will close the opening. If the stitches look strained, crochet a small 6-by-5 sc patch and sew it on the inside behind the tab.
Pull each ring gradually. If stitches open up, stop and add more sewing. Do not carry a phone on a tab that is already stretching.
Step 12 — Strap
Chain 7 in forest green. Row 1: sc in the second chain and across (6 sc). Following rows: ch 1, turn, 6 sc.
Work until the strip measures 115–125 cm (45–49 in) for a crossbody length, or the length that sits where you want it. At 20 rows per 10 cm, about 240 rows is 120 cm (47 in). Strap gauge often differs from the pouch, so measure the strip, not the row count alone.
An optional line of burgundy slip stitches down the center is decoration only. Do not pull it tight. Weave the ends in both directions.
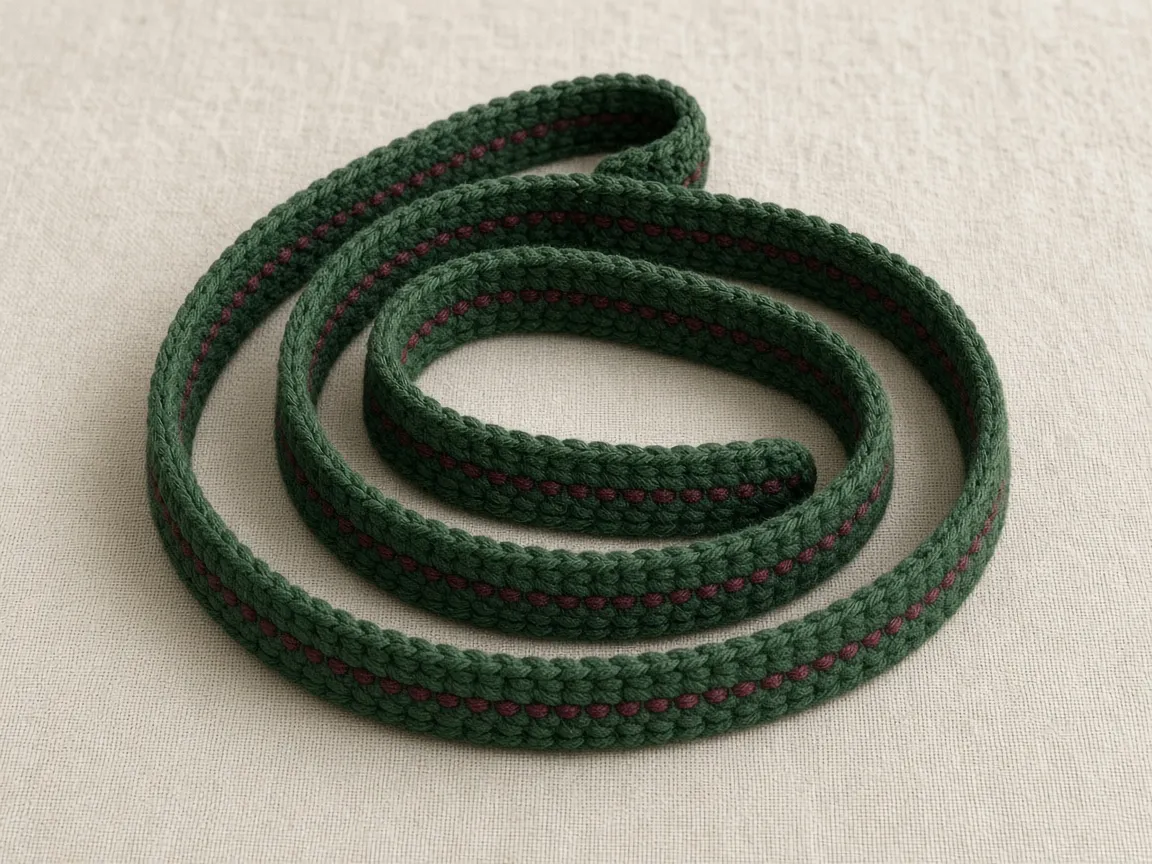
A 6-stitch cotton strap is for a phone pouch. It is not a strap for a heavy bag. Cotton lengthens with wear. If it stretches, shorten it after a wear test, or sew a non-stretch tape inside the strip.
Step 13 — Clasps, fit, and care
Pass 3–4 cm (about 1.5 in) of each strap end around the bar of a swivel clasp. Fold it back and sew at least two rows across the overlap, plus the edges. The clasp should swivel, and the fold should not pull out. If you would rather skip clasps, sew the strap ends into the tabs with the same wide overlap.
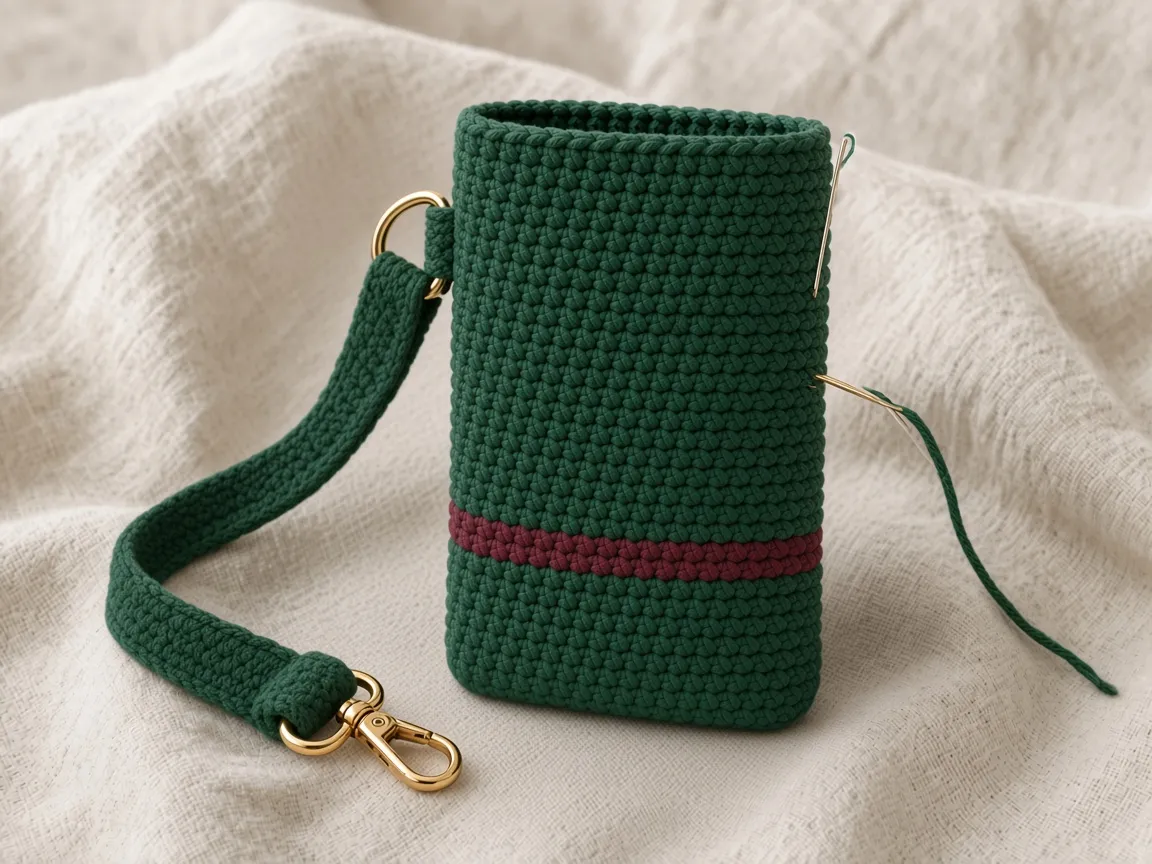
Clip the clasps to the D-rings. Put the phone, in its usual case, inside. The rim should clear the phone by about 1–2 cm. Shake the pouch gently over a sofa, not over a hard floor. Wear it, sit, and bend. Move the strap length if the pouch hits your hip.
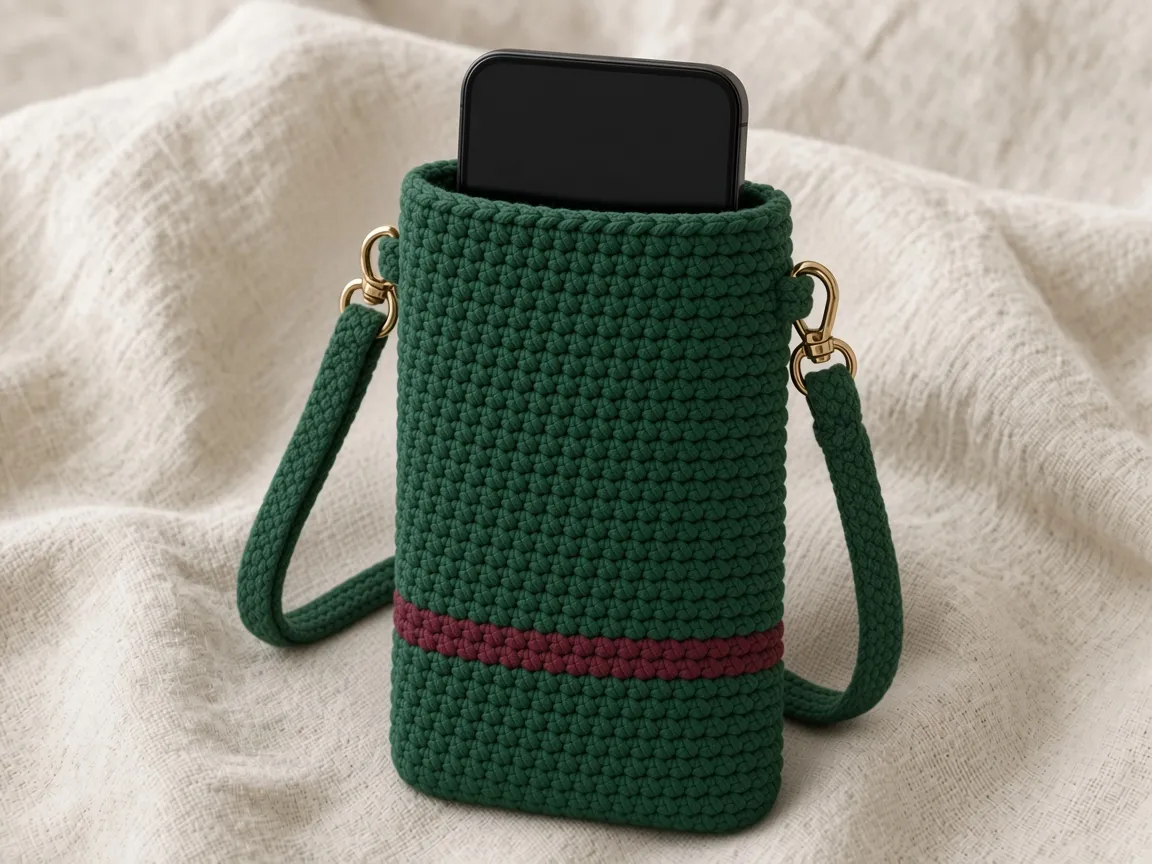
Spot-clean in cool water with a little mild detergent. Dry flat and reshape. Do not machine-dry, and do not iron the hardware. If the metal finish may tarnish, take the rings and clasps off before the pouch gets wet.
A plain charm on one ring is optional. It should not snag, and it is not what holds the strap. Skip it if you want the pouch quieter. A short chain of 12, sewn at both ends inside the pouch, can hold a key. Do not use that loop as the strap attachment.
Round checklist
| Round | Color | What you work | Stitches |
|---|---|---|---|
| Chain | Green | ch 21 | 21 chains |
| 1 | Green | Oval around the chain | 42 sc |
| 2 | Green | sc in back loop only | 42 |
| 3–12 | Green | sc in each stitch | 42 each round |
| 13–17 | Burgundy | sc in each stitch | 42 each round |
| 18–40 | Green | sc in each stitch | 42 each round |
| Edge | Green | 1 sl st, then an optional loose sl st round | Do not shrink the opening |
Use the stitch counter if you lose the 42. Fix a wrong count in the round you are on.
Other phones
Estimate the circumference as 2 × flat width × stitches per cm, then choose an even number. Because this oval makes 2 × the starting chain, the chain is about half the circumference.
| Cased phone, about | Trial chain | Trial round | Check |
|---|---|---|---|
| 15 × 7 × 1 cm | ch 19 | 38 sc | Try the phone after 10 rounds |
| 16.5 × 8 × 1.2 cm | ch 21 | 42 sc | Sample arithmetic |
| 17.5 × 8.7 × 1.5 cm | ch 23 | 46 sc | Add height if the phone is taller |
These are starting points at 20 sc per 10 cm. They are not fits for a named phone model. After the oval, every body round uses the new stitch count, one for one. Add height in whole green rounds. Do not stop in the middle of the burgundy band if you still want one clean stripe.
What usually goes wrong
The pouch widens. You have more than 42. The marker stitch got worked twice, or the step at the color change was counted as an extra stitch. Remove the extra stitch in the current round.
One side of the stripe is taller. That is the spiral step. Turn it to the back. Count 42 on both colors.
The stripe is the wrong height. Five rounds are about 2.5 cm only at 20 rounds per 10 cm. Measure your fabric. Change the number of burgundy rounds only if you also change the round list so the green above them still ends where you want the rim.
The phone catches on the rim. The slip-stitch edge is too tight. Remove it. If the whole tube is tight, start again with a longer chain. Do not stretch a phone into a pouch that scrapes it.
The base curls. The chain was tight. Redo round 1 with a looser chain. This base is meant to be slightly rounded.
A ring is pulling stitches open. Stop wearing it. Add overlap, more sewing, and an inside patch if you need one.
Before you call it finished
- Round 1 is 42, and every later round is 42, or your resized count.
- The burgundy band is rounds 13–17, with green above it.
- The phone goes in and out without force, and the rim clears it.
- Each D-ring is trapped in a folded tab, and each tab is sewn to one wall only.
- Each clasp holds a folded strap end that does not pull out.
- Tails are woven in two directions.
A different pouch on this site, the striped phone bag, is two flat panels and a flap. This one is a spiral tube with an open top. The phone-case lesson is a sleeve without a strap.
Frequently asked
Do I need to know more than single crochet? The body is chain and single crochet. The tabs and clasps are sewing. Practice the fold on scrap yarn if you have not sewn a ring in before.
Can I use acrylic? Swatch it. Acrylic often stretches more than cotton. Pick the yarn from the swatch, not from the hook size on a label.
Will it fit every phone? No. Use the chain table as a start, then try your phone after the first 10 rounds and again before the rim.
Can I add a flap? Not as part of these counts. A flap is a separate piece from the back of the rim, with its own length and a closure that will not press on the phone. This pattern stops at the open top.
Can I sell a pouch I make from this pattern? You can sell the handmade object, subject to your local rules. Sell it as your own crochet pouch. Do not add someone else’s logo or name.
How should I wash it? Cool water, mild detergent, dry flat. Remove metal if the finish may tarnish. Do not tumble dry.
- crochet crossbody phone holder
- crochet phone bag
- crochet phone pouch
- two-tone crochet bag
Read this next
- How to Crochet a Christmas Tree Garlic Holder A small mesh garlic holder with scalloped branches, a gold star, and an open top. US terms. Sizes are design targets.
- How to Crochet a Christmas Tree Plastic Bag Holder Crochet a hollow Christmas tree that holds grocery bags. Bags go in the open top and out the brown trunk. US terms. Sizes come from gauge.
- How to Crochet a Compact No-Slip Kitchen Towel Holder A compact cotton crochet towel holder with two wooden rings, one above the other. Assembly counts are still being checked. US terms.