
Halloween Crochet Card Wallet with Ghost (Easy Flap + Button)
Step-by-step Halloween card wallet: measure a real card, crochet one orange rectangle, fold a flap, add a black button, sew on a tiny ghost. Gift-ready and reel-friendly.
Most Halloween crochet sits on a shelf. A card wallet leaves the house in a pocket. That is why this make wins on reels: flap, black button, tiny ghost — something someone can use the same day.
This is the full beginner path for the pumpkin-orange wallet. One tall single-crochet rectangle. Fold. Seam. Button. Ghost. Same pocket works later for spider, bat, pumpkin, or cat fronts — swap the appliqué.
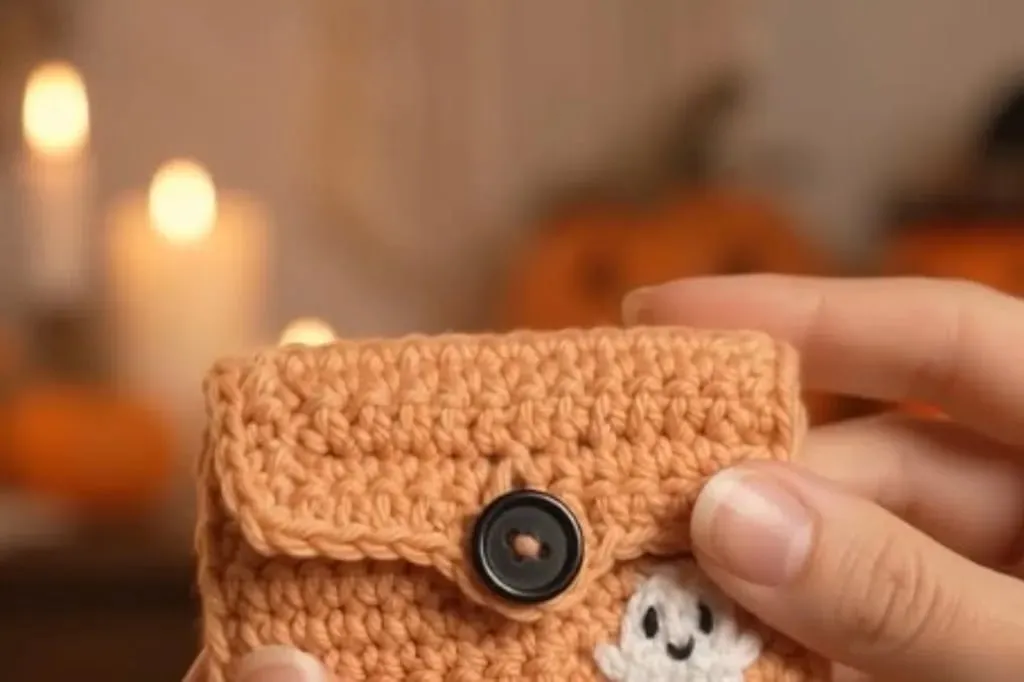
What you need
- Worsted-weight yarn in pumpkin orange (body), scrap white (ghost), scrap black (face + optional edge stripe) — yarn weight chart
- Hook matched to the yarn, often US G/6 (4.0 mm) or H/8 (5.0 mm) — hook size chart
- One black button, about ⅝–¾ in (15–20 mm) across
- Yarn needle
- Stitch markers or clips
- The actual card the wallet must hold (credit, debit, or ID). Do not guess the size.
US abbreviations throughout. Open the abbreviations chart if any look unfamiliar. New to rows? Skim basic crochet stitches first — this wallet is almost only sc.
Finished size (design target)
A standard US credit or debit card is about 3.375 in × 2.125 in (roughly 86 mm × 54 mm).
| Piece | Target size |
|---|---|
| Pocket (inside, after seaming) | about 3.75 in wide × 2.5 in tall |
| Flap (extra fabric above the pocket) | about 1.25–1.5 in deep when folded down |
| Full rectangle before folding | about 3.75 in wide × 6.5–7 in tall (back + front + flap) |
Your tension will move the inches. The card on the table is the only pass/fail measure.
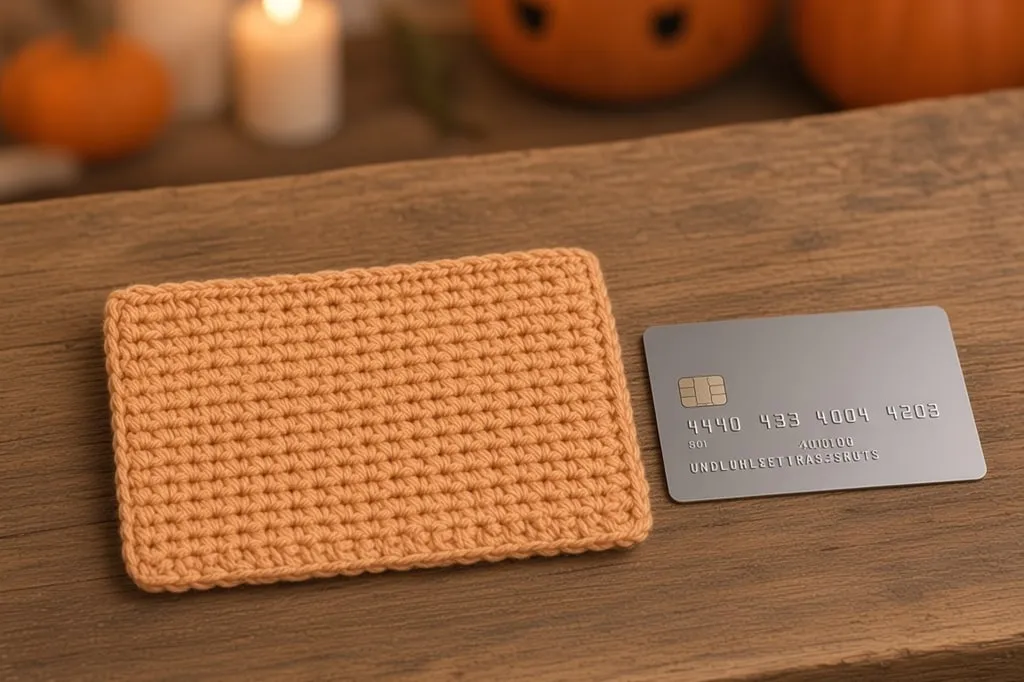
The build, in pictured steps
- Measure the card, then chain the width.
- Work one tall single-crochet rectangle (back + front + flap).
- Optional: add a thin black edge stripe.
- Fold the pocket; leave the flap free.
- Seam the two long sides of the pocket only.
- Sew the black button and make a chain loop.
- Crochet a tiny ghost and sew it on.
- Test the fit with a real card.
Step 1: measure, then chain
Lay the card flat. Chain in orange until the chain sits about ¼ in wider than the card’s long edge when the chain is held relaxed. For many people that lands near ch 16–20. Write the number down.
Turn. Sc in the second chain from the hook and in each chain across. That stitch count is your width for every row after this.
If the first row cups, the chain was too tight. Redo the foundation looser or go up one hook size for the chain only. A cupped edge makes a crooked wallet before the ghost ever goes on.
Step 2: work the tall rectangle
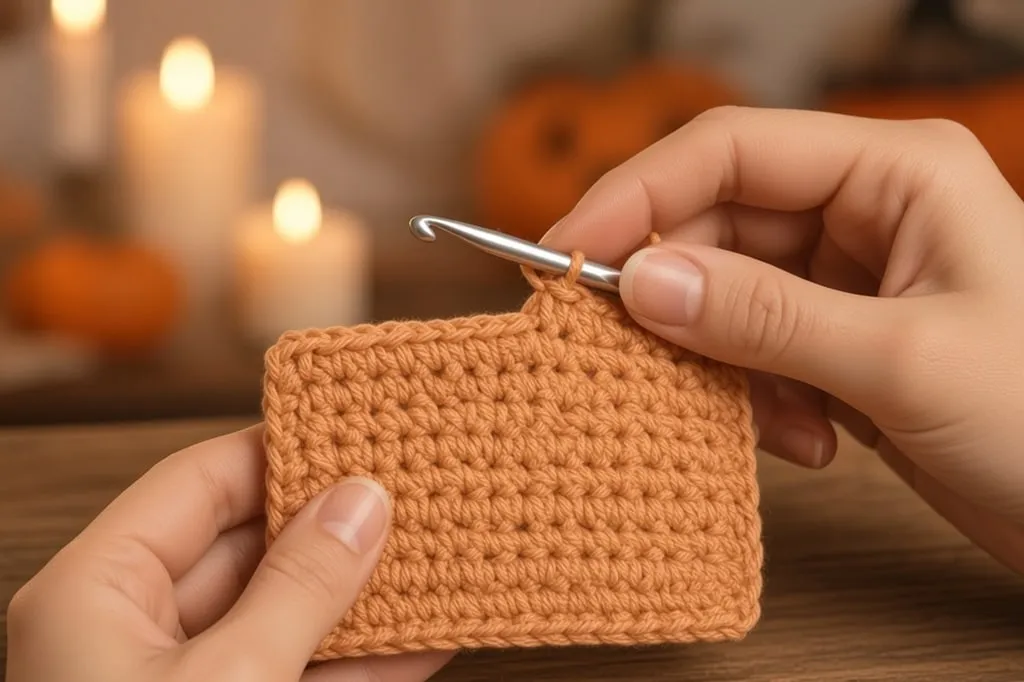
Work rows of single crochet, ch 1 and turn at the end of every row (turning chain does not count as a stitch). Keep the stitch count identical every row.
Keep going until the fabric height is about two card heights (back + front) plus 1.25–1.5 in for the flap. Lay the card on the fabric twice from the bottom edge upward, then leave the flap band above that. Dense fabric beats drapey fabric — if it feels like a dishcloth, go down a hook size. Cards fall out of soft pockets.
Step 3: optional black edge stripe
Optional, but it photographs cleanly in a reel: work the last 2 rows of the rectangle in black for a thin stripe on what will become the flap edge.
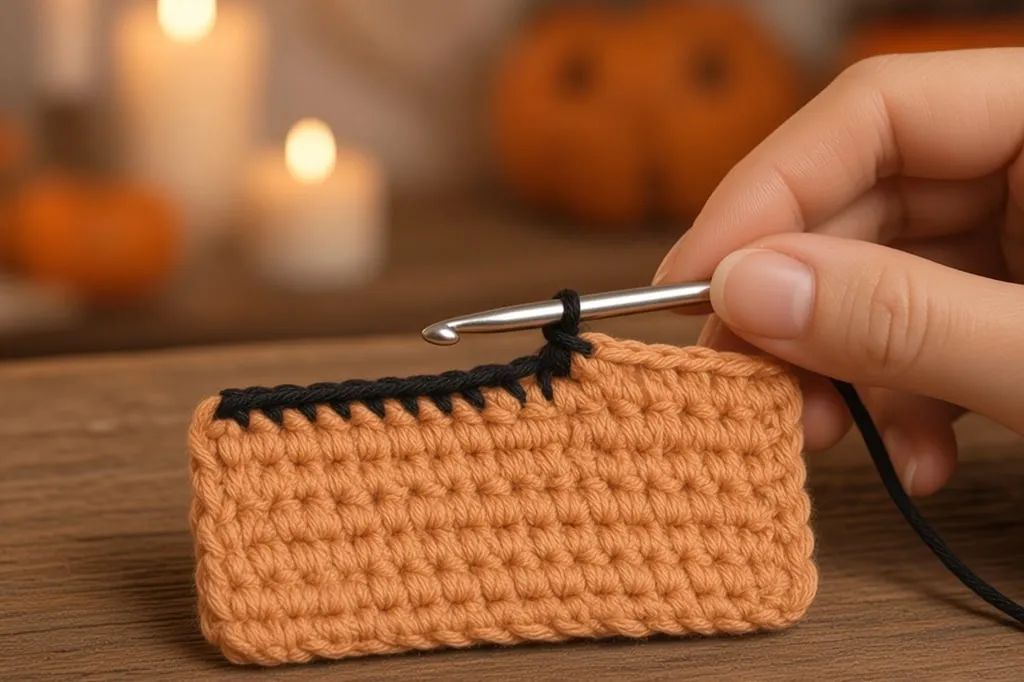
Change color on the last yarn-over of the final orange stitch so the new black loop is already on the hook — same clean join as changing yarn color. Weave tails on the wrong side later.
Step 4: fold the pocket (flap stays free)
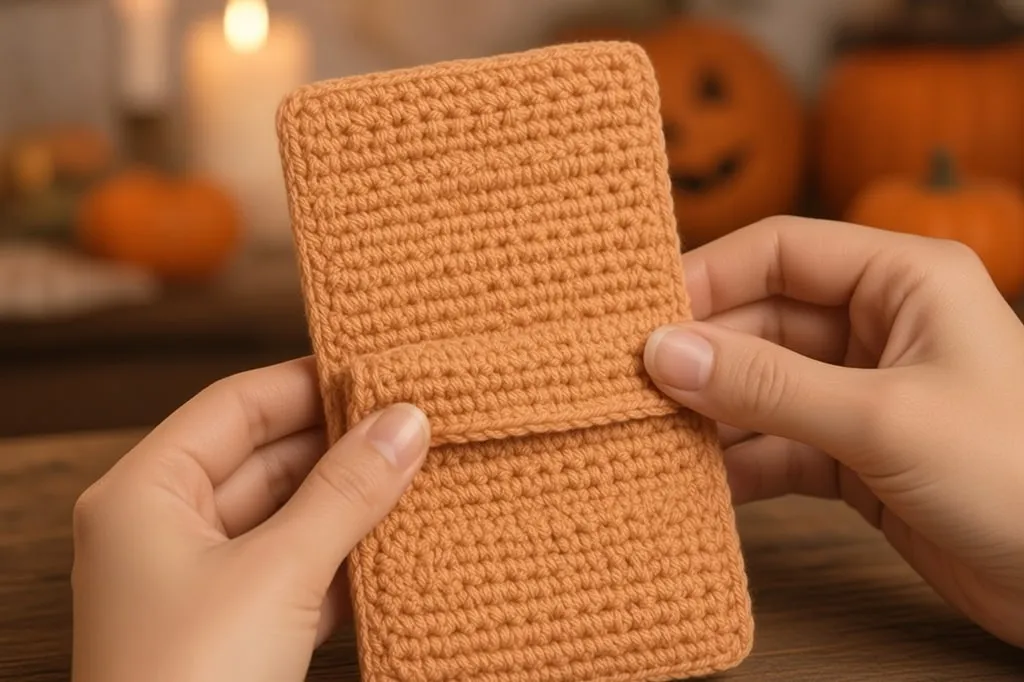
Fold the bottom up so you create a pocket the height of your card (plus a little ease). The remaining short stack of rows at the top is the flap — it should hang free, not get trapped in the side seams.
Clip both long sides of the pocket only. The flap edges stay open. Not sure which is which? Put the card inside the fold — wherever it sits is pocket height; everything above is flap.
Step 5: seam the pocket sides
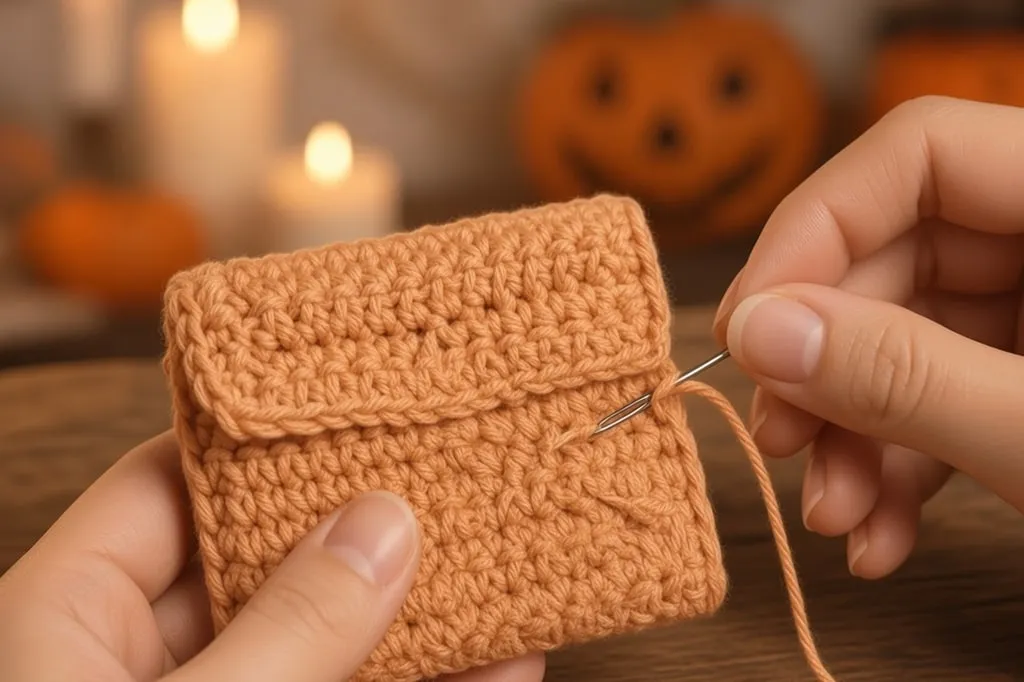
With a yarn needle and orange yarn, whipstitch or mattress-stitch both long sides from the fold up to the pocket opening. Stop at the opening. Do not sew the flap shut — that turns a wallet into a closed pouch.
Reinforce the top corners of the opening with an extra stitch. Weave ends on the inside (weaving in ends) so tails do not catch the card.
Step 6: button and loop
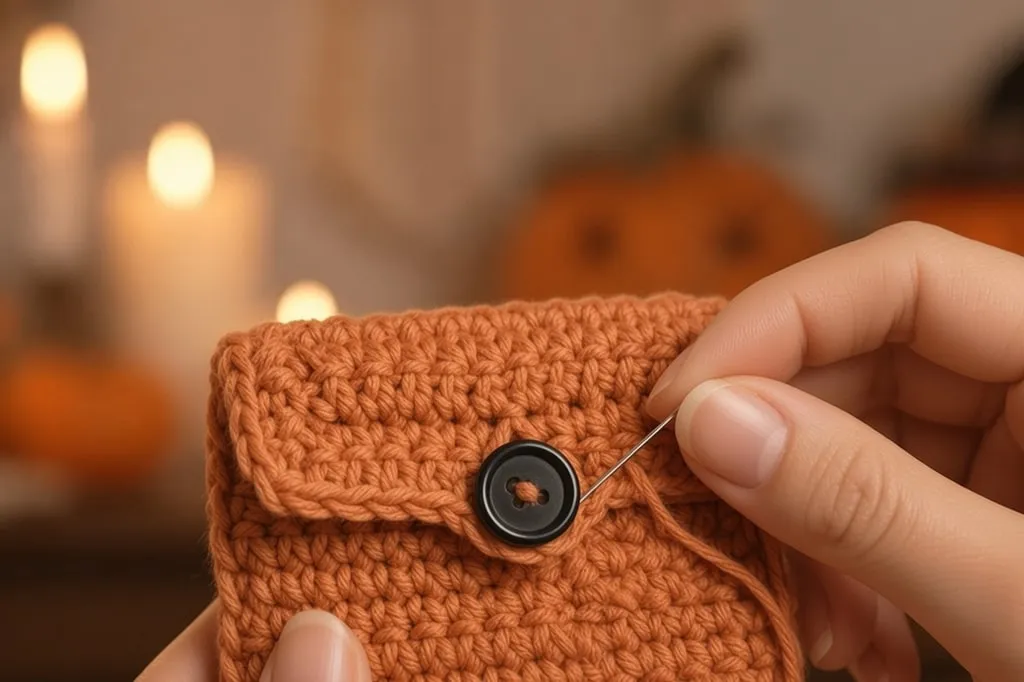
Sew the black button on the front of the pocket, centered left-to-right, low enough that the flap covers it when closed. Sew through the front pocket wall only — not through both layers of a side seam — or the card hits the button shank every time.
On the flap edge, make a chain loop: join yarn at the center, chain enough to slip snugly over the button (often ch 6–10 — test on the real button), slip stitch back into the join, fasten off.
A single-crochet buttonhole also works: on the last flap row, skip 2–3 stitches under a short chain and sc into that chain next row. Too-tight loops yank the flap; too-loose ones drop open in a bag.
Step 7: tiny ghost appliqué
The ghost is a flat scrap, not a second project. Keep it about 1–1.25 in tall so the flap still closes flat over it.
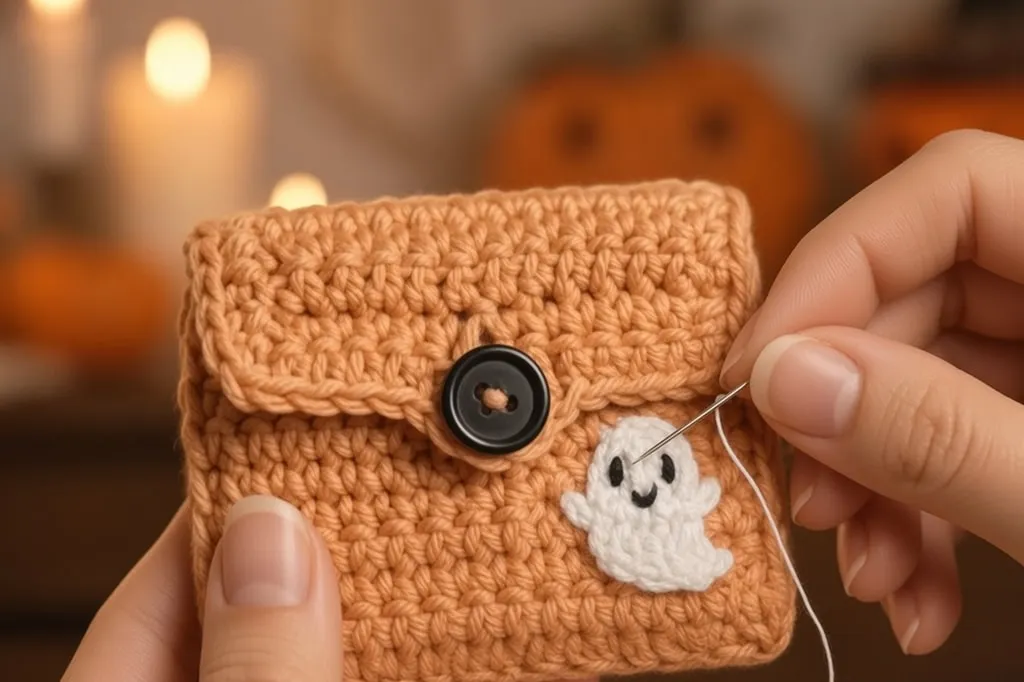
Quick ghost:
- With white, magic ring, 6 sc. (6)
- Inc around. (12)
- Sc around for 2 rounds.
- Next round, shape a soft hem: sc, hdc, dc, hdc, sc in next 5 sts (or similar) so the bottom ripples a little — same idea as the hem on a beginner ghost, just tiny.
- Flatten, fasten off with a long tail for sewing.
Embroider two French-knot eyes and a tiny curved mouth with black yarn. Sew the ghost to the lower corner of the front. Hide knots inside the pocket. If the ghost is wider than a third of the pocket, frog it — oversized appliqués wrinkle when the flap closes.
Step 8: fit check
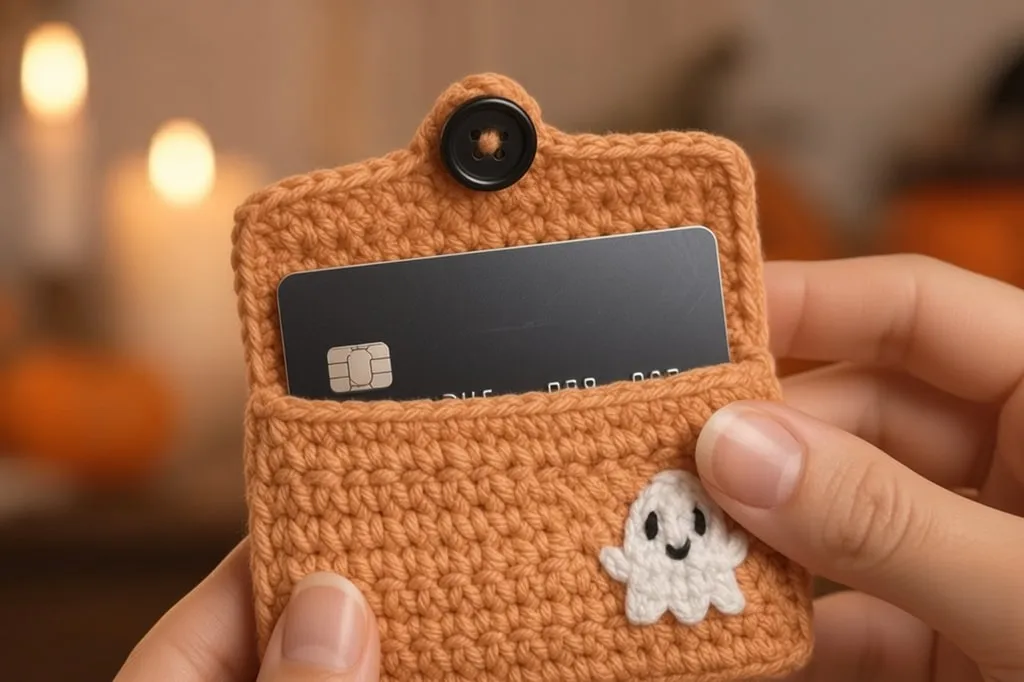
- Slide the card in.
- Close the flap over the button.
- Tip the wallet gently.
Too tight: add 1–2 stitches of width next time, or seam looser.
Too loose: one round of sc around the top opening firms it up.
Flap too short: add flap rows before seaming next time.
Button fights the loop: lengthen or shorten the chain loop — do not force the fabric.
One or two cards is the sweet spot. Three is the practical max in worsted single crochet. Gift tip: test with the thickest card, not a flimsy loyalty card.
Variation ideas (same wallet, different face)
The orange ghost wallet is the hero make. Once the pocket and flap fit, the front is just decoration. Swap the appliqué and base color; do not rebuild the engineering.
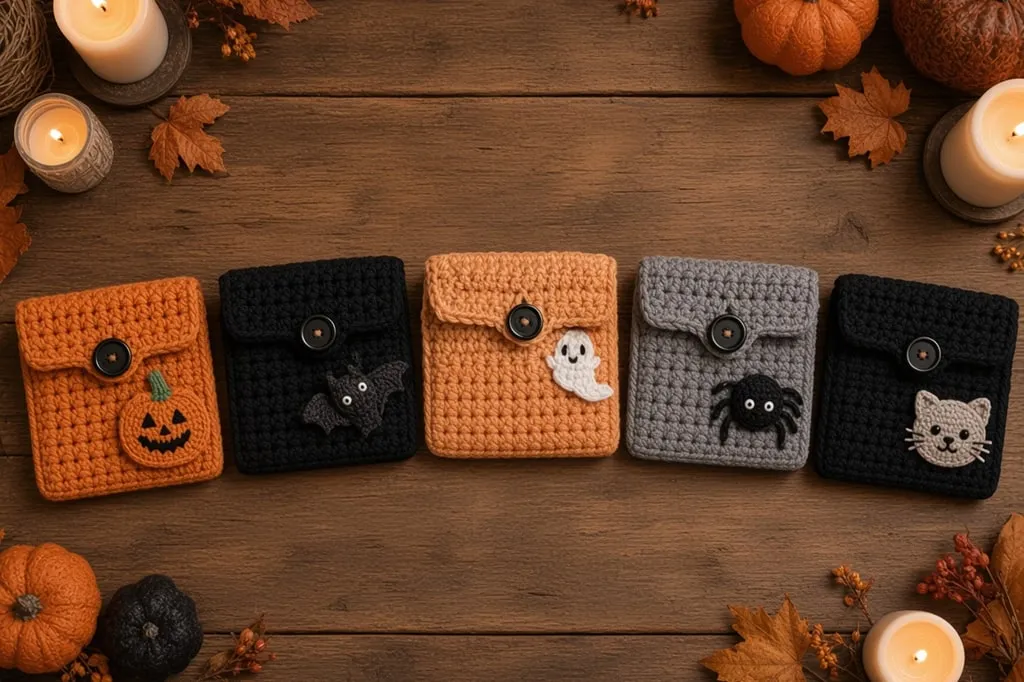
| Look | Base color | Appliqué idea |
|---|---|---|
| Ghost (this tutorial) | Orange or black | Small white ghost + embroidered face |
| Pumpkin | Orange or grey | Flat orange circle + black face stitches + green scrap stem |
| Bat | Grey or black | Flat black wings + tiny head (or sew on a mini bat wing pair scaled down) |
| Spider | Grey or cream | Small black body + eight chain legs |
| Cat | Black | Ear triangles on the flap + whisker stitches |
Keep hardware simple for the first reel: one button. For color practice without a pocket, see Halloween granny square variations.
Mistakes that ruin a card wallet
Skipping the real-card measure. Blog inches will not match your yarn. The card is the pattern.
Seaming the flap into the sides. The opening disappears. Seam pocket height only.
Giant soft gauge. Cards slip out. Go down a hook size if the fabric drapes.
Ghost bigger than the pocket front. It wrinkles when the flap closes. Keep it corner-sized.
Button sewn through both layers. Sew through the front pocket wall only so the card still slides.
Frequently asked
How long does this take?
One evening if you already know single crochet. Film-friendly checkpoints: foundation chain, flap fold, button close, ghost sew-on, card slide-in.
Will it fit a driver’s license and a credit card together?
Usually yes if the width has ease and you do not overstuff. Stack and test before you gift it.
Can I skip the ghost?
Yes. Solid orange with a black button still reads as Halloween on camera. The ghost is the scroll-stop, not the structure.
What yarn is best for reels?
Smooth worsted in bright orange and clean white. Fuzzy yarn hides stitches and looks muddy on phone cameras.
Do I need to know amigurumi?
No. The body is flat rows. The ghost uses a tiny magic ring; a white felt ghost works for the first make if you want zero round work.
What should I make next?
A pumpkin, ghost amigurumi, spider and web, or bat.
- halloween
- card wallet
- card holder
- ghost
- beginner
- how to
- gift
Read this next
- Christmas Granny Square Variations Four color layouts for a classic granny square in Christmas colors, how to join them into a blanket or set, and why red and green so often turn muddy.
- Crochet Santa Amigurumi for Beginners Build a Santa from one continuous body, then add the hat, beard and belt. Includes safe eye choices for children and the fixes for a lopsided face.
- How to Crochet a Christmas Tree, Step by Step Three ways to build a crochet Christmas tree — tiered cone, flat triangle and stacked rounds — plus how to make one stand up instead of toppling.